background image

2.  Perform the measurement

The measurement involves 4 major steps:

1. Initialization of the cameras
2. Side contour measurement
3. Back contour measurement
4. Image analysis

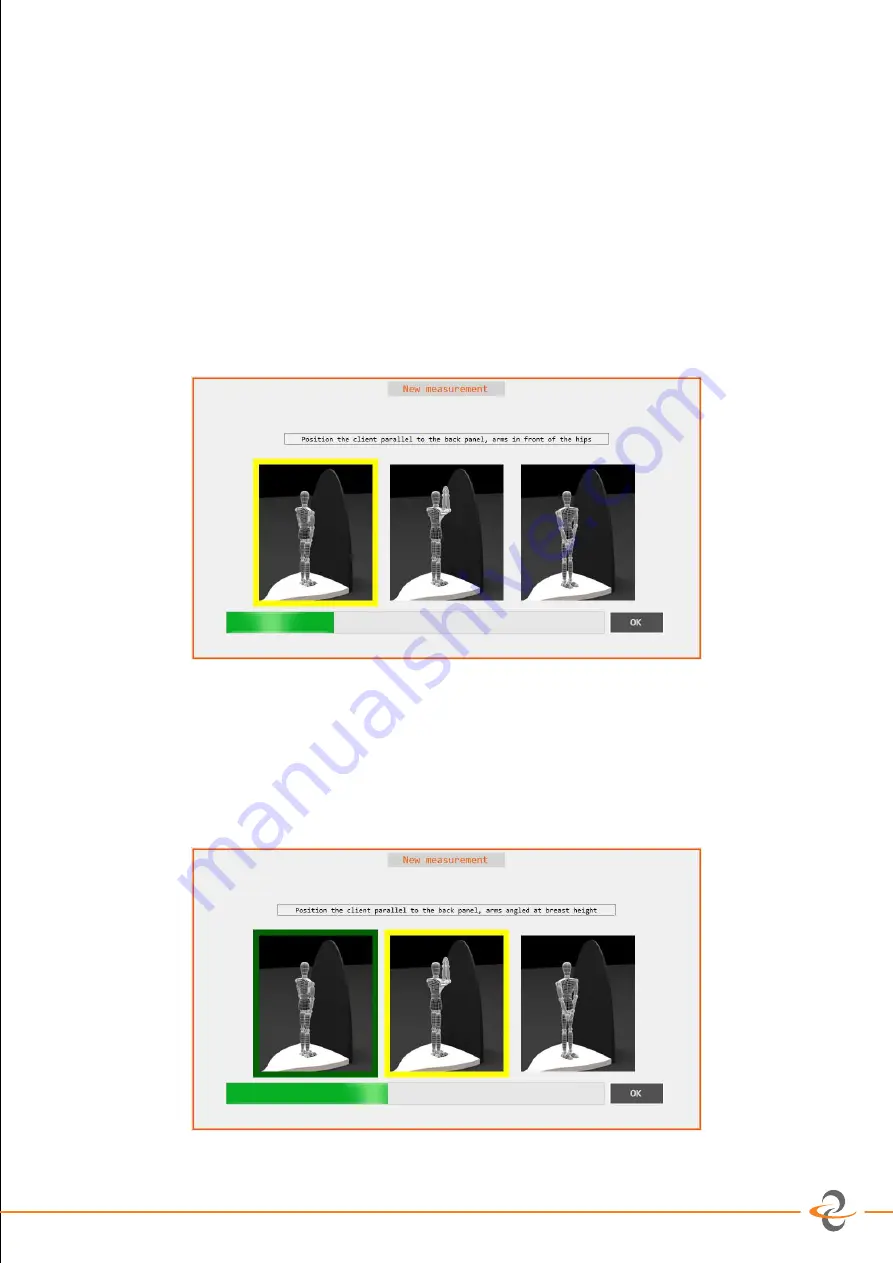
2.1 Initialization of the cameras

At this point, the customer can put on a 

green measurement shirt

 and take place on the weight

scale, facing the back panel. The arms can be positioned in front of the body in a natural way. 

Press ‘OK’ when ready…

2.2 Side contour measurement

In a second step, the system will measure the side contours. The customer remains on the weight
scale facing the back panel, but is requested to raise the arms, the upper and lower arms in an
angle of 90°, elbows against each other (as close as possible). 

Press ‘OK’ when ready…

User Manual Ikelo (version 2.0.x, 30 okt 2019)

  6/10

Summary of Contents for Ikelo

Page 1: ...User Manual Ikelo Optical Bodyscanner...

Page 2: ...se of the information contained herein Neither is any liability assumed for damages resulting from the use of the information contained herein Feedback Requests for information or usage of these or pa...

Page 3: ...the measurement 6 2 1 Initialization of the cameras 6 2 2 Side contour measurement 7 2 3 Back contour measurement 7 3 Review the measurement 8 3 1 Derived parameters 8 3 2 Full contours 9 Open a Previ...

Page 4: ...tware icon on the desktop and wait until the software starts up In the top left corner the user can choose between performing a measurement on a new client or opening a previous measurement User Manua...

Page 5: ...ame the gender and the date of birth There is also a memo field for additional information optional When ready press OK An empty screen will show with 2 active buttons Start a new measurement Cancel t...

Page 6: ...lace on the weight scale facing the back panel The arms can be positioned in front of the body in a natural way Press OK when ready 2 2 Side contour measurement In a second step the system will measur...

Page 7: ...OK when ready and the system will go to the final step 3 Review the measurement After the image analysis the results are available as an overview of the derived parameters or as the full contours of...

Page 8: ...ng height On the right hand side the angles of kyphosis and lordoses are shown 3 2 Full contours By moving the blue slider in the middle the corresponding widths of the body in the frontal plane and t...

Page 9: ...left corner The list of measurements can be filtered by providing useful information in the fields Naam date of measurement Meting or choosing a specific gender Open a measurement by double clicking o...

Page 10: ...d with a damp cloth and a mild detergent The back panel is coated with a special light absorbent coating This demands special attention When cleaning please take care that no scratches are made becaus...

Reviews: