User Manual
–
Visipac & VisiTouch Series
VisiPac & VisiTouch series
–
User Manual
M
AR
.
2021
V1.0
54/69
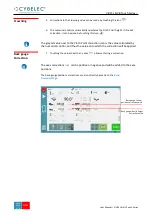
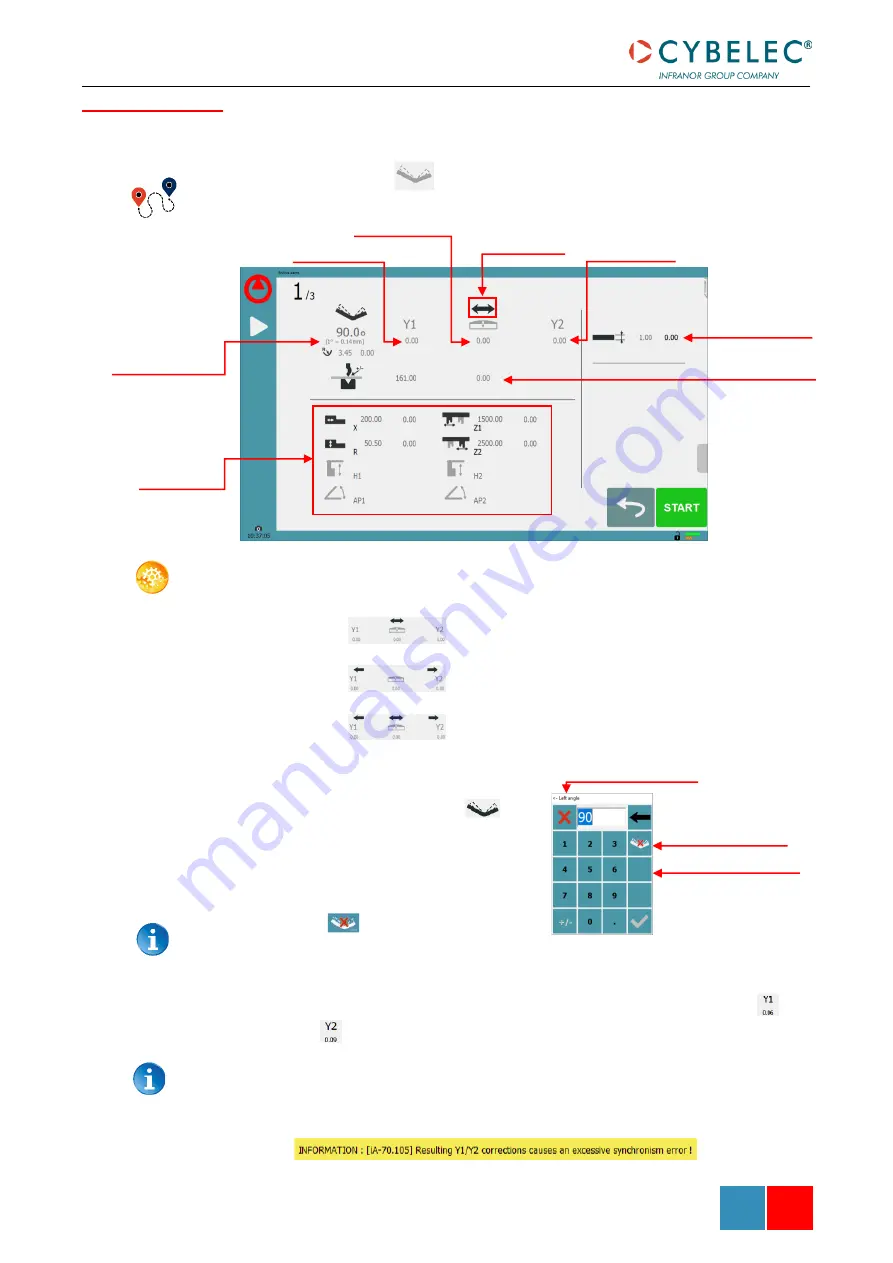
After physically measuring the angle, if corrections are to be made, they must be done on
this page, and not directly in the program step.
S
ETTING
I
NSTRUCTIONS
:
1.
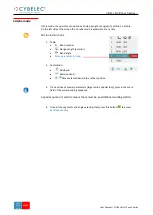
Select the correction mode:
•
Equal correction in both Y1 and 2 axes
•
Specific corrections to the Y1 and Y2 axis
•
Specific correction to the Y1 axis, Crowning and Y2 axis
2.
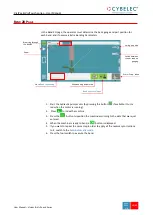
Touch the angle correction
icon
and enter the physically measured
value of the angle. The numerical
control will automatically calculate the
Y1 and Y2 axes corrections.
Pressing this
button will reset all angle
corrections.
3.
Depending on the position of the sheet metal in the press, it may be necessary to
fine-
tune the beam’s corrections. It is possible by simply touching this icon
s
or
this
one and entering the desired values.
4.
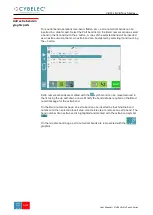
Depending on the length part and the machine size, the corrections are calculated
in their respective ends of the machine Y1 and Y2 cylinders. It can happen that the
corrections are too important and the beam touch the limit of synchronism
between Y1 and Y2 axes, in this case a message error appear:
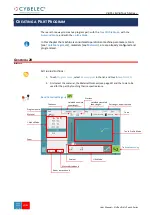
Angle Correction
(Y axis)
Axes correction
Reset corrections button
Pinch Point correction
Correction mode
Thickness correction
Indicative Degrees/mm
correction in function
of the selected tools
Crowning correction
Y1 axis correction
Y2 axis correction
Copy to all correction filters
Side informations
Summary of Contents for VisiPac Series
Page 1: ...VisiPac VisiTouch Series User Manual MARCH 2021 V1 0 for Synchronized Press Brakes ...
Page 6: ...User Manual VisiPac VisiTouch Series VisiPac VisiTouch Series User Manual MAR 2021 V1 0 5 69 ...
Page 64: ...User Manual VisiPac VisiTouch Series VisiPac VisiTouch Series User Manual MAR 2021 V1 0 63 69 ...


