15
•
IP
•
Subnet Mask
•
Gateway
•
DNS
•
Host
•
Domain
1) To activate DHCP, navigate to
[ ] Enable DHCP
and press
Enter
. An
x
appears indicating the option is active. Press
Enter
again to remove the
x
and disable the option.
Note:
DHCP is on by default, as the Dualcom S gets its IP address from
a DHCP server. The assigned address is displayed next to
Using:
. If no
DHCP server is found, the default address of 192.168.1.2 is shown.
2) To change any of the values, navigate to the desired setting and press
Enter
.
3) Use
Backspace
and the number keys to change values. Press
Enter
when done.
4) Repeat steps 2 and 3 for each network setting to be changed.
Note:
For any new settings to take effect, the Dualcom S must be
rebooted. Do so by navigating to
[REBOOT…]
and pressing
Enter
.
Once the Dualcom S reboots (it may take a minute), you’ll be prompted
to log on again.
5) If no changes were made, or you don’t wish to reboot the Dualcom S at
this time, hit
Backspace
to return to the System Settings screen.
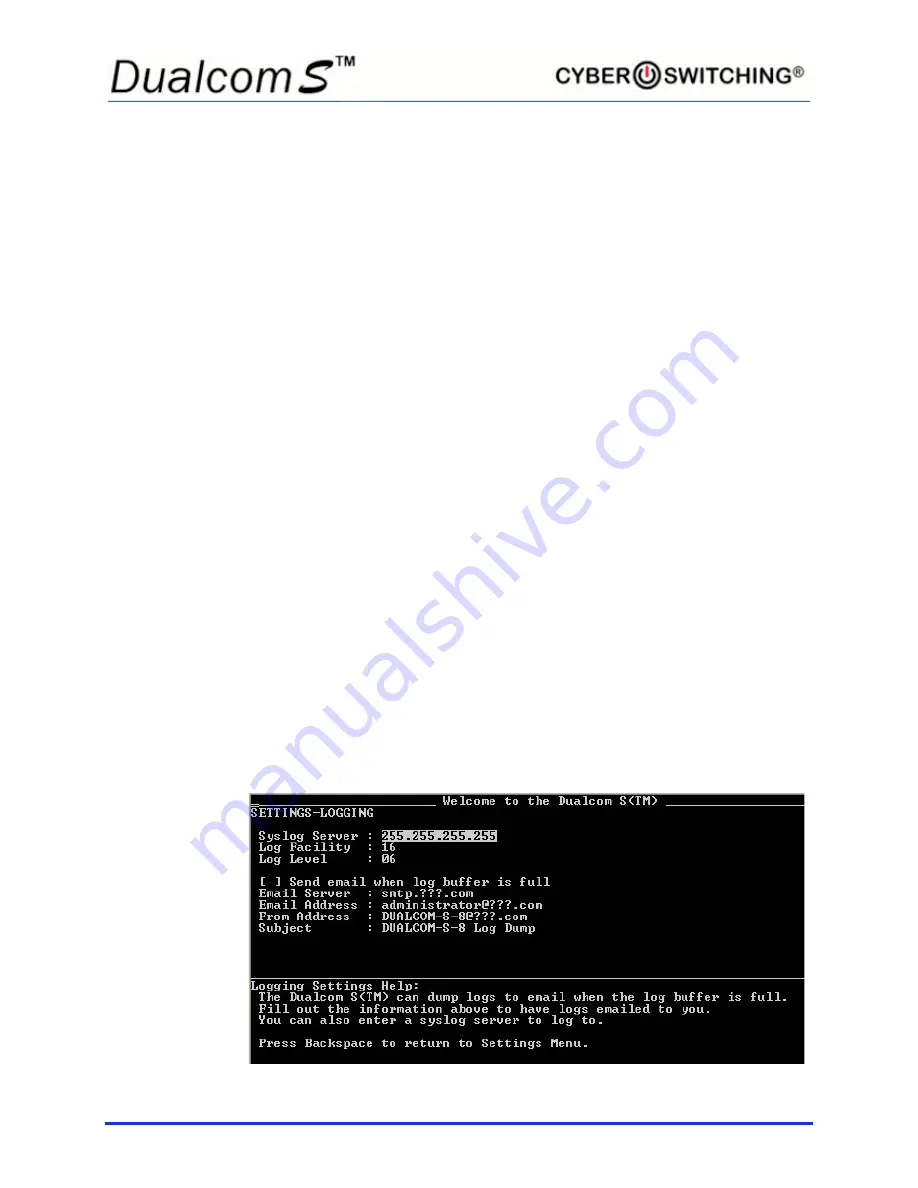
LOGGING Setup
From the System Settings
screen,
type
3
to select
Logging Settings
. The
following screen appears:
Summary of Contents for Dualcom S
Page 1: ......
Page 3: ...iii CE certificate will go on this page ...
Page 7: ...vii Notes ...
Page 45: ...38 ...


