Virtual Private Networking
116
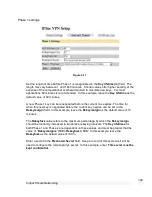
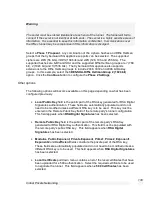
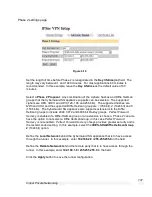
Figure 9-11
Enter an appropriate name for your connection and click Finish.
Your VPN client is now set up and ready to connect.
Windows XP
Log in as Administrator or with Administrator privileges. From the Start menu, select
Settings and then Network Connections.
Click Create New Connection from the Network Tasks menu to the left.
Select Connect to the network at my workplace and click Next. Select Virtual Private
Network connection and click Next.
Choose a Connection Name for the VPN connection, such as your company name or
simply Office. Click Next.
If you have set up your computer to connect to your ISP using dial up, select
Automatically dial this initial connection and your dial up account from the pull down
menu. If not, or you wish to manually establish your ISP connection before the VPN
connection, select Do not dial the initial connection. Click Next.
Enter the CyberGuard SG PPTP server’s IP address or fully qualified domain name and
click Next. Select whether you wish make this connect available to all users and whether
you wish to add a shortcut to your desktop and click Finish.
Your VPN client is now set up and ready to connect.


