PLAYING FUNCTIONS
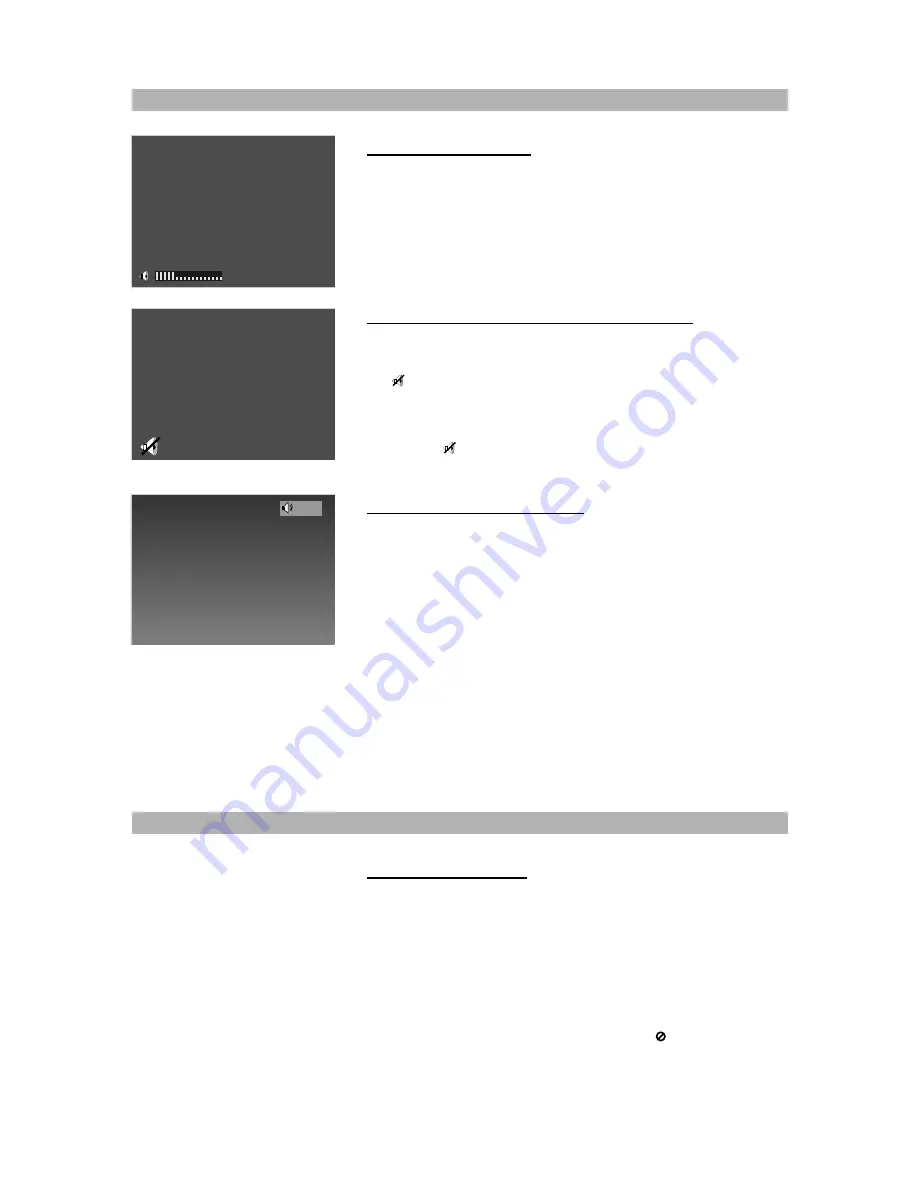
Adjusting the volume
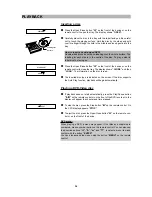
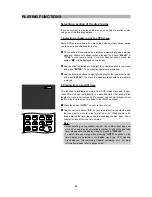
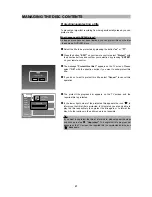
Press the buttons
“VOL + ”
and
“VOL - ”
on the remote control to adjust
the playback volume of the disc. With the button
“VOL + ”
you can
increase the volume. With the button
“VOL - ”
you can decrease the vol-
ume. You may adjust the volume from level +00 to level +20.
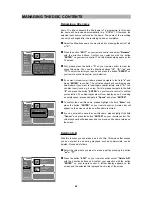
Suspending audio with the “MUTE” button
1
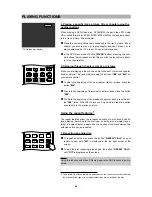
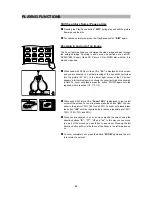
To temporarily cancel the audio of the disc you are listening to or watch-
ing, simply press the
“MUTE”
button on your remote control. The icon
“
”
will be displayed on the screen letting you know that the recorder
is in “Mute” mode, i.e. you will have no sound.
2
Press the button
“MUTE”
again to resume normal playback with sound.
The icon “
” will disappear.
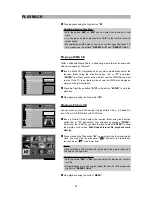
Changing the audio settings
Most DVD discs and some Video CDs are recorded with multiple audio
tracks. These can contain multiple languages and different audio formats.
Playback uses the language you selected during initial installation or the
main language of the DVD. You can change the audio track of the current
disc at any point of time.
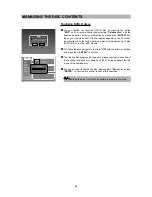
1
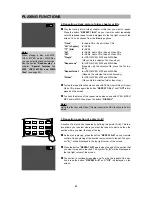
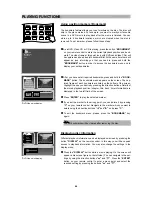
You can switch between the various languages and audio modes on
DVD discs with the
“AUDIO”
button on your remote control. On Video
CDs you can only change the audio mode.
2
Press the
“AUDIO”
button while a disc is playing to cycle between the
languages and soundtracks available on the disc.
3
Playback continues in the new audio track.
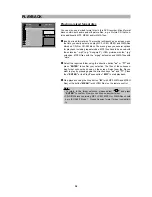
Using the DVD menu
A menu that can be used to select what you want to watch or listen to is
provided on many DVDs. There may be, for example, a list of all of the
chapters on the disc or a list of extra items that have been provided such
as subtitle and audio language selection.
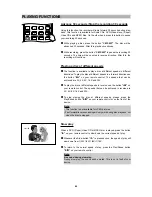
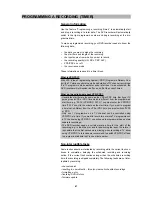
DVD menus will sometimes be displayed automatically when starting play-
back. Others only appear when pressing the button
“MENU”
or
“TITLE”
(depending on the disc’s design) on your remote control as the disc is play-
ing. If the disc does not have a menu, the symbol
“ ”
will be displayed on
the screen.
47
-
+05
Stereo 3/4
SPECIAL PLAYING FUNCTIONS FOR DVD-VIDEO DISCS

