63
PROGRAMMING A RECORDING (TIMER)
8
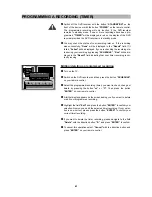
Switch off the DVD recorder with the button
“STANDBY/ON”
on the
front of the device or with the button
“POWER”
on the remote control.
The programmed recording will only function, if the DVD recorder
remains in standby mode. If one or more recordings have been pro-
grammed,
“TIMER”
will be displayed in red on the display of the DVD
recorder provided the DVD recorder is in standby mode.
9
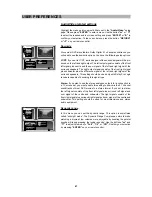
You may check the status of your recording later on. If the recording
was successfully,
“Done”
will be displayed in the
“Result”
field. If it
failed,
“Failed”
will be displayed. If you are checking the recording sta-
tus during your recording by pressing
“SCHEDULE”
,
“Run”
will be dis-
played in the
“Result”
field indicating that your timer recording is cur-
rently running.
Editing/ deleting a programmed recording
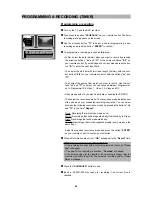
1
Turn on the TV.
2
Switch on the DVD recorder and then press the button
“SCHEDULE”
on your remote control.
3
Select the programmed recording (timer) you want to check, change or
delete by pressing the button
“
C
”
or
“
D
”
. Then press the button
“ENTER”
on your remote control.
4
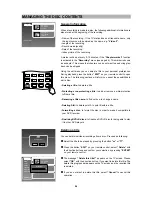
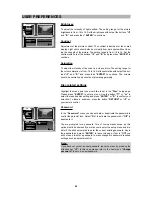
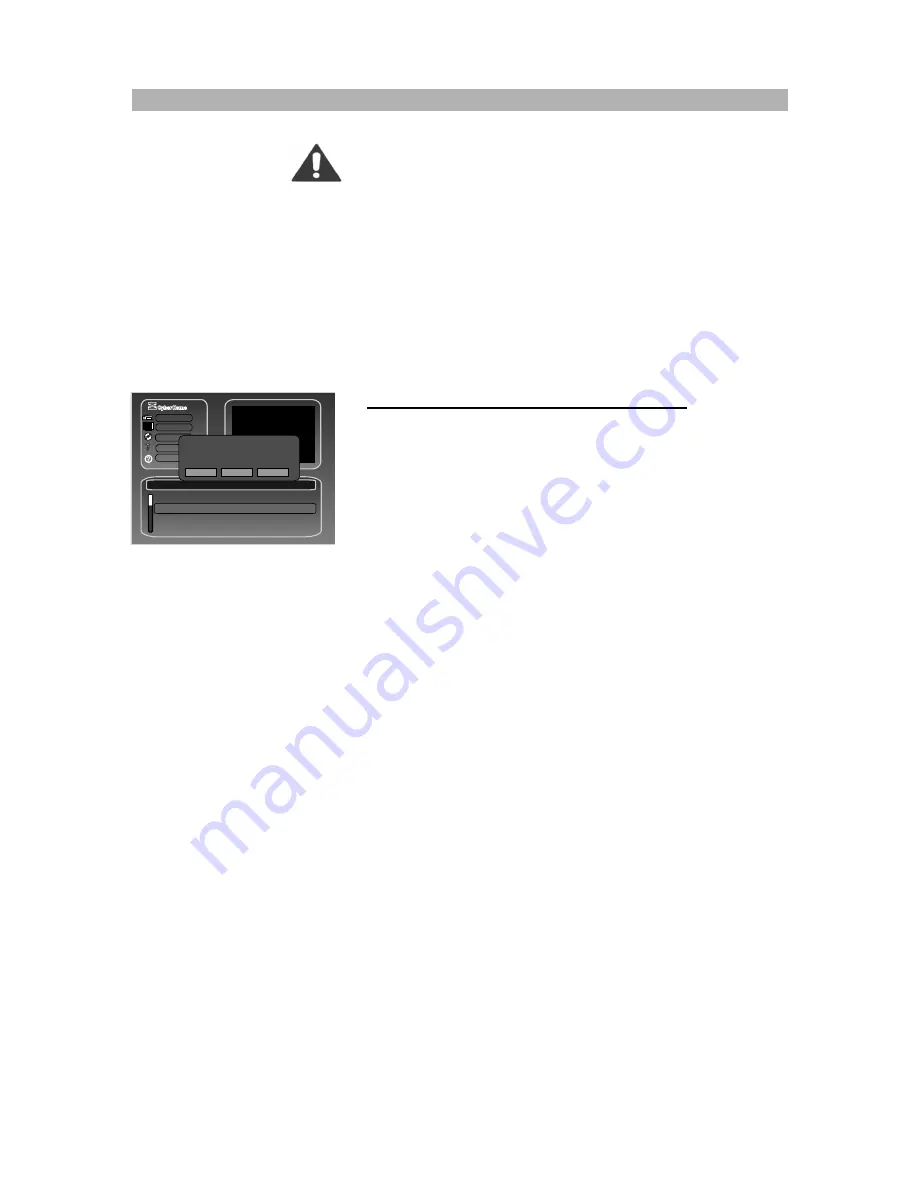
A further display appears on the screen asking you if you want to delete
or edit your programmed recording.
5
Highlight the field
“Edit”
and press the button
“ENTER”
to confirm your
selection. Now you can edit the selected timer recording If your selec-
tion is now correct, please press the button
“ENTER”
to confirm your
current timer recording.
6
If you want to delete the timer recording, please navigate to the field
“Delete”
with the direction button
“
A
”
and press
“ENTER”
to confirm.
7
To cancel this operation select
“Cancel”
with the direction button and
press
“ENTER”
on your remote control.
Recording
Audio/Video
Disc
General
Help
Timer rec
12/04Tue10:15AM 01:30
PR108 SP Off Once Done
Please make selection.
Edit Delete Cancel
Date
Start
Length Source Quality PDC Repeat Result
VPS/

