6
CONFIGURING THE CYBEROAM APPLIANCE
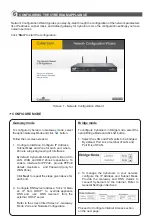
Network Configuration Wizard guides you step-by-step through the configuration of the network parameters
like IP address, subnet mask, and default gateway for Cyberoam. Use the configuration settings you have
noted in section 4.
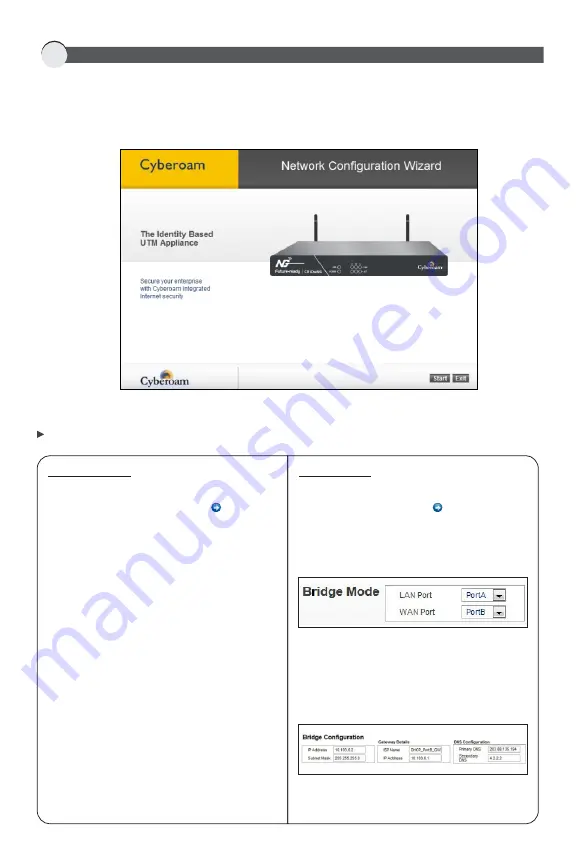
Click
'Start'
to start the configuration.
Screen 1 - Network Configuration Wizard
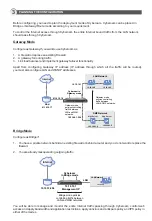
Gateway mode
To configure Cyberoam in Gateway mode, select
the option Gateway Mode and click button.
Follow the on-screen steps to:
1. Configure Interface: Configure IP Address,
Subnet Mask and Zone for each port, where
Zone is a logical grouping of Interfaces.
By default, Cyberoam binds ports A, B and C to
LAN, WAN and DMZ Zones respectively. To
enable interface for PPPoE, provide PPPoE
details: Username and Password (only for
WAN Zone).
Click
Next
to repeat the steps given above for
each port.
2. Configure DNS server address: Click “Obtain
an IP from DHCP” to override appliance
DNS and use DNS received from the
external DHCP server
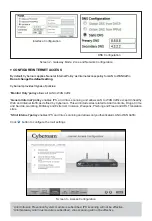
Refer to the screen titled Screen 2 - Gateway
Mode: Zone and Network Configuration.
CONFIGURE MODE
Proceed to Configure Internet Access section
on the next page.
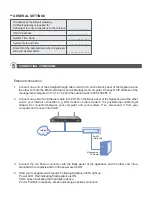
Bridge mode
To configure Cyberoam in Bridge mode, select the
option Bridge Mode and click button.
1. Select the LAN and WAN ports to be bridged.
By default, Port A is a member of LAN and
Port B is of WAN.
2. To manage the Cyberoam in your network,
configure the IP Address and Subnet Mask.
Provide the Gateway and DNS details to
connect Cyberoam to the Internet. Refer to
General Settings in Section 4.


