CyberOptics Corporation
67
Main Electrical Panel
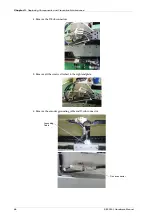
10. Re-assemble the stop spacer and align the flange with the top edge properly with Allen key
No. 2.5. Ensure that the flange is close to the cylinder top edge. Apply loctite to the bolts.
Figure 78.
Stop spacer assembly
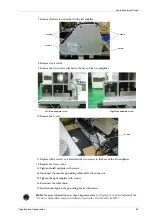
11. Prepare the left side conveyor with two thumb screws, two slot nuts and one cable mount
fixed up as shown in Figure 79.
Figure 79.
Left side conveyor rail assembly
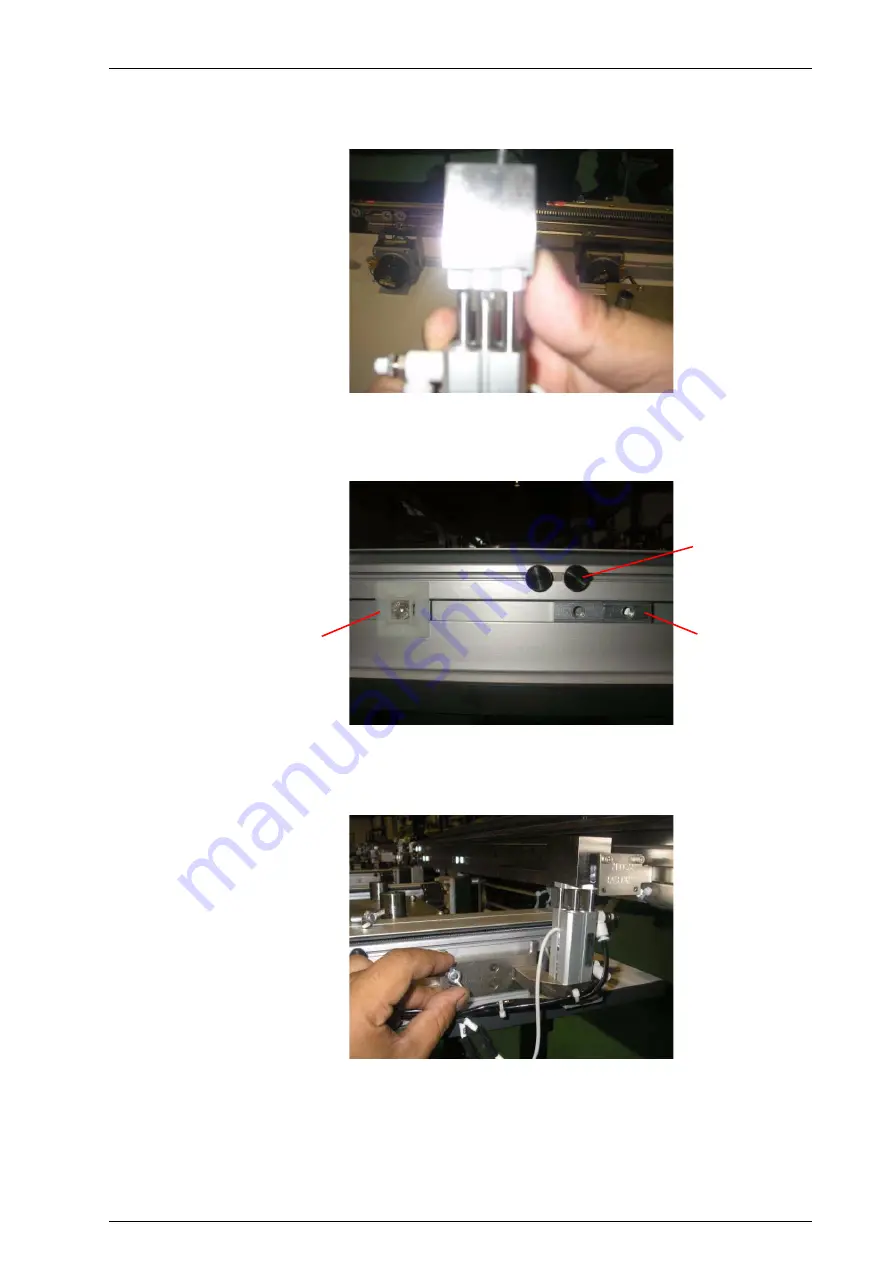
12. Mount the completed stopper bracket assembly to the left side conveyor rail. Tighten with
wing nut.
Figure 80.
Mounting stopper bracket assembly
Slot nuts x 2
Thumb screws x 2
Cable
Mount x 1
Summary of Contents for SE500CP
Page 1: ...SE500CP Hardware Manual ...
Page 6: ...Contents vi SE500CP Hardware Manual ...
Page 10: ...x SE500CP Hardware Manual ...
Page 170: ...Index 160 SE500CP Hardware Manual ...


