Riser Blocks & Door
Braces Installion
ALWAYS OBSERVE POSTED SAFETY GUIDELINES
WHEN ASSEMBLING THIS PRODUCT. ALWAYS WEAR SAFETY GLASSES
NOTE: See Cover Page for Completed Locker
Bank Assembly DV {M12} shown
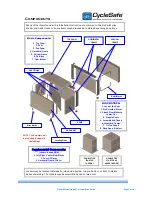
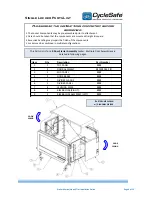
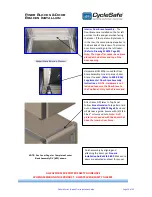
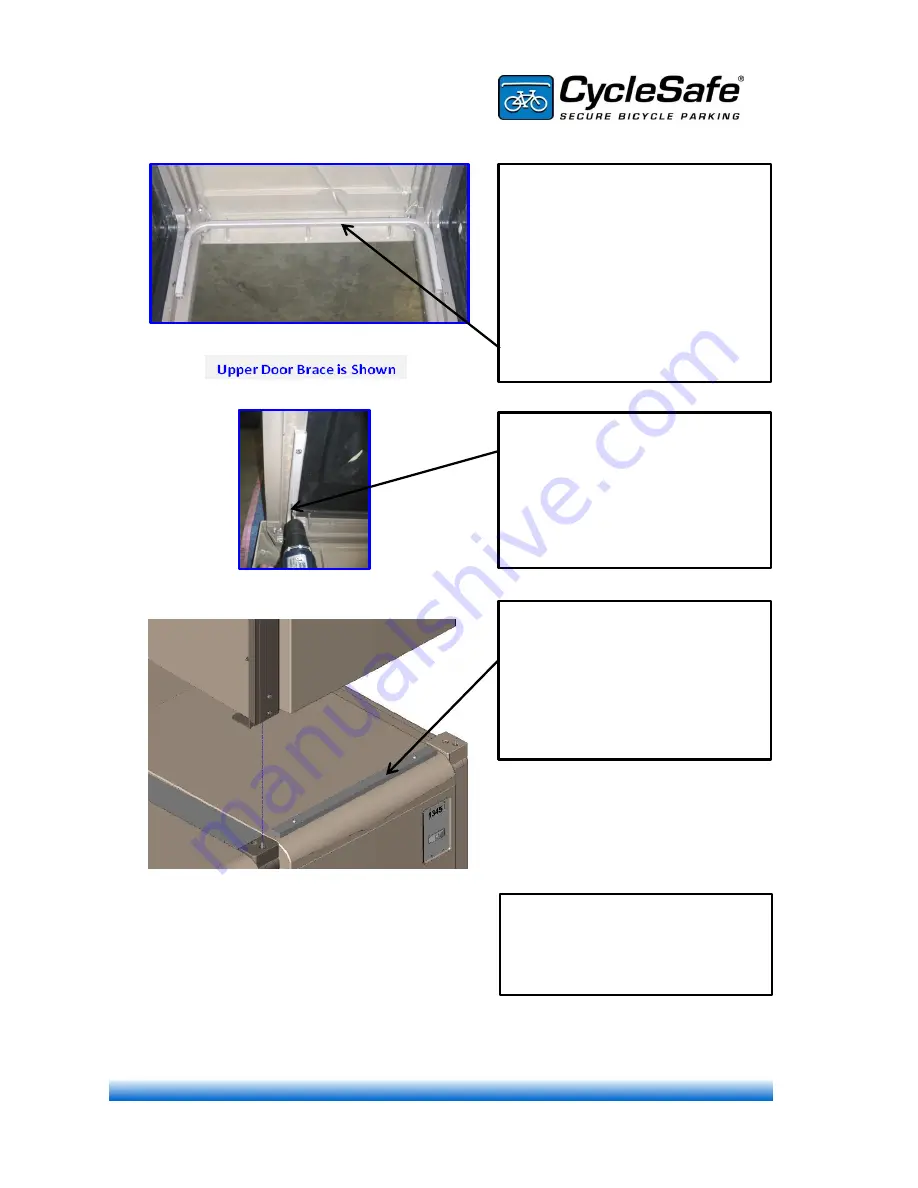
Interior Door Brace Assembly
- The
Door Braces are installed on the far left
unit next to the end panel when facing
the locker. If there are multiple lockers
in the row, the same principal applies to
the back side of the lockers. The interior
door brace would go in the left locker.
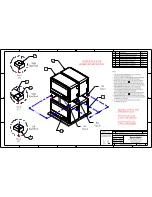
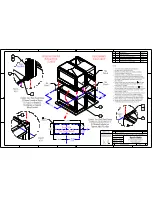
(Refer to Drawing #10074 Page #2
)
.
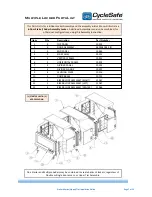
Note: The Upper-Tier Locker has a brace
placed at the bottom and top of the
door opening
.
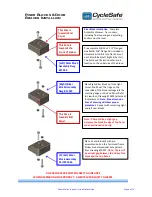
Hardware Kit #10756 is used for Door
Brace Assembly. One kit per each door
brace. If needed.
(Refer to WI4.9.026)
Supplemental Door Brace Assembly
Instructions.
NOTE - Hardware is not
included to secure the Door Brace to
the Top Panel. Only to the Frames and
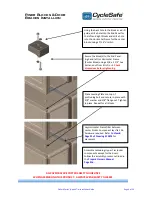
Attach door Sill Plates to Top Panel.
Follow
blue dimension
hole pattern laid
out on
Drawing #10074 Page #2
and use
sill plate as a guide. Secure with (2) 5/16-
18 x 2" screws and nuts.
Note: A sill
plate is not needed with the doors that
have the Interior Door Brace
.
Finish assembly by aligning and
attaching the doors per
Propark
Installation Guide WI4.9.002
. Make sure
doors are adjusted and level for proper
ProPark Series {Upper} Tier Installation Guide
Page 10 of 13


