11
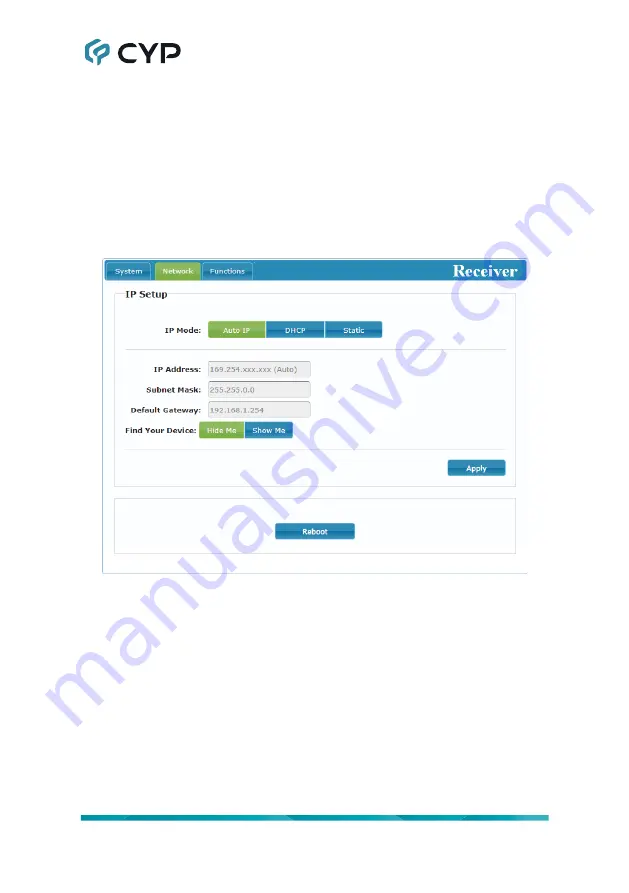
6.5.2 Network Tab
The Network tab provides control over this receiver’s IP configuration.
Changes made to the network settings will require a reboot of the unit. After
clicking on “Apply” please follow the reboot instructions in the WebGUI.
Note: If the IP address is changed then the IP address required for WebGUI
and Telnet access will also change accordingly. If the new address is
assigned via “Auto IP” or “DHCP” it will be necessary to obtain the newly
assigned IP address by checking Device Discovery app, or the unit’s OSD
display.
1) IP Setup:
This section allows for configuration of the IP acquisition mode
and Ethernet settings of the unit. It also provides an easy way to find the
physical unit when installed with many other similar units.
■ IP Mode & Settings:
The IP mode may be switched between “Auto
IP”, “DHCP” or “Static IP”. When the unit is set to Auto IP mode it
will automatically assign itself an APIPA address from the 169.254.
xxx.xxx range. When the unit is set to DHCP mode it will attempt
to automatically obtain an IP address from a DHCP server. When
the IP mode is set to static IP, you can manually set the IP address,
netmask and gateway address. Click the “Apply” button to save
changes made to the IP Mode or Configuration.


