28
6.6.3 Network Tab
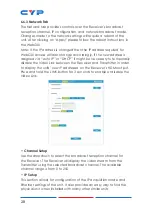
The Network tab provides controls over the Receiver’s broadcast
reception channel, IP configuration, and network broadcast mode.
Changes made to the network settings will require a reboot of the
unit. After clicking on “Apply” please follow the reboot instructions in
the WebGUI.
Note: If the IP address is changed then the IP address required for
WebGUI access will also change accordingly. If the new address is
assigned via “Auto IP” or “DHCP” it might be necessary to temporarily
disable the Video Link between the Receiver and Transmitter in order
to display the units’ new IP addresses on the Receiver’s HDMI output.
Press and hold the LINK button for 3 seconds to enable or disable the
Video Link.
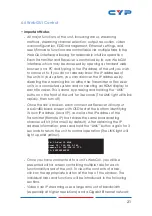
• Channel Setup
Use the dropdown to select the broadcast reception channel for
the Receiver. The Receiver will display the video stream from the
Transmitter using the selected broadcast channel. The available
channel range is from 0 to 255.
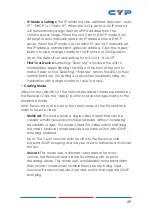
• IP Setup
This section allows for configuration of the IP acquisition mode and
Ethernet settings of the unit. It also provides an easy way to find the
physical unit when installed with many other similar units.

