background image

7. Operation Controls and Functions

7.1 Front Panel

1

MDP 

OUT 3

MDP 

OUT 2

MDP 

OUT 1

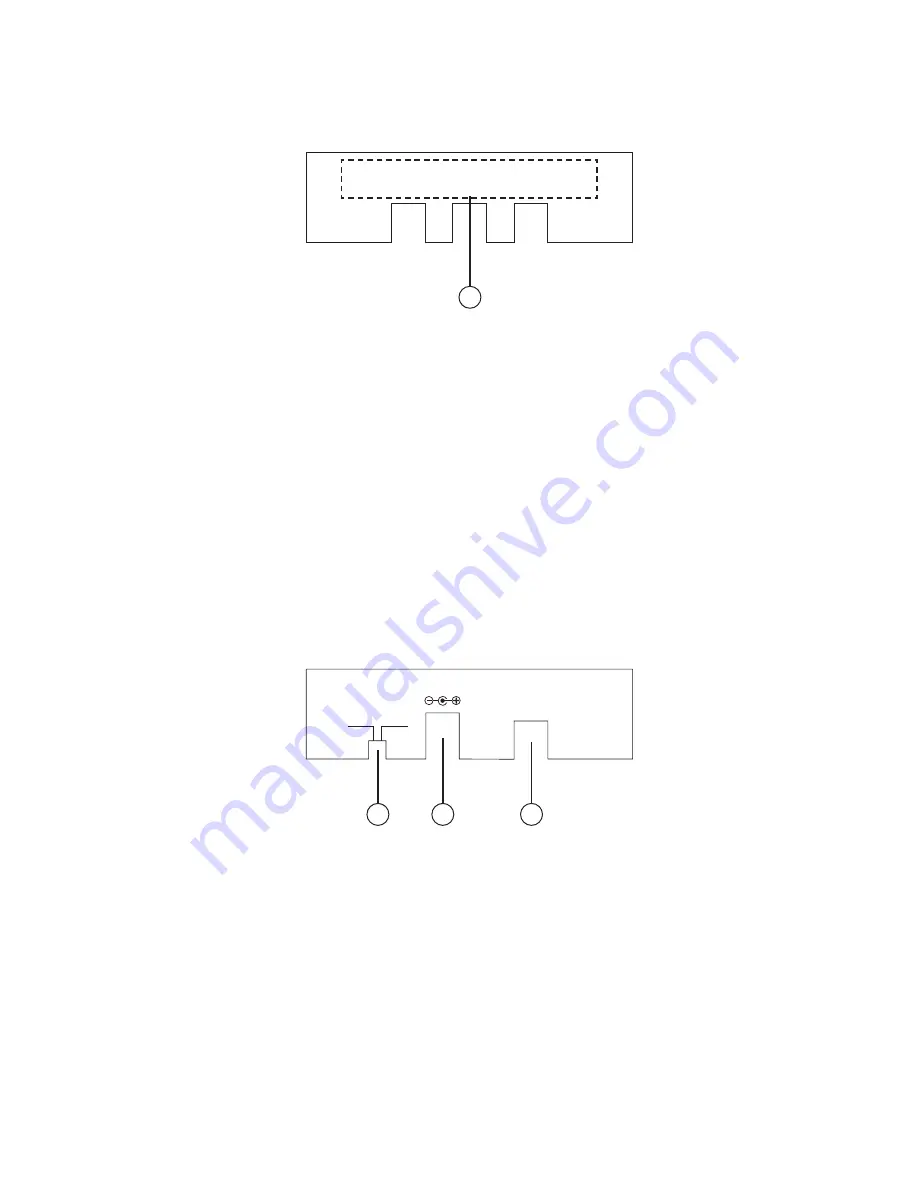
    MDP OUT 1~3: Connect these slots with the output displays Mini  


DisplayPort input port in order to send a signal. 

Note:

 It is suggested to use the same type/model of display in order to 

get optimal image quality. When the input source’s timing 

is matched with the output display’s timing, the device will 

first extend the image according to the specifications of the 

connected output display. If the input sources timing does not 

match the output display’s timing the device will then split the 

signal to match the number of the connected display to show an 

identical image. (Detail information please refer to section 8. Timing 

table for monitors). 

7.2  Rear Panel

3

2

1

OFF ON

DC 3.3V

MDP IN

POWER

    On/off switch: Push this switch to turn the device on or off. The green LED  


will turn on when the device is switched on. 

    DC 3.3V: This slot is where you plug the 3.3V DC power supply into the   


unit and connect the adaptor to an AC outlet. 

    MDP IN: This slot is where you connect the input source equipment such  


as a PC or any output device that has a Mini DisplayPort. 

Output Resolution

1920 x 1200

Input port

1 x Mini DisplayPort

Output ports

3 x Mini DisplayPort

Power Supply 

3.3V / 1.5A DC (US/EU standards, CE/FCC/UL certified)

ESD Protection

Human body model: ± 8kV (air-gap discharge)

± 4kV (contact discharge)

Dimensions(mm)

100 (W) x 70 (D) x 20 (H)

Weight(g)

90

Chassis Material

Plastic

Silkscreen Color

White

Operating Temperature 0°C ~ 40°C / 32°F ~ 104°F
Storage Temperature

-20°C~60°C / -4°F ~ 140°F

Power Consumption

3W

Relative Humidity

20~90% RH (non-condensing)

6. Specifications

3

Summary of Contents for CMDP-13MDPI

Page 1: ...CMDP 13MDPI 1by 3 Mini DisplayPort Extender Splitter Operation Manual CMDP 13MDPI ...

Page 2: ...to rain moisture or install this product near water Never spill liquid of any kind on or into this product Never push an object of any kind into this product through module openings or empty slots as you may damage parts Do not attach the power supply cabling to building surfaces Do not allow anything to rest on the power cabling or allow it to be abused by persons walking on it To protect the equ...

Page 3: ... Introduction 2 Applications 3 Package Contents 4 System Requirements 5 Features 6 Specifications 7 Operation Controls and Functions 7 1 Front Panel 7 2 Rear Panel 7 3 Top Panel 8 Timing tables for monitor 9 Connection and Installation 10 Acronyms ...

Page 4: ...3 Mini DisplayPort Splitter 3 3V DC Power Supply Operation Manual 4 System Requirements Input source equipment such as Apple PC or any Mini DisplayPort output device with a Mini DisplayPort connection cable Output display such as an Apple monitor or any Mini DisplayPort input display with Mini DisplayPort connection cable 5 Features Supports DisplayPort v1 1a VESA DDM Standard HDCP v1 3 and EDID v...

Page 5: ...UL certified ESD Protection Human body model 8kV air gap discharge 4kV contact discharge Dimensions mm 100 W x 70 D x 20 H Weight g 90 Chassis Material Plastic Silkscreen Color White Operating Temperature 0 C 40 C 32 F 104 F Storage Temperature 20 C 60 C 4 F 140 F Power Consumption 3W Relative Humidity 20 90 RH non condensing 6 Specifications 2 ...

Page 6: ...y If the input sources timing does not match the output display s timing the device will then split the signal to match the number of the connected display to show an identical image Detail information please refer to section 8 Timing table for monitors 7 2 Rear Panel 3 2 1 OFF ON DC 3 3V MDP IN POWER On off switch Push this switch to turn the device on or off The green LED will turn on when the d...

Page 7: ...t Extender Splitter 3 2 1 LINK LED The green LED will turn on when the input source device is connected POWER LED The green LED will switch on when the device is powered on OUT 1 3 LED The green LED will turn on when the output port is connected with the output display 4 ...

Page 8: ... 1600 x 600 1 800 x 600 60 1280 x 480 1 640 x 480 60 2800 x 1050 1 1400 x 1050 60 Three monitors mode From PC To monitor Vertical refresh rate Hz 3840 x 800 1280 x 800 60 3840 x 1024 1280 x 1024 60 3072 x 768 1024 x 768 60 2400 x 600 1 800 x 600 60 1920 x 480 1 640 x 480 60 4080 x 768 1 2 1360 x768 60 3840 x 720 1 1280 x 720 60 2160 x 480 1 720 x 480 60 3840 x 960 1 1280 x 960 60 Note 1 The timing...

Page 9: ...9 Connection and Installation Mac Pro Mac Book Mac Mini LED Cinema Display LED Cinema Display LED Cinema Display LED Cinema Display LED Cinema Display LED Cinema Display or 6 ...

Page 10: ...Acronyms A Acronym Complete Term EDID Extended display identification data GPU Graphics Processing Unit HDCP High bandwidth Digital Content Protection 7 ...

Reviews: