Cypress Envirosystems
Doc # 152-10101-01 Rev 1.2
WGR User Manual
Page 9
Step 3. Mounting the WGR
1.
For a panel mounted gauge, you must first adhere a panel mount adapter to the panel.
a.
Ensure that the WGR mounting adapter and the panel mount adapter are the proper size for the
gauge.
b.
Clean the panel surface with isopropyl alcohol to ensure there is no dirt or oil that would prevent
good adhesion.
c.
Remove the backing from the Dual-Lock ring on the panel mount adapter.
i.
Make sure that both sides of the dual-lock rings are still fastened to the adapter, for easier
installation.
ii.
Do not peel the Dual-Lock ring off of the adapter and attempt to install it separately from
the panel mount adapter.
d.
Carefully line up the panel mount adapter centered around the gauge, and press it onto the
panel for several seconds applying pressure to create a good bond.
e.
If required, the adapter can be removed from the panel by separating the Dual-Lock material, but
it is better to avoid this since it may weaken the VHB adhesive bond, and may weaken the Dual-
Lock bond.
2.
Ensure that the proper size mounting adapter is fastened to the WGR main housing by holding it up
to the gauge or panel mount adapter collar.
a.
Loosen the clamp to make sure it is not prematurely compressing the adapter mounting fingers
b.
Determine if silicone bands or “shims” will be required for the adapter to properly grasp the
gauge.
i.
No silicone bands should be used when fastening to a panel mount adapter.
ii.
Better adhesion is obtained if at least one thin silicone band is used to mount to a free
standing gauge.
iii.
Some gauges have a very narrow lip around their face, and it is helpful to build up 1-2
silicone bands next to the lip to give the WGR adapter a wider surface to grasp securely.
c.
The fingers of the adapter should not have to flex outward very far in order to fit around the
gauge, since this configuration is not very secure.
i.
Select a larger adapter, if this is the case.
3.
Using the adapter, place the WGR over the analog gauge or panel mount adapter.
a.
The adapter should be slid onto the gauge at least 1cm (3/8 in) past the front face of the gauge
to ensure a secure grasp around the circumference of the gauge body.
b.
If using a panel mount adapter, the mounting adapter should be slid completely onto the panel
mount adapter collar.
c.
Position the WGR as desired, typically with the LCD oriented perfectly horizontal for easy human
readability.
d.
The WGR does not need to be directly aligned with the direction of the gauge. For example, a
gauge that is mounted sideways can have a WGR mounted vertically so that the LCD display can
be read easily.
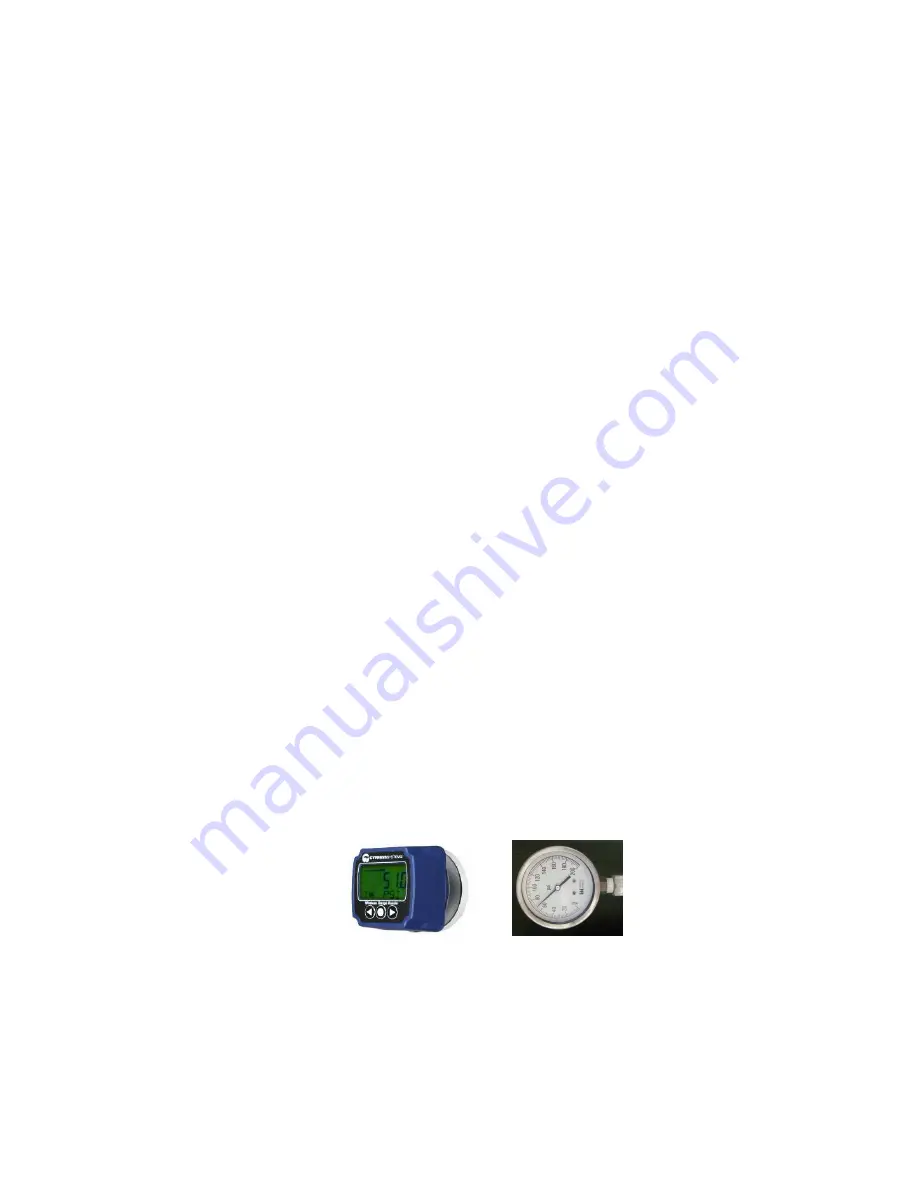
WGR being placed on gauge that is facing sideways
4.
Tighten the clamp around adapter to secure the WGR to the gauge or panel mount adapter.
a.
The clamp should be even with the edge of the adapter for optimal performance.
b.
Be careful not to over tighten the clamp.
c.
Ensure that the WGR is securely mounted before proceeding to the next step.


