CR-MM-1-0-00
PS-28 Cruiser
PS-28N Cruiser
CHAPTER 8 – LANDING GEAR
Date of issue: 2014-10-29
Revision No.: 11
8 - 19
-
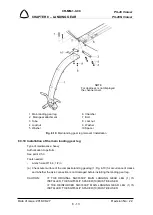
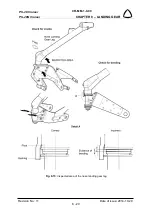
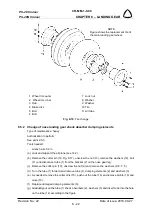
the pivot in the area the pivot shoulder
-
the fork in the place of the bolts mounting the fork to the landing gear.
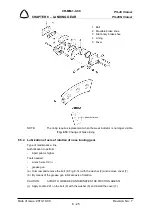
(d) Using flashlight and 10x magnifier, visually inspect nose landing gear leg lower section and
verify there is no evidence of cracking in paint on or around place of the weld of the tube
and the bracket.
(e) Using flashlight and 10x magnifier, visually inspect the fork in the place of the bolts
mounting the fork to the landing gear and verify there is no evidence of cracking in paint.
(f) Visually inspect pivot and verify there is no evidence of bending.
(g) If no cracking or pivot bending is evident, perform the following steps:
1. Install nose wheel fairing (see 8.3.6).
2. Connect battery and restore aircraft to the airworthy condition.
(h) If an evidence of cracking is badly identified, perform the following steps for confirmation /
not confirmation of cracking:
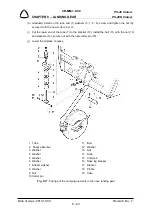
1. Remove nose landing gear leg (see 8.3.11).
2. Using NDT Penetration Check Kit perform a NDT penetration check in accordance with
FAA AC 43.13-1B, Chapter 5, Section 5, Penetrant Inspection.
(i)
In case of non confirmation of cracking, install nose landing gear leg back (see 8.3.12),
install nose wheel fairing (see 8.3.6), connect battery and restore aircraft to the airworthy
condition.
(j)
In case of confirmation of cracking or pivot bending, perform the following steps:
1. Assure Aircraft on Ground (AOG).
2. Report this occurrence to the manufacturer (CAG) within 72 hours.
3. Ask the manufacturer (CAG) for the NLG No. SG0300N.
4. Install new nose landing leg (see 8.3.12).
5. Install nose wheel fairing (see 8.3.6), connect battery and restore aircraft to the
airworthy condition.

