104
Step 2:
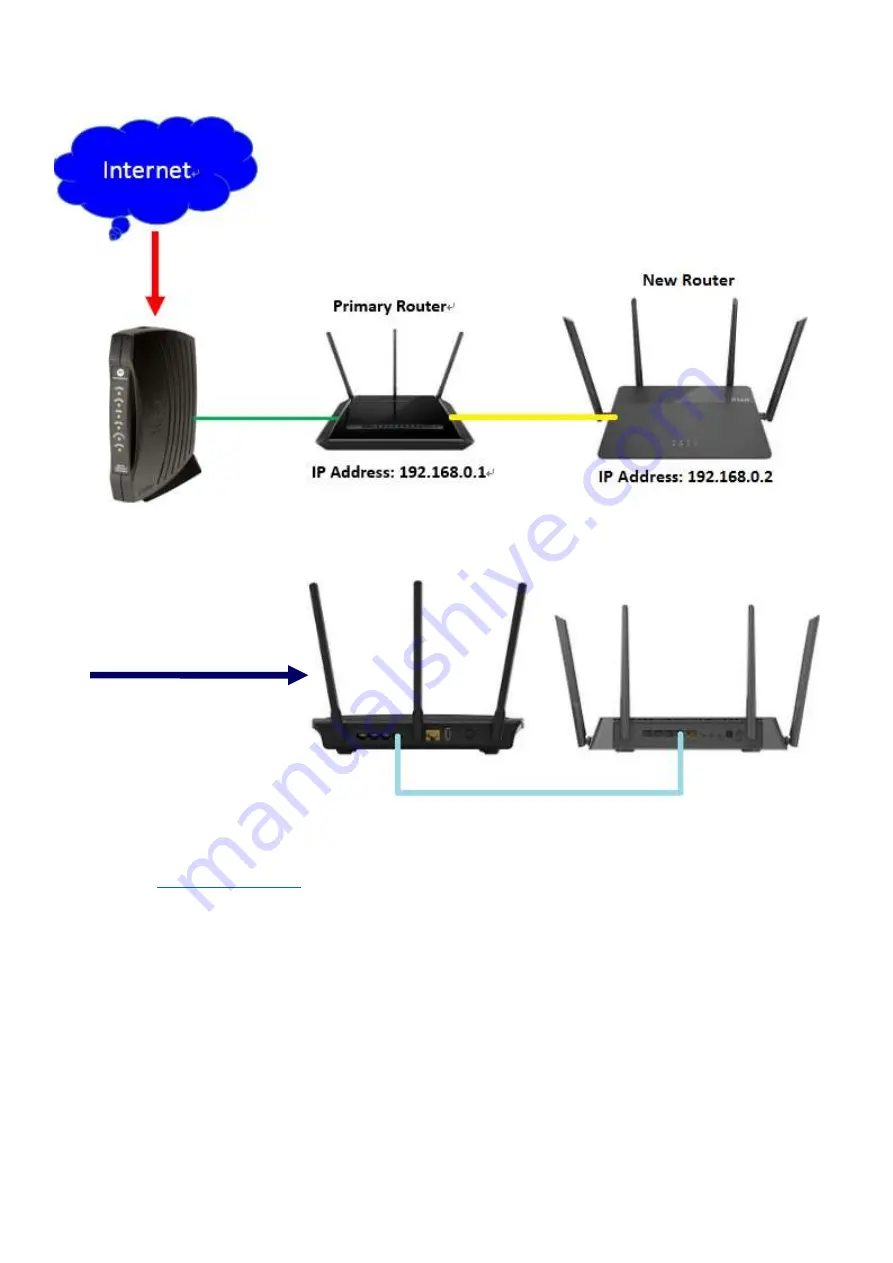
Connect a cable from a LAN port (1,2,3,4) on your Primary Router to a LAN port (1,2,3,4) on your
new router.
The setup is now complete. If you now want to configure the wireless settings on your "new" router, go to
this address:
http://192.168.0.2
.
Note: NAT
,
defined in RFC 3022, allows a host that does not have a valid, registered, globally
unique IP address to communicate with other hosts through the Internet. The hosts might be using
private addresses or addresses assigned to another organization. In either case, NAT allows these
addresses that are not Internet-ready to continue to be used and still allows communication with hosts
across the Internet.
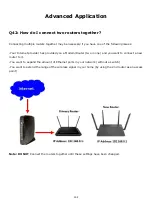
Connect with LAN ports (Do not connect WAN port)
Summary of Contents for COVR-3902
Page 6: ...5 Step 6 Once the following screen appears click Next to continue ...
Page 26: ...25 Step 2 Click Advanced Setting ...
Page 27: ...26 Step 3 Key in Mac address or select one Mac address from the drop down menu and click Save ...
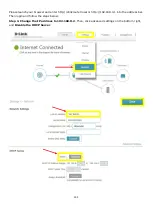
Page 33: ...32 Step 2 Change the IP address as needed under Network Setting and click Save ...
Page 37: ...36 ...
Page 39: ...38 Step 5 Select your desired Drive Letter and Click Finish ...
Page 41: ...40 Q18 Does DIR 883 support VLAN No DIR 883 does not support VLAN feature ...
Page 43: ...42 Step 2 Click Select File to browse for the firmware ...
Page 44: ...43 Step 3 Click Upload Firmware you selected to upload ...
Page 48: ...47 Step 3 Click Save to save the configuration to local hard drive ...
Page 52: ...51 Step 3 Configure Guest Zone and click Save ...
Page 57: ...56 Step 2 Then click Advanced Settings ...
Page 58: ...57 Step 3 Then try to click SIP to disable SIP ALG and click Save ...
Page 63: ...62 Step 4 Click Save after finish adding your rule ...
Page 65: ...64 Step 3 Click Save after finish adding your rule ...
Page 74: ...73 Step 4 You ll be able to check the log in Kiwi Syslog Service Manager as below ...
Page 76: ...75 Q34 How to check statistics for router Click Management Statistics ...
Page 81: ...80 Step 2 Click to disable DNS Relay then click Save ...
Page 92: ...91 Step 3 Select Connect to a workplace ...
Page 99: ...98 Step 3 Fill in the WAN IP address Step 4 Fill in the Pre shared key ...
Page 100: ...99 Step 5 Connect to your VPN server ...
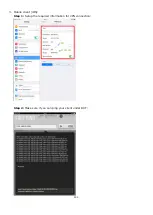
Page 101: ...100 Step 6 Make sure if you can ping your client under DUT ...
Page 106: ...105 ...

