

1
DAS-3 Series Rev.C
ADSL IP DSLAM
Before You Begin
This Quick Installation Guide gives step-by-step instructions for setting up the D-Link DAS-3
Series ADSL IP DSLAM. This Quick Installation Guide only introduces you for the main
setup procedure. For more detailed information about complete installation and configuration,
please refer to the User’s Manual on master CD included with your DLSAM.
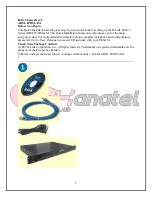
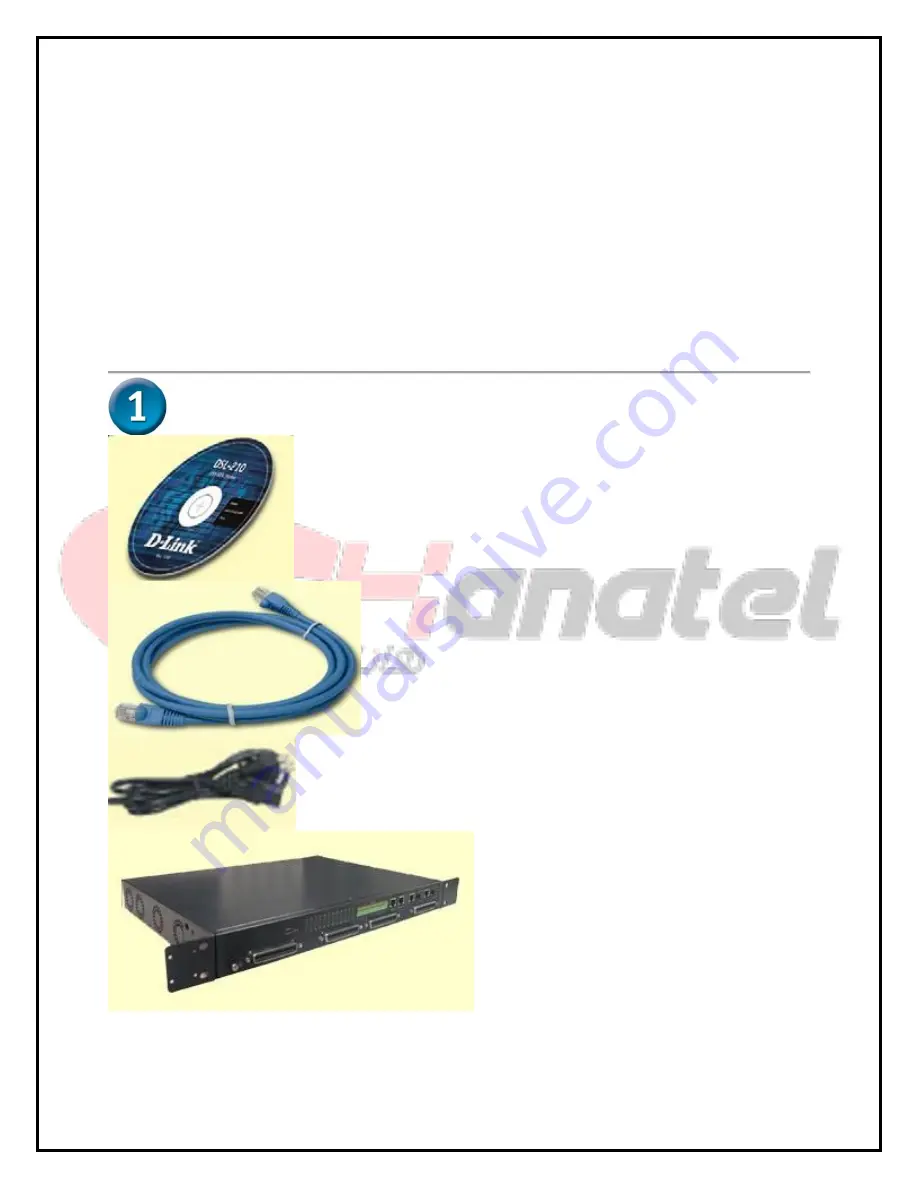
Check Your Package Contents
©2007 D-Link Corporation, Inc. All rights reserved. Trademarks or registered trademarks are the
property of their respective holders.
Software and specifications subject to change without notice. D-Link ADSL IP DSLAM.
1
Summary of Contents for DAS-3 Series
Page 14: ...14 پ ایان ...


