background image

D-Link DCS-5610 Quick Install Guide

Hardware Overview

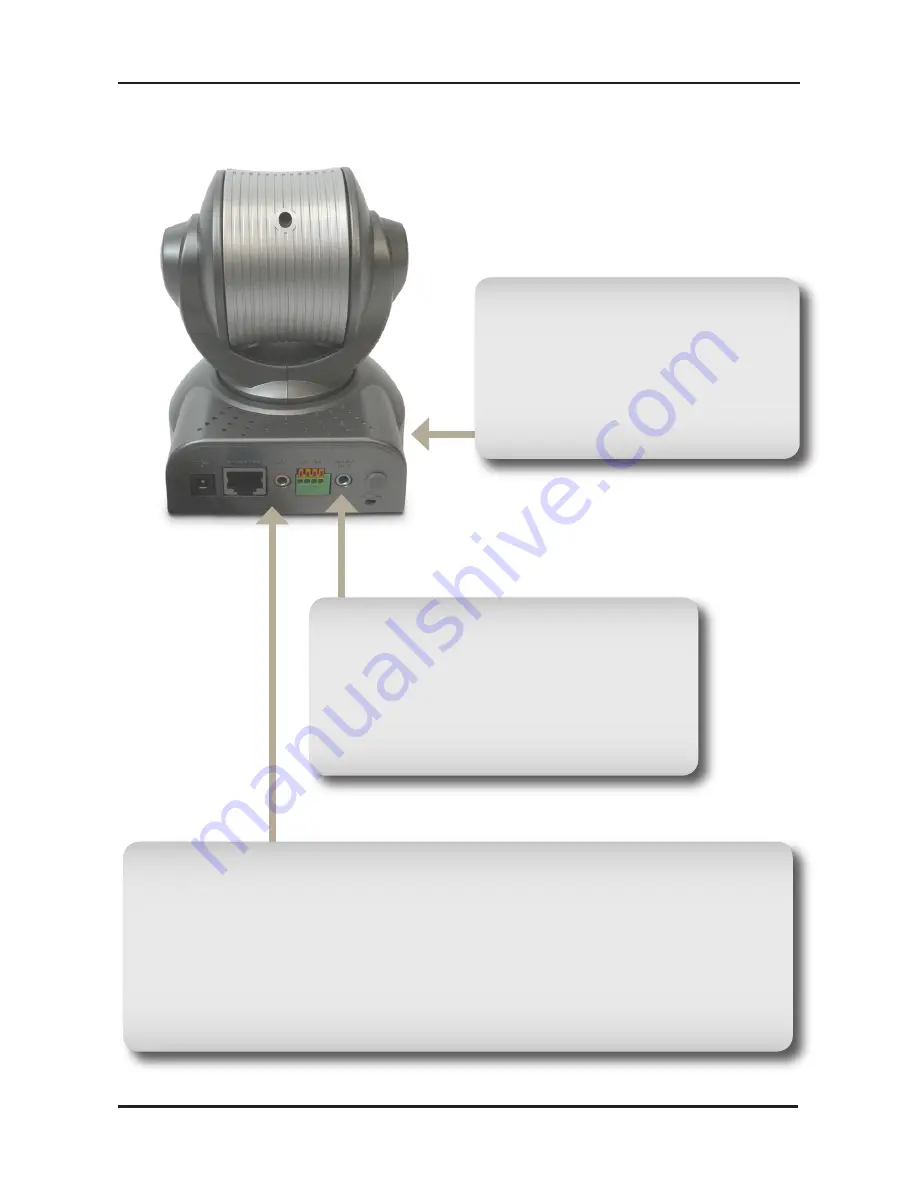
Ethernet Cable Connector (PoE)

The Internet Camera’s back panel features an RJ-45 connector 
for connections to 10Base-T Ethernet cabling or 100Base-TX Fast 
Ethernet cabling. This network port supports the NWay protocol, 
allowing the Internet Camera to automatically detect or negotiate 
the transmission speed of the network. The Ethernet port can also 
be used to power the camera using a PoE switch.

Audio Out Connector

The DCS-5610 provides an Audio Out 
connector to be used for 2-way audio. 
Speakers  (not  included)  may  be 
connected to the camera to provide 
audio for 2-way communication.

Reset Button

Reset will be initiated when the 
reset  button  is  pressed  once 
and held 30 seconds until the 
Power LED flashes through its 
cycle twice.

Summary of Contents for DCS-5610

Page 1: ......

Page 2: ...7GHz processor or better and at least 256MB of RAM An available Ethernet connection CAT5 Ethernet Cable Package Contents DCS 5610 PTZ PoE Internet Camera System Requirements If any of the above items...

Page 3: ...rovides a terminal block with two pairs of connectors situated on the back panel One pair is for input and the other is for output The I O connectors provide the physical interface to send and receive...

Page 4: ...t Camera to automatically detect or negotiate the transmission speed of the network The Ethernet port can also be used to power the camera using a PoE switch Audio Out Connector The DCS 5610 provides...

Page 5: ...As soon as the power adapter is connected to the camera the LED will turn red Activity LED Once a connection has been established via Ethernet port the Activity LED will turn solid green If traffic is...

Page 6: ...power input connector located on the Internet Camera s back panel labeled DC 12V and connect it to an AC power outlet Note When you have a proper connection the LED will turn green The light may cycle...

Page 7: ...torun CD in the CD ROM drive The step by step instructions that follow are shown in Windows XP The steps and screens are similar for the other Windows operating systems Software Installation Click on...

Page 8: ...610 Quick Install Guide Software Installation Click Finish to complete the installation To start the installation click Install Note The installation may take several minutes to complete Click Install...

Page 9: ...and show the MAC address of the DCS 5610 and an IP Address which may or may not be correct depending on what you have your DCS 5610 connected to If you have a DHCP server on your network there will b...

Page 10: ...a new IP address every time the camera boots up Click Next Click Next Click Next Choose UPnP Port Forwarding if your router supports it Otherwise choose Manual to enter your port numbers manually Clic...

Page 11: ...S 5610 to launch the camera s web configuration Note Please see the users manual for more information If you want to access the DCS 5610 via mobile phone click Yes and the video resolution will be set...

Page 12: ...dmin as the default username and leave the password blank Click OK to continue This section shows your camera s live video You can control your settings using the buttons below For more information on...

Page 13: ...to configure the advances settings for the camera D ViewCam is a complete management tool and includes all configurative settings Insert the CD ROM into the CD ROM drive A menu screen will appear as...

Page 14: ...t Click Next Click Next Click Next to continue Click Browse if you would like to choose a specific folder for the installation otherwise click Next to continue Click Next to start the installation Not...

Page 15: ...15 D Link DCS 5610 Quick Install Guide D ViewCam Installation Click Finish to complete the installation...

Page 16: ...ewCam click on Windows Start All Programs D Link D Link D ViewCam Use admin as the default user name and leave the password blank Click the Check Box to continue Add a Camera The D ViewCam screen will...

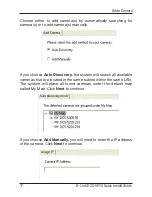
Page 17: ...manually If you choose Add Manually you will need to enter the IP address of the camera Click Next to continue If you choose Auto Discovery the system will search all available cameras that are locat...

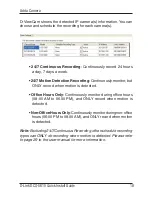
Page 18: ...sly monitor but ONLY record when motion is detected Office Hours Only Continuously monitor during office hours 08 00 AM to 06 00 PM and ONLY record when motion is detected Non Office Hours Only Contin...

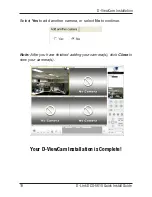
Page 19: ...ck Install Guide D ViewCam Installation Your D ViewCam Installation is Complete Select Yes to add another camera or select No to continue Note After you have finished adding your camera s click Close...

Page 20: ...Corporation D Link Systems Inc All rights reserved D Link and the D Link logo are registered trademarks of D Link Corporation or its subsidiaries in the United States and other countries Other tradem...

Reviews: