Installing the Hardware
25
word
is blank.
The DES-3226L is installed and loaded with the default configuration.
4.
Reduce network traffic by turning off the Network Configuration Protocol. Enter the following
command:
configure network protocol none
5.
Set the IP address, subnet mask, and gateway address by issue the following command:
config network parms
ipaddress netmask gateway
IP Address
Unique IP address for the DES-3226L. Each IP parameter is made up of four decimal numbers,
ranging from 0 to 255. The default for all IP parameters is zeroes (0.0.0.0).
Subnet
Subnet mask for the LAN.
gateway
IP address of the default router, if the switch is a node outside the IP range of the LAN.
6.
To enable these changes to be retained during a reset of the DES-3226L, type
Ctrl-Z
to return to
the main prompt, type
save config
at the main menu prompt, and type
y
to confirm the changes.
7.
To view the changes and verify in-band information, issue the command:
show network
.
8.
The DES-3226L is configured for in-band connectivity and ready for Web-based management.
Configuring for Out-Of-Band Connectivity
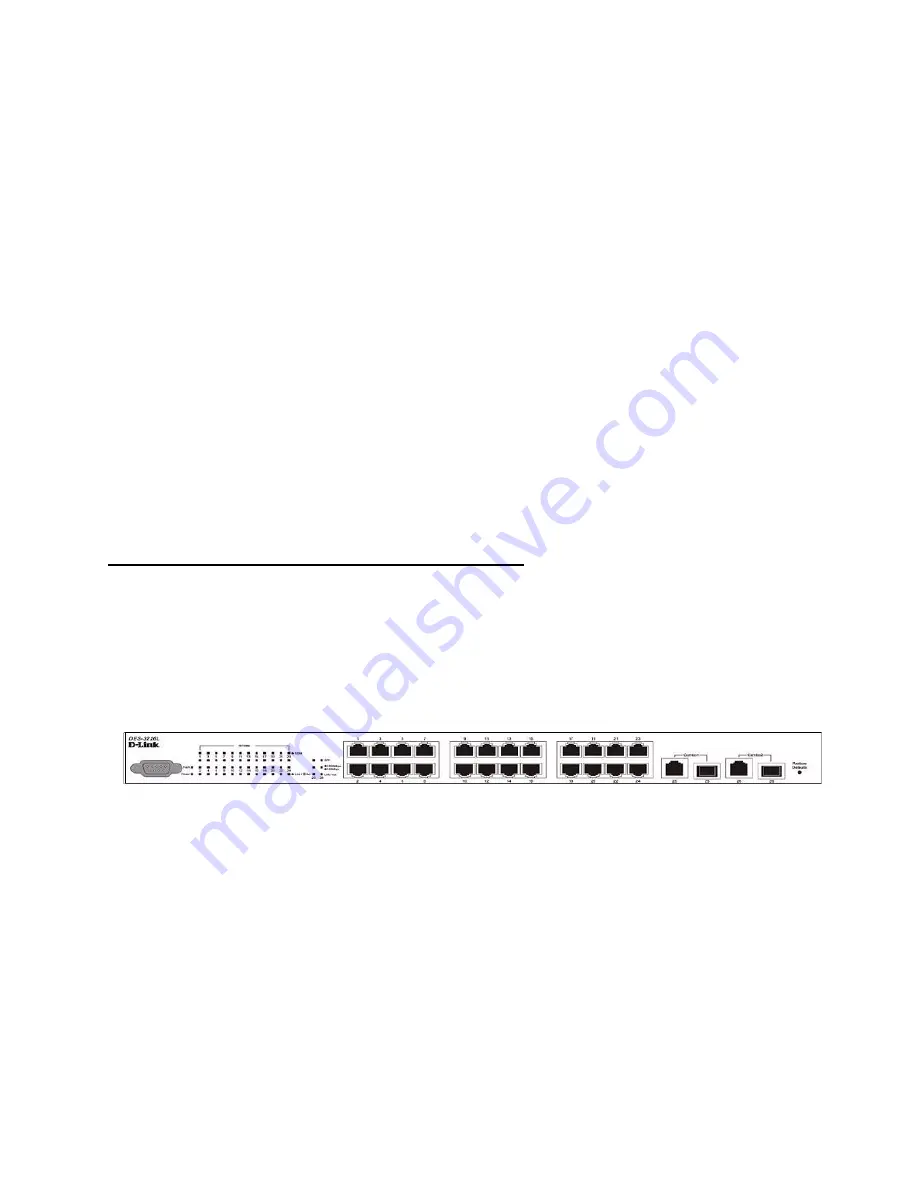
To monitor and configure the switch using out-of-band connectivity, use the console port to
connect the switch to a terminal desktop system running terminal emulation software. The
console port connector is a male DB-9 connector, implemented as a data terminal equipment
(DTE) connector.
Figure 6.
D-Link DES-3226L - Front View
The following hardware is required to use the console port:
z
VT100-compatible terminal, or a desktop, or a portable system with a serial port running
VT100 terminal emulation software.
z
An RS-232 crossover cable with a female DB-9 connector for the console port and the
appropriate connector for the terminal.
Perform the following tasks to connect a terminal to the switch console port using out-of-band
connectivity:
1.
Connect an RS-232 crossover cable to the terminal running VT100 terminal emulation software.
2.
Configure the terminal emulation software as follows:
A. Select the appropriate serial port (serial port 1 or serial port 2) to connect to the console.
B. Set the data rate to 115,200 baud.
Summary of Contents for DES-3226L
Page 2: ......
Page 6: ...6 Web User Guide...
Page 8: ...8 Web User Guide...
Page 30: ...30 Web User Guide...
Page 36: ...36 Web User Guide...
Page 44: ...44 Web User Guide...
Page 52: ...52 Web User Guide Figure 15 System Port Multiple Port Mirroring...
Page 58: ...58 Web User Guide...
Page 70: ...70 Web User Guide...
Page 75: ...Registration 75 Registration...
Page 76: ...76 Web User Guide...
Page 77: ...Technical Support 77 Technical Support...
Page 78: ...78 Web User Guide...
Page 79: ...Technical Support 79...
Page 80: ...80 Web User Guide...
Page 81: ...Technical Support 81...
Page 82: ...82 Web User Guide...
Page 83: ...Technical Support 83...
Page 84: ...84 Web User Guide...
Page 85: ...Technical Support 85...
Page 86: ...86 Web User Guide...
Page 87: ...Technical Support 87...
Page 88: ...88 Web User Guide...
Page 89: ...Technical Support 89...
Page 90: ...90 Web User Guide...
Page 91: ...Technical Support 91...
Page 92: ...92 Web User Guide...
Page 93: ...Technical Support 93...
Page 94: ...94 Web User Guide...
Page 95: ...Technical Support 95...
Page 96: ...96 Web User Guide...
Page 97: ...Technical Support 97...
Page 98: ...98 Web User Guide...
Page 99: ...Technical Support 99...
Page 100: ...100 Web User Guide...
Page 101: ...Technical Support 101...
Page 102: ...102 Web User Guide...
Page 104: ...104 Web User Guide...
Page 106: ...A 2 Web User Guide...
Page 108: ...B 2 Web User Guide...
Page 110: ...C 2 Web User Guide...


