D-Link DES-3326S Layer 3 Switch
Installing the Switch without the Rack
The Switch is supplied with rubber feet for stationing it on a flat surface and mounting brackets and screws for mounting the
Switch in a rack. If you intend to use a stacked Switch arrangement, place the Master unit in the top position so that it may be
easily identified.
1. Install the Switch on a level surface that can safely support the weight of the Switch and its attached cables. The
Switch must have adequate space for ventilation and for accessing cable connectors.
2. Set the Switch on a flat surface and check for proper ventilation. Allow at least 5 cm (2 inches) on each side of the
Switch and 15 cm (6 inches) at the back for the power cable.
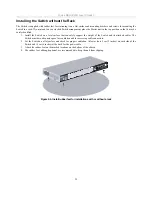
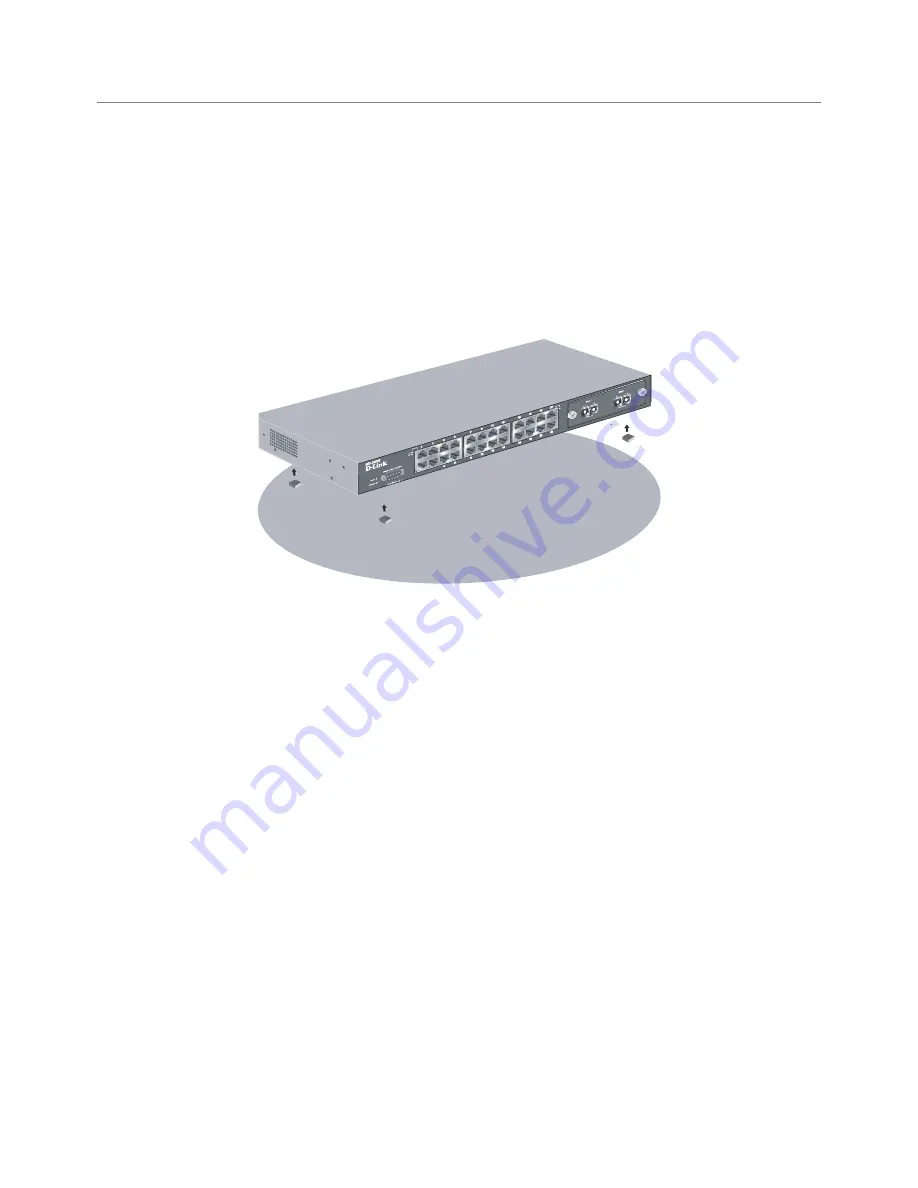
3. Attach the rubber feet on the marked locations on the bottom of the chassis.
4. The rubber feet, although optional, are recommended to keep the unit from slipping.
Figure 2-4. Install rubber feet for installations with or without a rack
22


