Installing the DFL-1000
This chapter describes how to install the DFL-1000 firewall between your network and the Internet. After
you have completed the procedures in this chapter, your DFL-1000 will be up and running and protecting
your internal network.
This chapter includes:
•
•
•
•
•
Configuring the DFL-1000 from the CLI
•
Connecting the DFL-1000 to your network
•
Configuring your internal network
•
Completing the configuration
•
Before you start
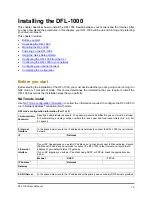
Before starting the installation of the DFL-1000, you must decide whether you are going to be running it in
NAT mode or Transparent mode. This choice determines the information that you require to install the
DFL-1000 as well as the installation steps that you perform.
NAT mode install
Use
NAT mode configuration information
to collect the information required to configure the DFL-1000 to
run in Network Address Translation (NAT) mode.
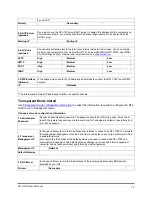
NAT mode configuration information (Part 1 of 2)
1. Administrator
Password
Specify an administrator password. The password should be difficult to guess. It must be at least
6 characters long and may contain numbers (0-9) and upper and lower case letters (A-Z, a-z), but
no spaces.
2. Internal
Interface
In the space below, record the IP address and netmask to connect the DFL-1000 to your internal
network.
IP
Netmask
If your ISP has assigned you a static IP address, put a check mark next to Manual below. Record
the Manual IP address and netmask to connect the DFL-1000 to the internet and record the IP
address of your default internet IP gateway.
If your ISP supplies you with an IP address using DHCP or PPPoE, check the appropriate box
below.
Manual
DHCP
PPPoE
IP Address*
Netmask
Gateway
4. DNS Server
In the space below, record the IP addresses of the primary and secondary DNS servers provided
3. External
Interface
DFL-1000 User’s Manual
15


