14
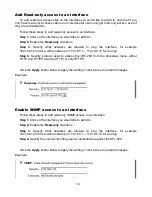
Add Read-only access to an interface
To add read-only access click on the interface you would like to add it to, note that if you
only have read-only access enable on an interface all users only get read-only access, even if
they are administrators.
Follow these steps to add read-only access to an interface.
Step 1.
Click on the interface you would like to add it to.
Step 2.
Enable the
Read-only
checkbox.
Step 3.
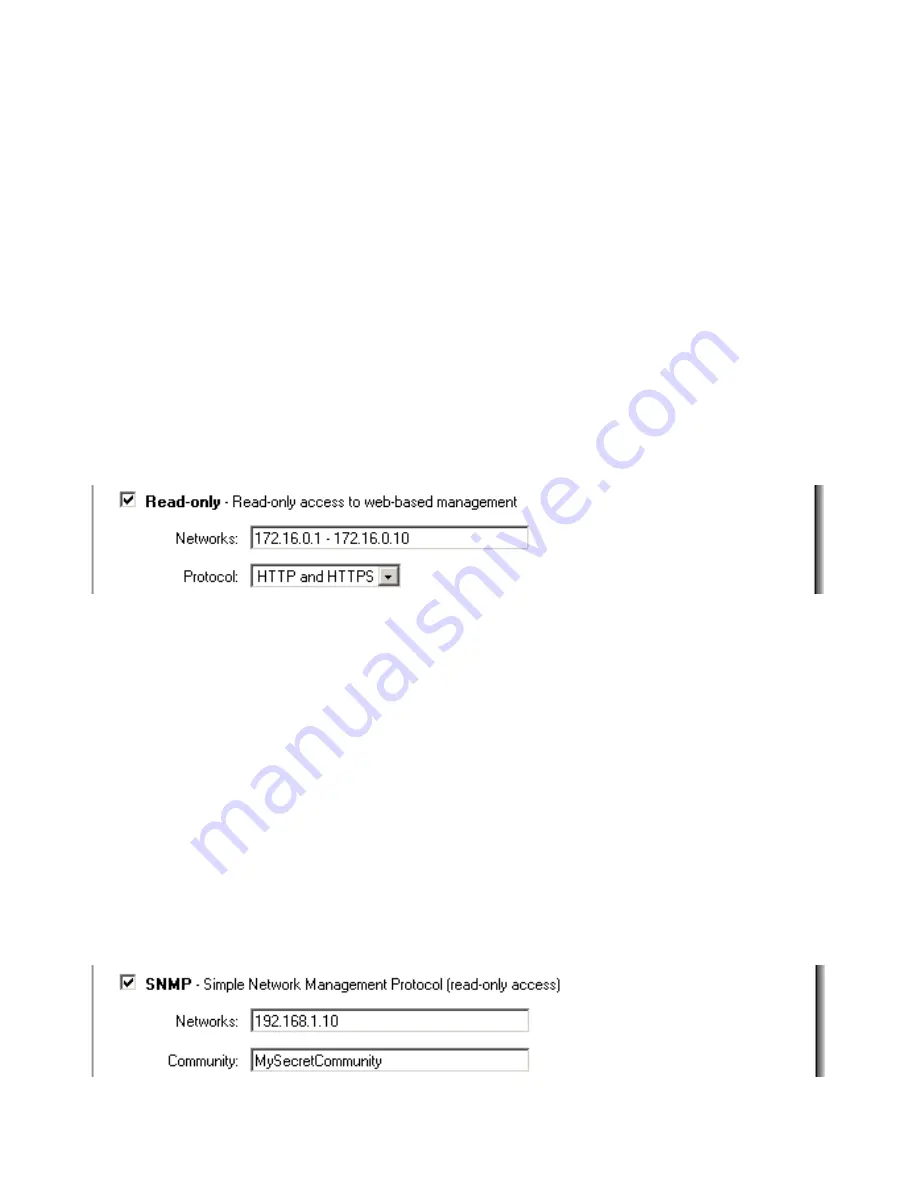
Specify what networks are allowed to ping the interface, for example
192.168.1.0/24 for a whole network or 172.16.0.1 – 172.16.0.10 for a range.
Step 4.
Specify protocol used to access the DFL-200 from the dropdown menu, either
HTTP and HTTPS (Secure HTTP) or only HTTPS.
Click the
Apply
button below to apply the setting or click Cancel to discard changes.
Example:
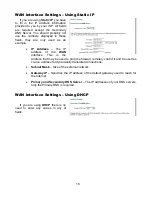
Enable SNMP access to an interface
Follow these steps to add read-only SNMP access to an interface.
Step 1.
Click on the interface you would like to add it to.
Step 2.
Enable the
Read-only
checkbox.
Step 3.
Specify what networks are allowed to ping the interface, for example
192.168.1.0/24 for a whole network or 172.16.0.1 – 172.16.0.10 for a range.
Step 4.
Specify the community string used to authenticate against the DFL-200.
Click the
Apply
button below to apply the setting or click Cancel to discard changes.
Example:
Summary of Contents for DFL-200 - Security Appliance
Page 102: ...102 5 Select Connect to the network at my workplace and click Next ...
Page 103: ...6 Select Virtual Private Network connection and click Next ...
Page 104: ...104 7 Name the connection MainOffice and click Next ...
Page 105: ...8 Select Do not dial the initial connection and click Next ...
Page 106: ...106 9 Type the IP address to the server 194 0 2 20 and click Next 10 Click Finish ...
Page 129: ...VCCI Warning ...
Page 132: ...132 ...
Page 133: ......


