background image

2

Connecting The DFL-700 Network Security
Firewall To Your Network

A.

Connect the power adapter to the receptor on the back panel of the DFL-700 and

then plug the other end of the power adapter to a wall outlet or power strip. The
Power LED will turn ON to indicate proper operation.

B.

Power off your Cable or DSL modem; some devices may not have an on/off switch

and will require you to unplug the power adapter. Now, the DFL-700 should be
powered on and the Cable / DSL modem should be turned off.

Cable / DSL modem (

Power Off

) – DFL-700 (

Power On

)

C.

Attach an Ethernet cable to the Ethernet jack located on the Cable / DSL modem.

After the Ethernet cable is securely connected, power on the Cable / DSL modem
by turning on the unit or plugging in the power adapter.

Cable / DSL modem (

Power On

) – DFL-700 (

Power On

)

D.

Attach the other end of the Ethernet cable to the WAN port on the back panel of

the DFL-700. The WAN LED light will illuminate to indicate proper connection. If
the WAN LED is not illuminated, please go back to step B and repeat the steps.

E.

Attach an Ethernet cable in the 

LAN port on the back panel of the 

DFL-700 and

connect it to a port on your network hub or switch. The LED light for the LAN port
on the DFL-700 will illuminate to indicate proper connection.

F.

Connect the computer that you will use to configure the DFL-700 to the network

hub or switch.

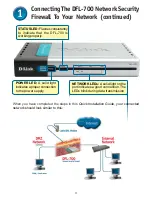
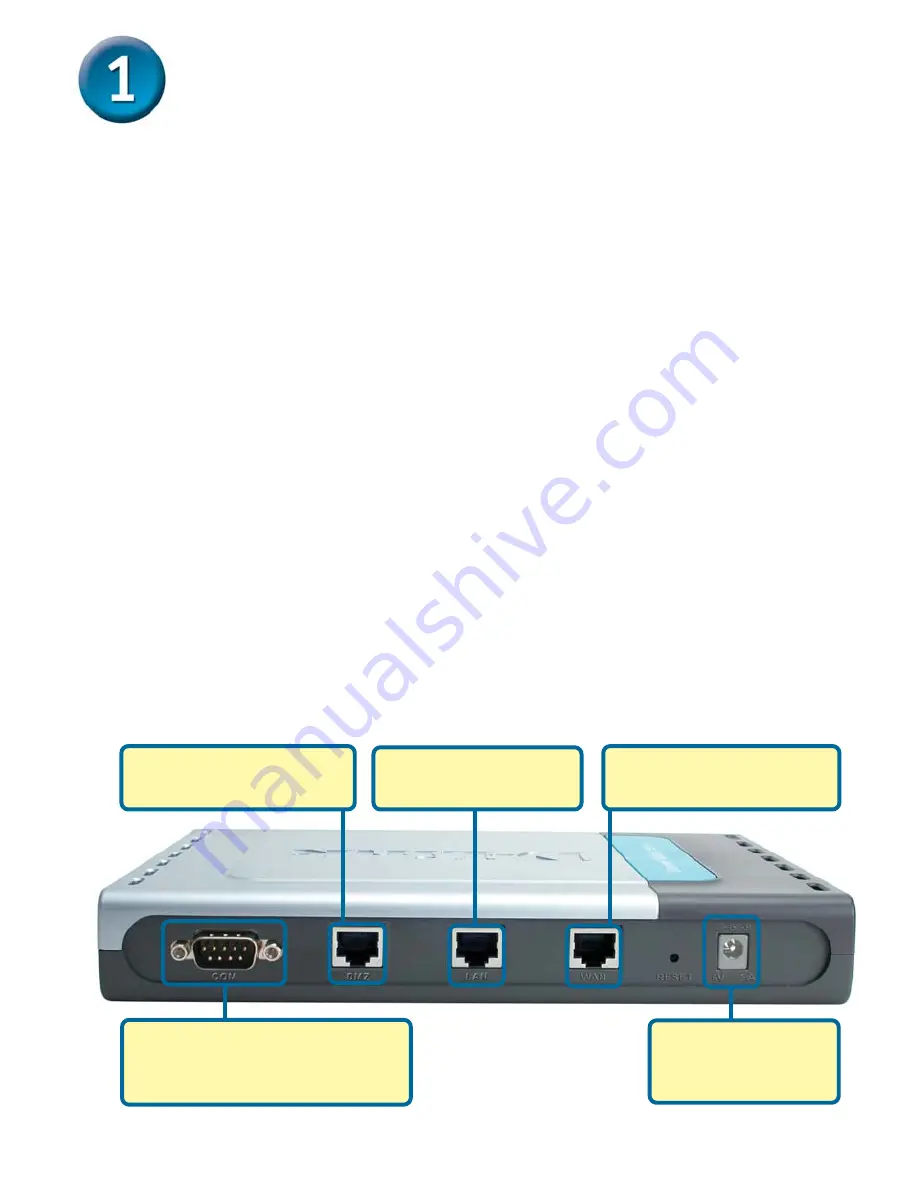
WAN port:


Connects to

the Cable or DSL modem.

DMZ port:

 Connects to

the DMZ network.

COM Port:


Connects to your

computer’s COM port using the
provided Console Cable.

Power Receptor:

Connection for the
Power Adapter.

LAN port:

 Connects

the local area network.

Summary of Contents for DFL-700 - Security Appliance

Page 1: ...rity Firewall Security Firewall Security Firewall 5V DC Power Adapter Before You Begin If you purchased this Network Security Firewall to connect to your high speed Internet connection in a secure manner you must have either an Ethernet based Cable or DSL modem with an established Internet account from an Internet Service Provider ISP Check Your Package Contents DFL 700 NETDEFEND Network Security ...

Page 2: ...rning on the unit or plugging in the power adapter Cable DSL modem Power On DFL 700 Power On D Attach the other end of the Ethernet cable to the WAN port on the back panel of the DFL 700 The WAN LED light will illuminate to indicate proper connection If the WAN LED is not illuminated please go back to step B and repeat the steps E Attach an Ethernet cable in the LAN port on the back panel of the D...

Page 3: ...onnection to the power supply NETWORK LEDs A solid light on the port indicates a good connection The LEDs blink during data transmission Connecting The DFL 700 Network Security Firewall To Your Network continued When you have completed the steps in this Quick Installation Guide your connected network should look similar to this ...

Page 4: ... conform to a network then input that IPAddress instead of the default IPAddress Here you can choose to either configure your firewall over HTTP or over Secure HTTP HTTPS Welcome to the DFL 700 connection wizard Click Next to keep using HTTP Click on Connect to the unit via HTTPS instead to use Secure HTTP To obtain a new IP address from the DFL 700 you may need to restart your computer or release...

Page 5: ...tep 1 Set admin password Select the appropriate timezone Click Next Enter the appropriate daylight saving time settings If unsure of which setting to select contact your Internet Service Provider Step 3 Configure WAN interface Select the appropriate configuration for the WAN interface Click Next and continue to step 4 Click Next ...

Page 6: ...ice Provider You will need to complete all the required fields except for Secondary DNS Server Click Next and continue to step 4 Click Next Fill out the user name and password provided to you by your Internet Service Provider The PPPoE Service Name field should be left blank unless your ISP informs you otherwise Click Next and continue to step 4 ...

Page 7: ...tep 3 PPTP Specify both PPTP tunnel parameters and Physical interface parameters PPTP tunnel parameters Enter the Username Password and the PPTP Server IP address provided by your ISP DHCP If your Internet Service Provider is using DHCP you should select the DHCP radio button Click Next Step 3 Big Pond Fill out the user name and password provided to you by your ISP Click Next and continue to step ...

Page 8: ...d in the format Start IP Stop IP i e 192 168 0 100 192 168 0 200 If you don t want to use the built in DHCP Server or want to configure it later choose Disable DHCP Server and click Next Using The Setup Wizard continued Click Next Step 4 Set up built in DHCP server Click Next Step 5 Configure helper servers NTP Servers If enabled specifies which NTP Servers should be used for time synchronization ...

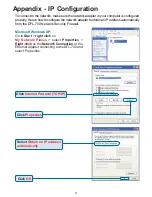
Page 9: ...matically from the DFL 700 Network Security Firewall Microsoft Windows XP Go to Start right click on My Network Places select Properties Right click on the Network Connection of the Ethernet adapter connecting to the DFL 700 and select Properties Appendix IP Configuration Click OK Click Internet Protocol TCP IP Click Properties Select Obtain an IP address automatically ...

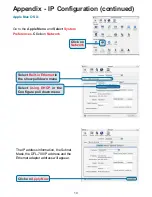
Page 10: ...k The IP address information the Subnet Mask the DFL 700 IP address and the Ethernet adapter address will appear Click on Network Click on Apply Now Select Using DHCP in the Configure pull down menu Select Built in Ethernet in the show pull down menu Appendix IP Configuration continued ...

Page 11: ...11 Notes ...

Page 12: ...d Canadian customers can contact D Link technical support through our website or by phone Tech Support for customers within the United States D Link Technical Support over the Telephone 877 453 5465 6am 6pm PST Mon Fri D Link Technical Support over the Internet http support dlink com email support dlink com Tech Support for customers within Canada D Link Technical Support over the Telephone 800 36...

Reviews: