54
Configuration Using a Console
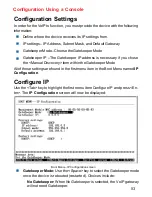
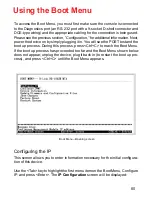
Configure IP
BOOTP:
Use the <Space> key to select the method that the VoIP gate-
way will use to obtain its IP settings once it is rebooted. Choices include:
Manual:
When
Manual
is selected, the VoIP gateway will obtain its IP
settings from the fields located just below.
BOOTP:
When
BOOTP
is selected, the VoIP gateway will attempt to
obtain its IP settings from a BOOTP server located on your LAN.
DHCP:
When
DHCP
is selected, the VoIP gateway will attempt to ob-
tain its IP settings from a DHCP server located on your LAN.
IP Address:
Enter an IP address for the VoIP gateway.
Subnet Mask:
Enter a subnet mask for the VoIP gateway.
Default Gateway:
Enter the IP address of the WAN device (usually a
router) you are using to make the WAN connection.
Your VoIP is now configured for use.
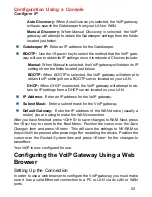
Auto Discovery:
When
Auto Discovery
is selected, the VoIP gateway
will auto-search the Gatekeeper from your LAN or WAN.
Manual Discovery:
When
Manual Discovery
is selected, the VoIP
gateway will attempt to obtain the Gatekeeper settings from the fields
located just below.
Gatekeeper IP:
Enter an IP address for the Gatekeeper.
Configuring the VoIP Gateway Using a Web
Browser
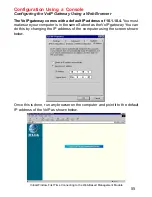
Setting Up the Connection
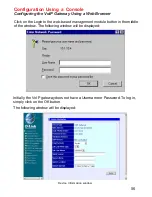
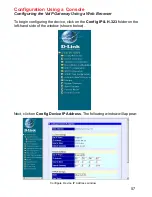
In order to use a web browser to configure the VoIP gateway, you must make
sure it has a valid Ethernet connection to a PC or LAN via its LAN or WAN
ports.
After you have finished, press <Ctrl+S> to save changes to RAM. Next, press
the <Esc> key to return to the Boot Menu. Position the cursor over the
Save
Changes
item and press <Enter>. This will save the settings to NV-RAM so
they will still be present after powering off or restarting the device. Position the
cursor over the
Restart System
item and press <Enter> for the changes to
take effect.


