D-Link Switch User Manual
5
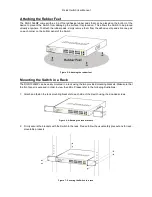
Attaching the Rubber Feet
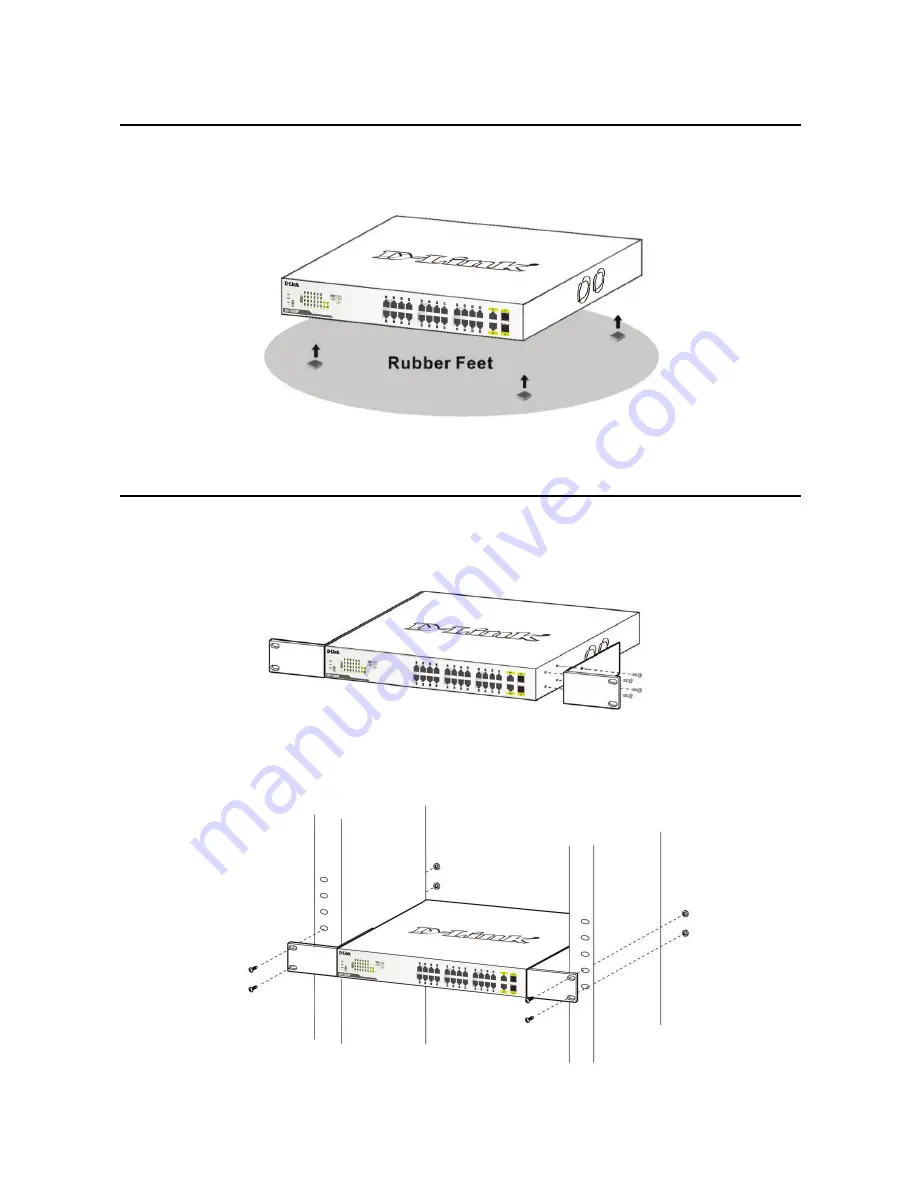
The DGS-1026MP comes with a strip of four adhesive rubber pads that can be placed on the bottom of the
device to prevent the Switch from damaging the surface it is placed on. This allows the Switch to be placed
virtually anywhere. To attach the rubber pads, simply remove them from the adhesive strip and stick one pad
on each corner on the bottom panel of the Switch.
Figure 5 - Attaching the rubber feet
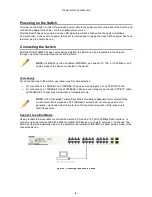
Mounting the Switch in a Rack
The DGS-1026MP can be easily mounted in a rack using the two provided mounting brackets. Make sure that
the front panel is exposed in order to view the LEDs. Please refer to the following illustrations:
1. Attach and fasten the rack mounting brackets to each side of the Switch using the included screws.
Figure 6 - Attaching the rack brackets
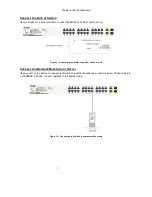
2. Firmly secure the brackets with the Switch to the rack. Please follow the usual safety precautions for rack-
mountable products.
Figure 7 - Securing the Switch to a rack


