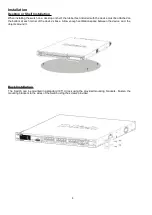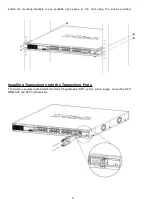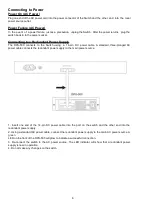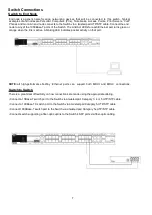
Connecting the Console Port
To use the RJ-45 console port, the following equipment is needed:
• A terminal or a computer with both an RS-232 serial port and the ability to emulate a terminal (it is possible
to use Hyperterminal, Putty, Minicom etc).
• A console cable with a male DB-9 connector on one end and an RJ-45 connection on the other. This cable
should be included with the Switch.
To connect a terminal to the console port:
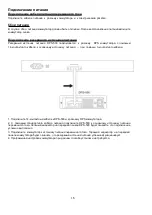
1. Connect the male DB-9 connector on the console cable to the RS-232 serial port on the computer.
2. Insert the RJ-45 connector into the console port on the front of the Switch. Set the terminal emulation
software as follows:
• Serial port: COM port 1 or COM port 2
• Baud rate: 115200
• Data bits: 8
• Parity: none
• Stop bits: 1
• Flow control: none
• Under Properties, select VT100 for Emulation mode.
• Select Terminal keys for Function, Arrow and Ctrl keys. Make sure to use Terminal keys (not Windows keys)
are selected.
T
3. After you have correctly set up the terminal, plug the power cord into the power receptacle on the back of
the Switch. The boot sequence appears in the terminal. After the boot sequence completes, the console login
screen displays.
First Time Connecting to the Switch
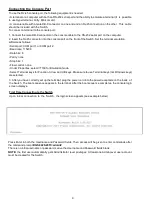
Upon initial connection to the Switch, the login screen appears (see example below).
Press Enter in both the Username and Password fields. Then access will be given to enter commands after
the command prompt
DGS-3420-28TC:admin#
There is no initial username or password. Leave the Username and Password fields blank.
NOTE:
the first user automatically gets Administrator level privileges. At least one Admin-level user account
must be created for the Switch.
9
Summary of Contents for DGS-3420-28TC
Page 22: ...22 ...


