background image


T


echnical Support Setup


Procedure


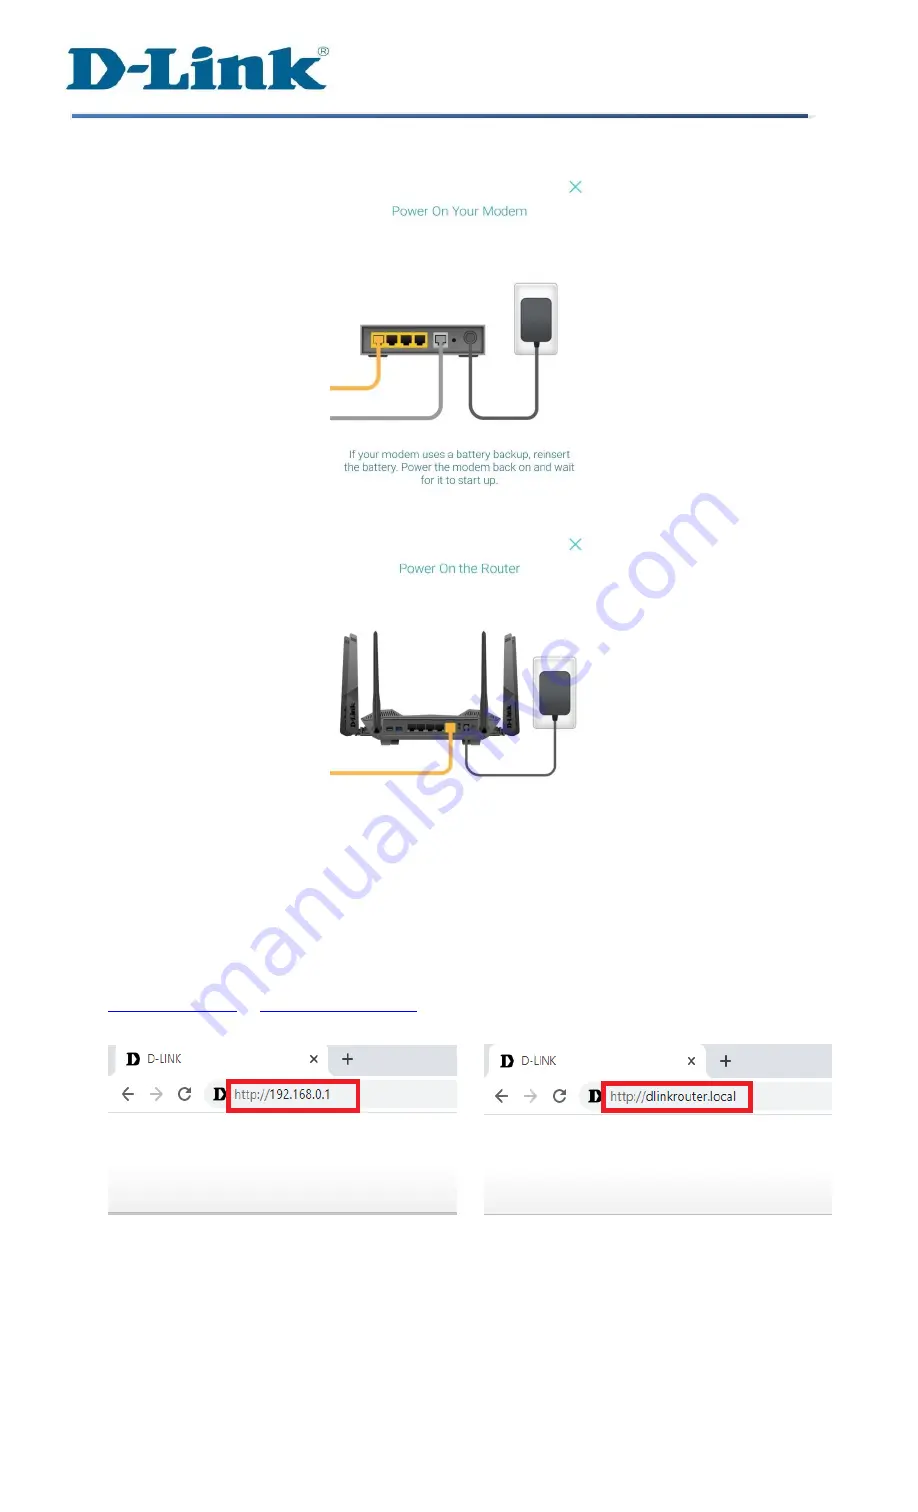
Step 4

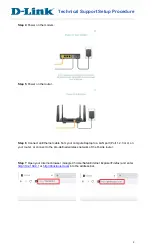
: Power on the modem. 


Step 5

: Power on the router. 


Step 6

:


Connect an Ethernet cable from your computer/laptop to a LAN port (Port 1,2,3 or 4) on 

your router, or connect to the pre-defined wireless network of the D-Link router. 


Step 7

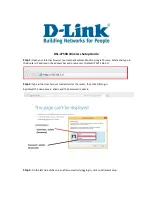
: Open your Internet browser (Google Chrome/Safari/Internet Explorer/Firefox) and enter 

http://192.168.0.1

 or 

http://dlinkrouter.local

 into the address bar.  


Summary of Contents for DIR-X5460

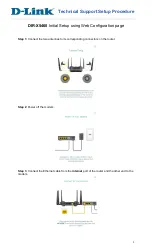
Page 1: ...itial Setup using Web Configuration page Step 1 Connect the two antennas to its corresponding connectors on the router Step 2 Power off the modem Step 3 Connect the Ethernet cable from the internet po...

Page 2: ...thernet cable from your computer laptop to a LAN port Port 1 2 3 or 4 on your router or connect to the pre defined wireless network of the D Link router Step 7 Open your Internet browser Google Chrome...

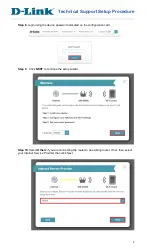
Page 3: ...sing the device password indicated on the configuration card Step 9 Click NEXT to continue the setup wizard Step 10 Select Others if you are connecting the router to an existing router If not then sel...

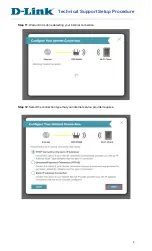
Page 4: ...4 Technical Support Setup Procedure Step 11 Wait until it is done detecting your internet connection Step 12 Select the connection type that your internet service provider requires...

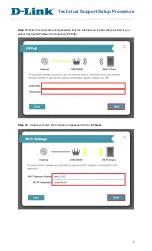
Page 5: ...ort Setup Procedure Step 13 Enter the username and password that the internet service provider provided if you select Username Password Connection PPPoE Step 14 Create your own Wi Fi name and password...

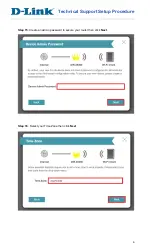
Page 6: ...6 Technical Support Setup Procedure Step 15 Create an admin password to secure your router then click Next Step 16 Select your Time Zone then click Next...

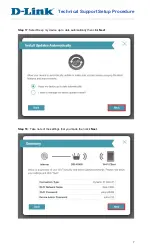
Page 7: ...7 Technical Support Setup Procedure Step 17 Select Keep my device up to date automatically then click Next Step 18 Take note of the settings that you made then click Next...

Page 8: ...8 Technical Support Setup Procedure Step 19 Wait until it is done saving END...

Reviews: