background image

Check Your Package Contents

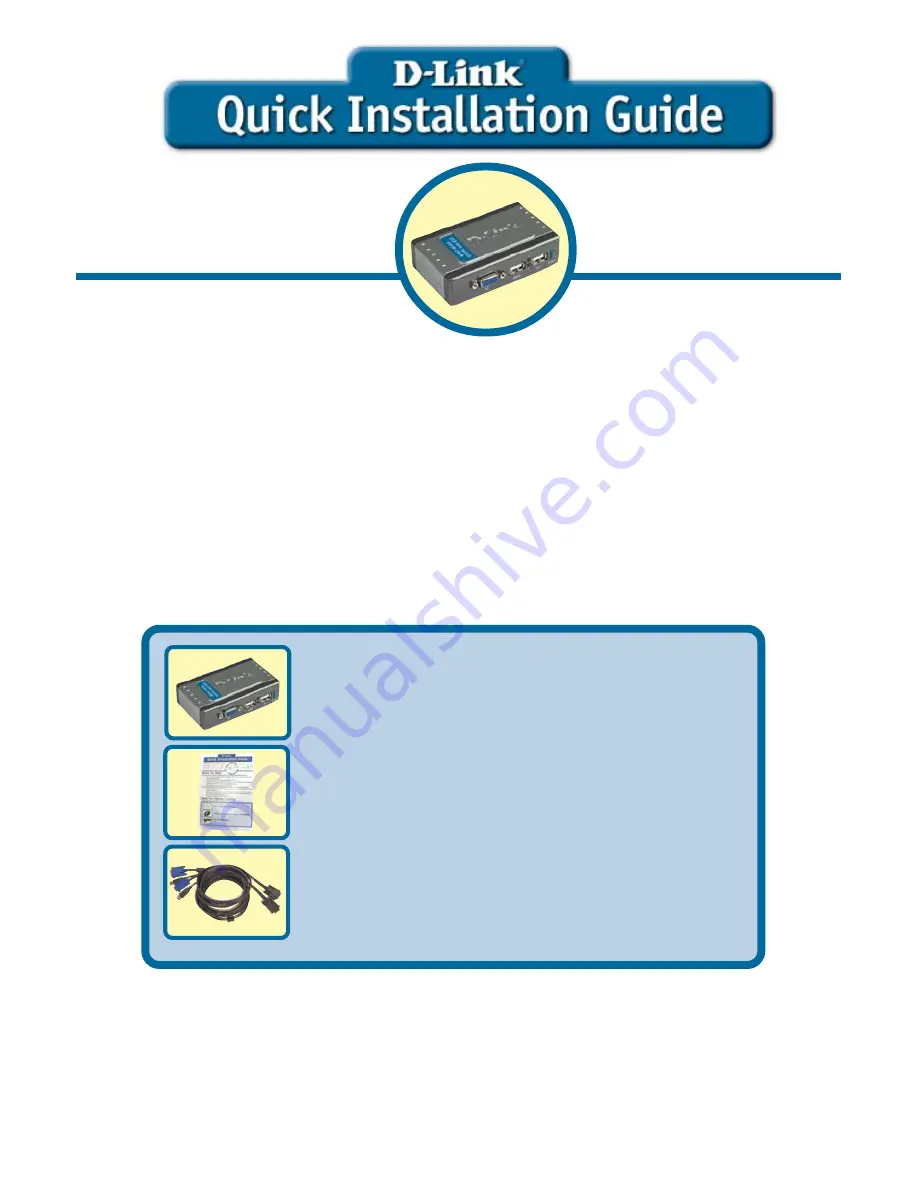
These are the items included with your purchase:

Before You Begin

You must have at least the following:

USB Keyboard

USB Mouse

VGA or Higher Monitor

• DKVM-2U USB KVM Switch

• Quick Installation Guide

• 2 Sets of KVM Cables

©2006 D-Link Systems, Inc. All rights reserved. Trademarks or registered trademarks are the property of

their respective holders. Software and specifications subject to change without notice. DKVM-2U.02152006

If any of the above items are missing, please contact your reseller.

2-Port USB KVM Switch

DKVM-2U

DKVM-2U

DKVM-2U

DKVM-2U

DKVM-2U

This product works with all

This product works with all

This product works with all

This product works with all

This product works with all
Windows Operating Systems.

Windows Operating Systems.

Windows Operating Systems.

Windows Operating Systems.

Windows Operating Systems.
Summary of Contents for DKVM-2U

Page 1: ...re the property of their respective holders Software and specifications subject to change without notice DKVM 2U 02152006 If any of the above items are missing please contact your reseller 2 Port USB KVM Switch DKVM 2U DKVM 2U DKVM 2U DKVM 2U DKVM 2U This product works with all This product works with all This product works with all This product works with all This product works with all Windows O...

Page 2: ... Mouse Port Connect to your second computer Computer 2 Connect to your first computer Computer 1 The DKVM 2U is assembled with the supplied KVM cables fastened to the PC1 and PC2 ports Plug the cable from PC1 into your first computer Computer 1 and plug the cable from PC2 into your second computer Computer 2 Press the Select Button to switch quickly and easily between both computers ...

Page 3: ...2U Attach your monitor s 15 pin VGA connector to the blue VGA port located on the DKVM 2U Attach your computer s USB mouse connector to the mouse port located on the DKVM 2U Make sure that both computers are turned OFF before installing the DKVM 2U to avoid mouse and keyboard errors when booting up your computers ...

Page 4: ...d from the PC2 port of the DKVM 2U to Computer 2 Plug the DKVM 2U s included USB cable to the USB port located on the back of your computer case Power ON both of your attached computers after you have completed the DKVM 2U installation The following steps apply to both computers that are to be used by the DKVM 2U Start by attaching the cables connected from the PC1 port of the DKVM 2U to Computer ...

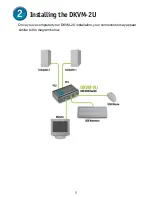
Page 5: ...5 Installing the DKVM 2U Once you ve completed your DKVM 2U installation your connections may appear similar to the diagram below ...

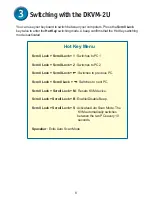
Page 6: ...roll Lock Scroll Lock 1 Switches to PC1 Scroll Lock Scroll Lock 2 Switches to PC2 Scroll Lock Scroll Lock I I I I I Switches to previous PC Scroll Lock Scroll Lock J J J J J Switches to next PC Scroll Lock Scroll Lock M Resets KVM device Scroll Lock Scroll Lock B Enable Disable Beep Scroll Lock Scroll Lock S Activates Auto Scan Mode The KVM automatically switches between the two PCs every 10 secon...

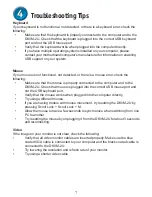
Page 7: ...e is properly connected to the computer and to the DKVM 2U Check that mouse is plugged into the correct USB mouse port and not the USB keyboard port Verify that the mouse works when plugged into the computer directly Try using a different mouse If you are having trouble with mouse movement try resetting the DKVM 2U by pressing Scroll Lock Scroll Lock M Allow the mouse to have a few seconds to sync...

Page 8: ...dian customers can contact D Link Technical Support through our website or by phone Tech Support for customers within the United States D Link Technical Support over the Telephone 877 453 5465 24 hours a day seven days a week D Link Technical Support over the Internet http support dlink com email support dlink com Tech Support for customers within Canada D Link Technical Support over the Telephone...

Reviews: