5
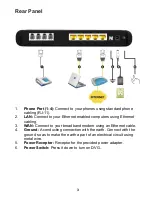
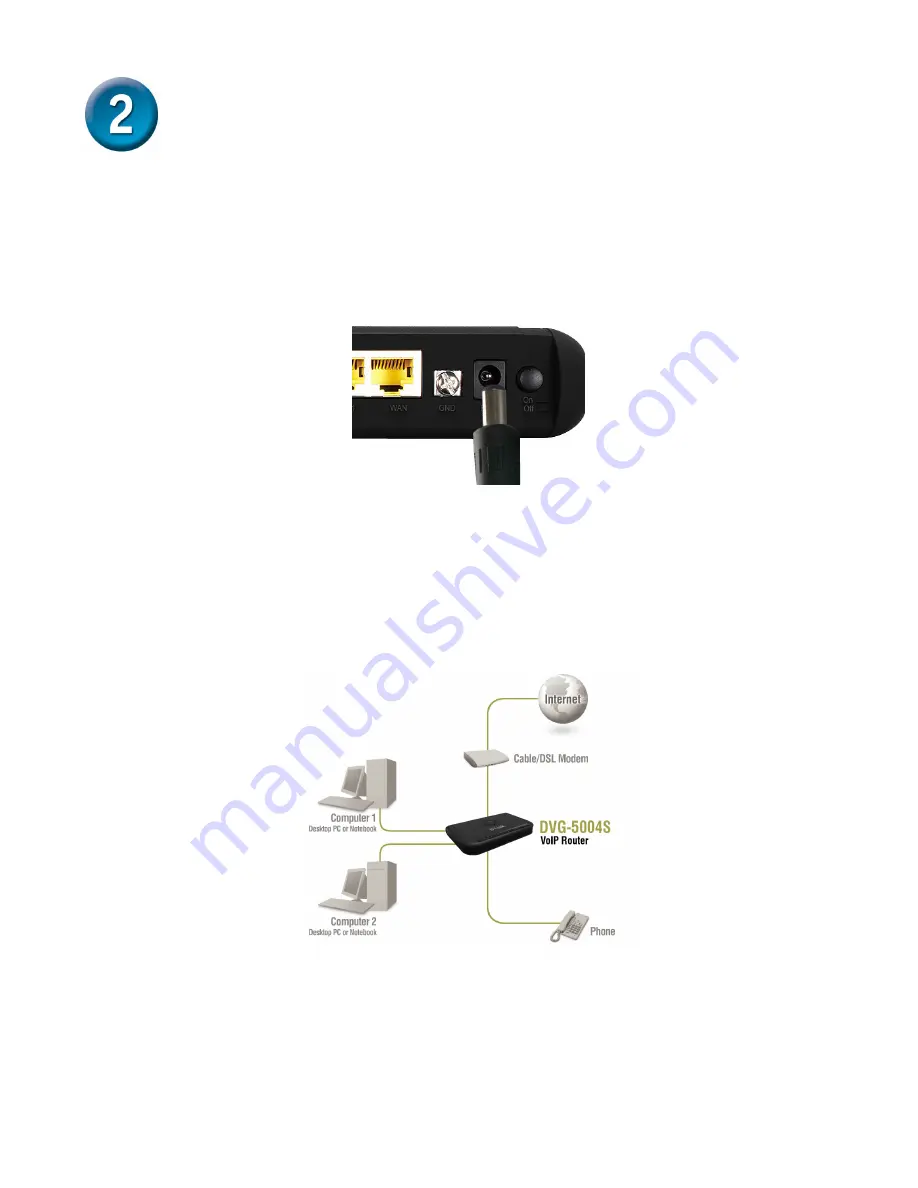
D. Connect the power adapter to the power input at the back panel of the
DVG-5004S and then plug the other end of the power adapter to a wall
outlet or power strip. Then press down Powr Switch. On the front of the
device, the Power LED will turn On to indicate proper operation.
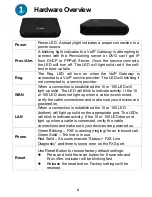
E. Check the LED display on the front of the VoIP Router to confirm that
the connections have been made.
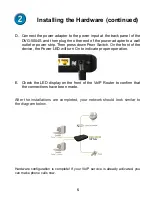
After the installations are completed, your network should look similar to
the diagram below.
Hardware configuration is complete! If your VoIP service is already activated, you
can make phone calls now.
Installing the Hardware (continued)


