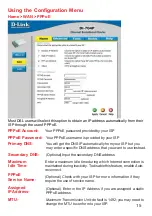
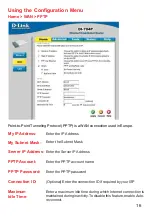
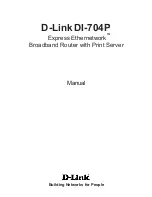
D-Link Express Ethernetwork DI-704P, Manual
Looking for a user manual for your D-Link Express Ethernetwork DI-704P? Look no further! Download the comprehensive manual for free from 88.208.23.73:8080, providing all the information you need to optimize your networking experience with this top-notch product.
Share
Download


Reviews:
No comments
Related manuals for Express Ethernetwork DI-704P
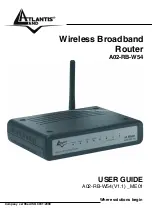
A02-RB-W54
Brand: Atlantis Land Pages: 86

WR214E
Brand: Network Everywhere Pages: 25
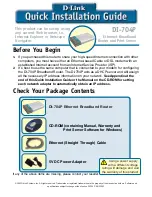
Express Ethernetwork DI-704P
Brand: D-Link Pages: 7
Express Ethernetwork DI-704P
Brand: D-Link Pages: 16
Express Ethernetwork DI-704P
Brand: D-Link Pages: 95
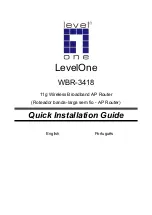
WBR-3418
Brand: LevelOne Pages: 28
WRT54GEU
Brand: Linksys Pages: 93


