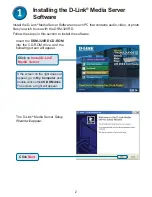


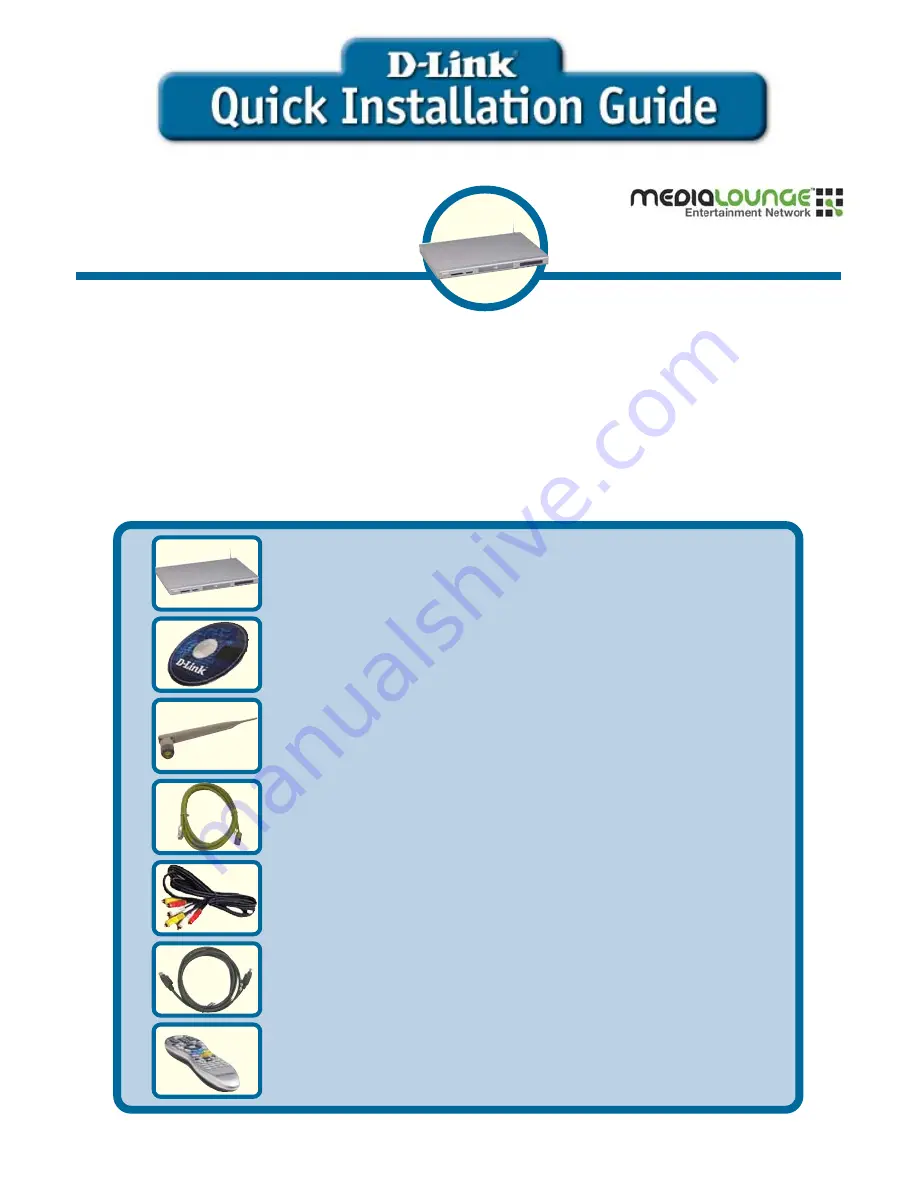
Check Your Package Contents
These are the items included with your purchase:
If any of the below items are missing, please contact your reseller.
Before You Begin
You will need the following:
•
Windows XP or 2000, 500MHz or above based computer with a minimum of 128MB
RAM, a CD-ROM drive, 20MB of available hard drive space and a wireless or Ethernet
network.
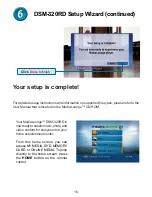
DSM-320RD
This product complies with
current UPnP AV and Microsoft
PlaysForSure
™
standards.
Wireless Media Player
with DVD and Card Reader
©2005 D-Link Systems, Inc. All rights reserved. Trademarks or registered trademarks are the property of their
respective holders. Software and specifications subject to change without notice. DSM-320RD.04132005
DSM-320RD
Wireless Media Player with DVD
and Card Reader
Installation CD (Contains D-Link
®
Media Server
Software, Quick Installation Guide, and Manual)
Antenna
Ethernet (CAT 5 UTP/Straight Through) Cable
Standard Composite RCA Audio/Video Cable
Remote Control with 2 AAA Batteries
S-Video Cable
Patent Pending
Summary of Contents for MediaLounge DSM-320
Page 22: ...22 Notes ...
Page 23: ...23 Notes ...


