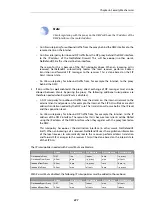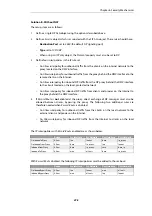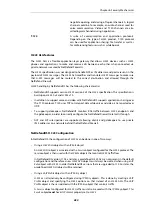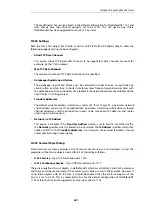
4.
Click OK
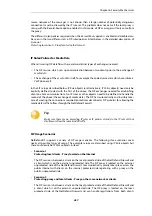
E. Define the
IP Policy
for incoming SIP traffic:
1.
Go to: Rules > IP Rule Set > main > Add > IP Policy
2.
Now enter:
•
Name: sip_allow
•
Action: Allow
•
Source Interface: ext
•
Source Network: proxy_ip
•
Destination Interface: core
•
Destination Network: ip_wan
•
Service: my_sip_service
•
Comment: Allow incoming SIP traffic
3.
Select the VoIP tab, enable VoIP and select
my_sip_profile
4.
Click OK
Scenario 2
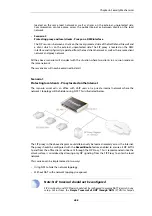
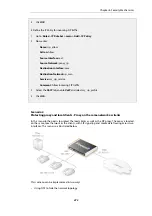
Protecting proxy and local clients - Proxy on the same network as clients
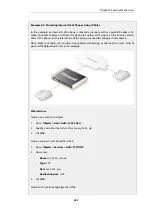
In this scenario the goal is to protect the local clients as well as the SIP proxy. The proxy is located
on the same, local network as the clients, with SIP signaling and media data flowing across two
interfaces. This scenario is illustrated below.
This scenario can be implemented in two ways:
•
Using NAT to hide the network topology.
Chapter 6: Security Mechanisms
473
Summary of Contents for NetDefendOS
Page 30: ...Figure 1 3 Packet Flow Schematic Part III Chapter 1 NetDefendOS Overview 30 ...
Page 32: ...Chapter 1 NetDefendOS Overview 32 ...
Page 144: ...Chapter 2 Management and Maintenance 144 ...
Page 284: ...Chapter 3 Fundamentals 284 ...
Page 392: ...Chapter 4 Routing 392 ...
Page 419: ... Host 2001 DB8 1 MAC 00 90 12 13 14 15 5 Click OK Chapter 5 DHCP Services 419 ...
Page 420: ...Chapter 5 DHCP Services 420 ...
Page 573: ...Chapter 6 Security Mechanisms 573 ...
Page 607: ...Chapter 7 Address Translation 607 ...
Page 666: ...Chapter 8 User Authentication 666 ...
Page 775: ...Chapter 9 VPN 775 ...
Page 819: ...Chapter 10 Traffic Management 819 ...
Page 842: ...Chapter 11 High Availability 842 ...
Page 866: ...Default Enabled Chapter 13 Advanced Settings 866 ...
Page 879: ...Chapter 13 Advanced Settings 879 ...

