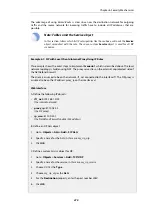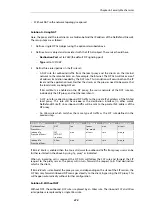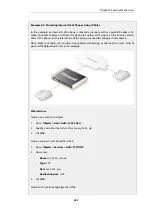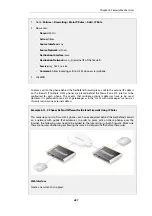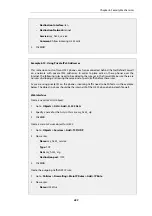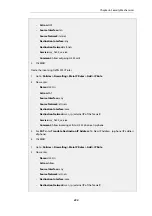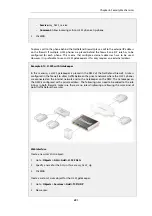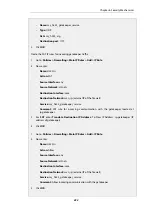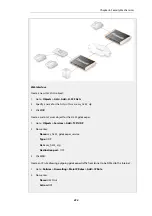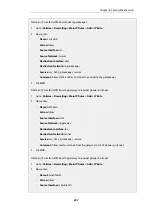
Create a new
VoIP Profile
object:
1.
Go to: Policies > Firewalling > VoIP > Add > VoIP Profile
2.
Specify a name for the profile, in this case
my_h323_profile
3.
Click OK
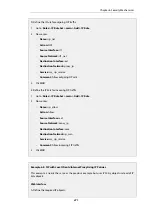
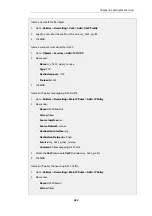
Create a custom
Service
object for H.323:
1.
Go to: Objects > Services > Add > TCP/UDP
2.
Now enter:
•
Name: my_h323_policy_service
•
Type: TCP
•
Destination port: 1720
•
Protocol: H.323
3.
Click OK
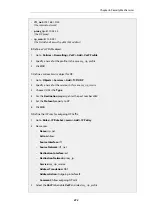
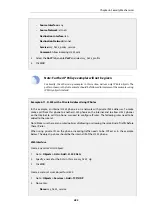
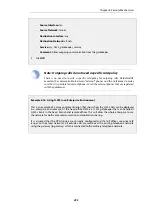
Create an IP policy for outgoing H.323 traffic:
1.
Go to: Policies > Firewalling > Main IP Rules > Add > IP Policy
2.
Now enter:
•
Name: H323AllowOut
•
Action: Allow
•
Source Interface: lan
•
Source Network: lannet
•
Destination Interface: any
•
Destination Network: all-nets
•
Service: my_h323_policy_service
•
Comment: Allow outgoing H.323 calls.
3.
Select the VoIP tab, enable VoIP and select
my_h323_profile
4.
Click OK
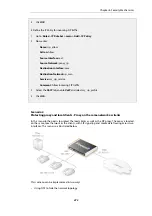
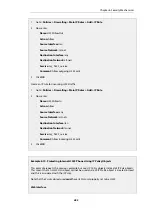
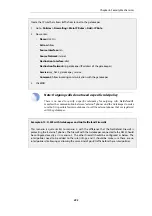
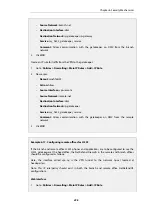
Create an IP policy for incoming H.323 traffic:
1.
Go to: Policies > Firewalling > Main IP Rules > Add > IP Policy
2.
Now enter:
•
Name: H323AllowIn
•
Action: Allow
Chapter 6: Security Mechanisms
484
Summary of Contents for NetDefendOS
Page 30: ...Figure 1 3 Packet Flow Schematic Part III Chapter 1 NetDefendOS Overview 30 ...
Page 32: ...Chapter 1 NetDefendOS Overview 32 ...
Page 144: ...Chapter 2 Management and Maintenance 144 ...
Page 284: ...Chapter 3 Fundamentals 284 ...
Page 392: ...Chapter 4 Routing 392 ...
Page 419: ... Host 2001 DB8 1 MAC 00 90 12 13 14 15 5 Click OK Chapter 5 DHCP Services 419 ...
Page 420: ...Chapter 5 DHCP Services 420 ...
Page 573: ...Chapter 6 Security Mechanisms 573 ...
Page 607: ...Chapter 7 Address Translation 607 ...
Page 666: ...Chapter 8 User Authentication 666 ...
Page 775: ...Chapter 9 VPN 775 ...
Page 819: ...Chapter 10 Traffic Management 819 ...
Page 842: ...Chapter 11 High Availability 842 ...
Page 866: ...Default Enabled Chapter 13 Advanced Settings 866 ...
Page 879: ...Chapter 13 Advanced Settings 879 ...

