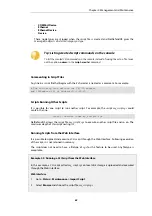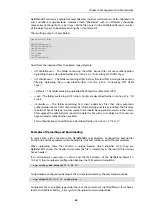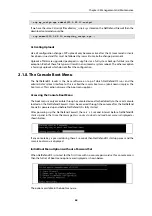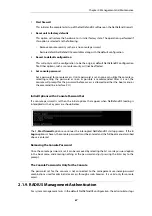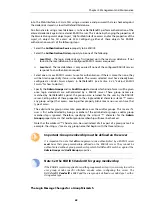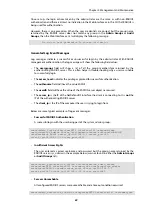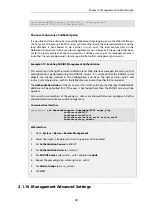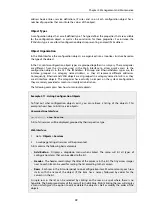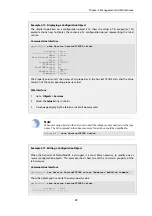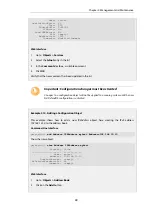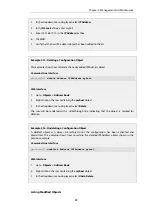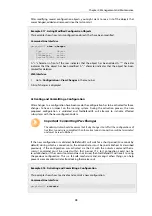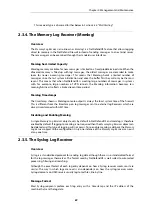
The system will validate and start using the new configuration. When the command prompt is
shown again:
gw-world:/> commit
The new configuration is now committed.
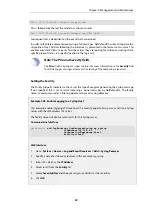
Web Interface
1.
Go to: Configuration > Save and Activate in the menu bar
2.
Click OK to confirm
The web browser will automatically try to connect back to the Web Interface after 10 seconds. If
the connection succeeds, this is interpreted by NetDefendOS as confirmation that remote
management is still working. The new configuration is then automatically committed.
Note: Changes must be committed
The configuration must be committed before changes are saved. All changes to a
configuration can be ignored simply by not committing a changed configuration.
Chapter 2: Management and Maintenance
77
Summary of Contents for NetDefendOS
Page 30: ...Figure 1 3 Packet Flow Schematic Part III Chapter 1 NetDefendOS Overview 30 ...
Page 32: ...Chapter 1 NetDefendOS Overview 32 ...
Page 144: ...Chapter 2 Management and Maintenance 144 ...
Page 284: ...Chapter 3 Fundamentals 284 ...
Page 392: ...Chapter 4 Routing 392 ...
Page 419: ... Host 2001 DB8 1 MAC 00 90 12 13 14 15 5 Click OK Chapter 5 DHCP Services 419 ...
Page 420: ...Chapter 5 DHCP Services 420 ...
Page 573: ...Chapter 6 Security Mechanisms 573 ...
Page 607: ...Chapter 7 Address Translation 607 ...
Page 666: ...Chapter 8 User Authentication 666 ...
Page 775: ...Chapter 9 VPN 775 ...
Page 819: ...Chapter 10 Traffic Management 819 ...
Page 842: ...Chapter 11 High Availability 842 ...
Page 866: ...Default Enabled Chapter 13 Advanced Settings 866 ...
Page 879: ...Chapter 13 Advanced Settings 879 ...

