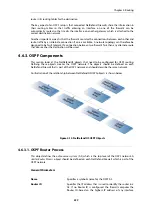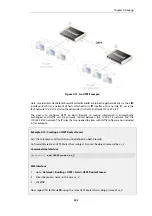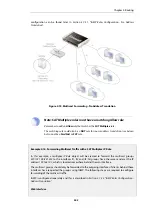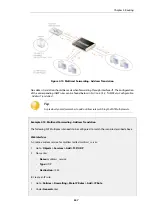
Figure 4.17. An OSPF Example
Here, two identical NetDefend Firewalls called A and B are joined together directly via their If3
interfaces. Each has a network of hosts attached to its If1 interface. On one side,
If1_net
is the
IPv4 network
10.4.0.0/16
and on the other side it is the IPv4 network
192.168.0.0/24
.
The goal is to configure OSPF on both firewalls so routing information is automatically
exchanged and traffic can be correctly routed between the
10.4.0.0/16
network and the
192.168.0.0/24
network. The IP rules that are needed to allow such traffic to flow are not included
in this example.
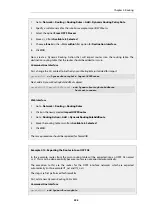
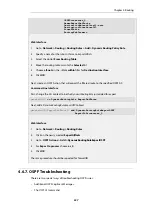
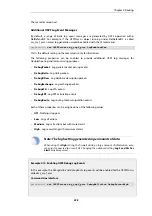
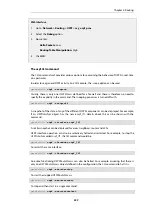
Example 4.10. Creating an OSPF Router Process
First the
Autonomous System
(AS) must be defined on both firewalls.
On firewall A, create an
OSPF Router Process
object. Assume the object name will be
as_0
.
Command-Line Interface
gw-world:/> add OSPFProcess as_0
Web Interface
1.
Go to: Network > Routing > OSPF > Add > OSPF Router Process
2.
Enter the process name, in this case
as_0
3.
Click OK
Now, repeat this for firewall B, using the same
OSPF Router Process
object name of
as_0
.
Chapter 4: Routing
353
Summary of Contents for NetDefendOS
Page 30: ...Figure 1 3 Packet Flow Schematic Part III Chapter 1 NetDefendOS Overview 30 ...
Page 32: ...Chapter 1 NetDefendOS Overview 32 ...
Page 144: ...Chapter 2 Management and Maintenance 144 ...
Page 284: ...Chapter 3 Fundamentals 284 ...
Page 392: ...Chapter 4 Routing 392 ...
Page 419: ... Host 2001 DB8 1 MAC 00 90 12 13 14 15 5 Click OK Chapter 5 DHCP Services 419 ...
Page 420: ...Chapter 5 DHCP Services 420 ...
Page 573: ...Chapter 6 Security Mechanisms 573 ...
Page 607: ...Chapter 7 Address Translation 607 ...
Page 666: ...Chapter 8 User Authentication 666 ...
Page 775: ...Chapter 9 VPN 775 ...
Page 819: ...Chapter 10 Traffic Management 819 ...
Page 842: ...Chapter 11 High Availability 842 ...
Page 866: ...Default Enabled Chapter 13 Advanced Settings 866 ...
Page 879: ...Chapter 13 Advanced Settings 879 ...

