12
When screwing in the electrodes, tighten by hand only.
Hand tightening will allow the electrodes to vibrate for maximum stimulation. Do not
use a wrench.
Adjusting and Positioning Your Collar for Proper Fit
Proper collar tightness and position are very important to insure safety and
correct functioning every time you use the collar.
•
All electronic collars need to be very snug to work properly. They must be just tight
enough to allow the “prongs” or electrodes to make good skin contact.
•
If your collar is too loose, the stimulation may not work properly because good skin
contact is not being achieved. This can directly affect the stimulation performance and
whether or not the dog will receive the stimulation. Always check for good “prong”
contact if it appears that your dog is not responding to the stimulation.
•
A loose collar can promote skin irritation from moving or rubbing too much on a dog’s
neck while they are running or training. The proper snug fit will help prevent this from
occurring.
•
Proper fit of the collar is important. It should be just tight enough on the dog’s neck to
make good skin contact and allow the dog to breath normally. The collar should never
be so tight on the dog’s neck that it restricts the dog’s normal breathing pattern.
•
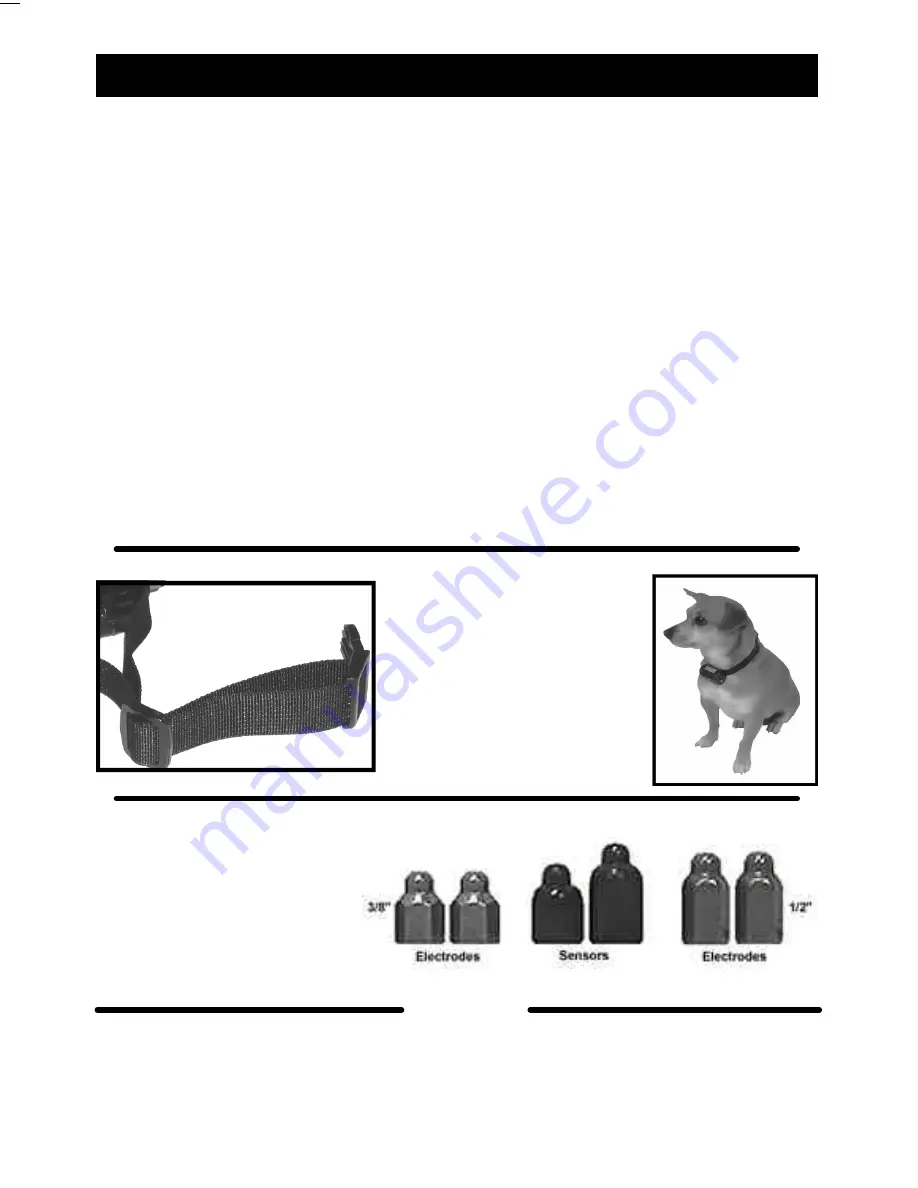
For proper positioning of your collar receiver box, it should be placed on the center of
the dog’s neck. (see below).
•
For how to adjust the collar strap see picture below.
CAUTION
The proper set of electrodes you
should use is determined by
which set is long enough to
make good contact with the
dog’s skin. Good contact is
essential for the proper
operation of the unit.
Choosing the correct electrodes
Proper collar tightness is ex-
tremely important. If the collar
is too loose, it will not function
properly, and if the collar is too
tight, the dog will have diffi-
culty breathing.
To adjust the tightness & position of the collar
9
Turning the Unit On and Off
Changing the Intensity Level
Turning ON
To turn on the unit you can use either the key ring magnet or the
magnet in the collar clasp. Hold one of the magnets directly up
against the small letter “M” on the front of the Collar/Receiver. You
will hear a long two-second beep immediately followed by a series of
quick beeps. (The number of beeps indicates which intensity level the
unit is set on). Do not move the magnet until the long beep stops.
You will see a small red light flashing beside the letter “M”. The unit
is now on. (This flashing red light indicates that the unit is ON and
not that the battery is low).
Turning OFF
To turn the unit off, you simply reverse the procedure. Hold one of
the magnets directly up against the small letter “M” on the front of the
Collar/Receiver. You will hear a long two-second beep immediately
followed by a shorter beep. Do not move the magnet until the long
beep stops. The small red light is no longer flashing. The unit is now
off.
Once the unit is in ON mode (the small red light is flashing), you can
change the Intensity Level by pressing Button
IV
on the
transmitter. The Collar/Receiver unit will emit a series of quick beeps
to indicate the level. For instance if the unit is on level 3 you will
hear 3 beeps, if the unit is on level 8 you will hear 8 beeps. There are
eight levels. After level Eight the unit will cycle back to level One.
Note
To increase battery life, your
Ultra-
e
TM
has been equipped with an
automatic three hour shut off. (If no buttons are pressed on the
transmitter, the collar will shout off in three hours).


