9
8
Components
Getting Started
Introduction
Installation Guide
Symbols used in this manual
Note
Indicates special notes and operating features.
Caution
Indicates cautions for preventing possible damage from abuse or mistreatment of
the product.
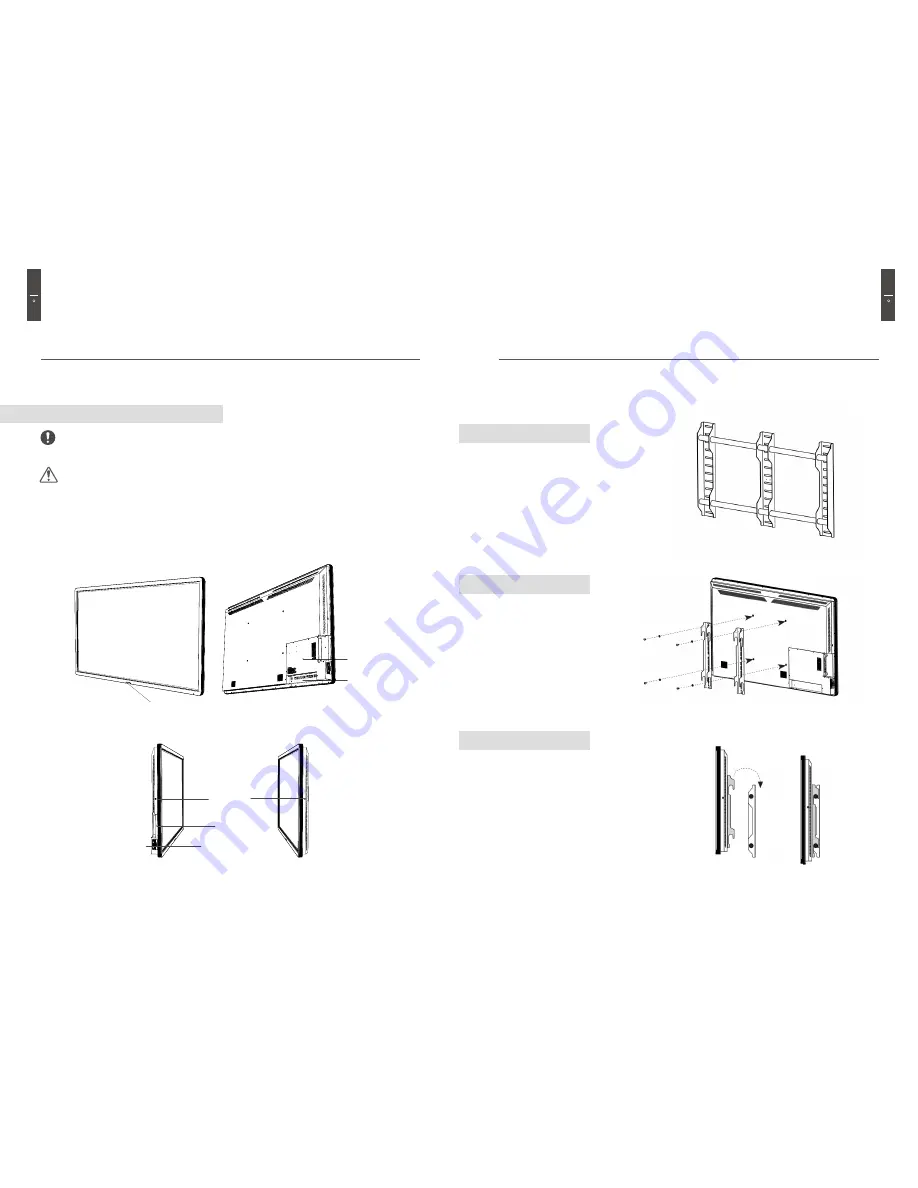
Touch Screen
Home Button
Front View
Getting Started
Side View(left)
Rear View
Side View(right)
EZ Button Port
OPS Slot
Main Board Cover
I/O Ports
EZ Box Port
Step3
Step2
Step1
Install the wall mount brackets on to the wall.
Install the wing brackets on the back of the
product. (Use 4 x M8 screws)
Install the product as shown in the diagram.
Accessories----------------------------
----


