24
6. MAINTENANCE & REPAIR
WARNING!
Please see Chapter 1 regarding Safety
•
Turn the input power OFF before working on any DABOTEK stud welder.
•
Do not touch electrically live parts or electrode with your skin or wet clothing
•
Insulate yourself from work and ground
•
Always wear dry insulating gloves
•
Have an electrician install the DABOTEK stud welder.
•
An authorized DABOTEK Service Center must do all maintenance and repairs that require
opening the case.
If
The Studhorse
does not operate properly, stop work immediately and investigate the cause of
the malfunction.
Please note: Opening up the case voids the Warranty
.
Maintenance and repair should only be performed by an authorized DABOTEK Service Center,
or by the factory. Do not permit untrained persons to inspect, clean, or repair
The Studhorse.
Please call the factory for the location of the Authorized DABOTEK Service Center nearest you.
Since there are no moving parts other than the fan in the power source, basic preventive
maintenance only involves keeping the welder clean and free from metallic dust. Periodically,
you should ask your Authorized Service Center to remove the cover from the case, remove
accumulated dust and dirt from the air passages and the interior components, using clean low-
pressure air. It is imperative that the air passages to the interior of the unit be free of dirt to
ensure adequate circulation of cooling air, especially over the rectifier bridge plates. The
frequency of cleaning will depend on the location of the unit, the amount of dust in the
atmosphere and number of operating hours.
Operators are encouraged to check the following to maintain The Studhorse power supply:
1. Visually inspect the case, panels, handles and cables for damage, which may occur in transit
and in normal use.
2. Check the machine for any loose or damaged parts.
3. Check air passages of power source for any debris that may obstruct airflow through the
welder.
4. Monitor and schedule having the machine cleaned with compressed air by an authorized
service center.
Summary of Contents for DT1200i
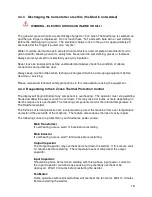
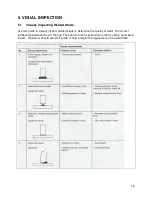
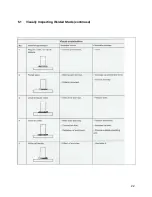
Page 20: ...20 5 1 Visually Inspecting Welded Studs continued...
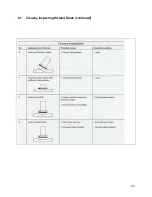
Page 21: ...21 5 1 Visually Inspecting Welded Studs continued...
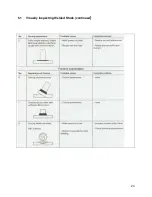
Page 22: ...22 5 1 Visually Inspecting Welded Studs continued...
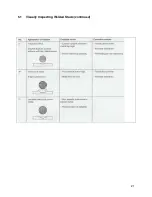
Page 23: ...23 5 1 Visually Inspecting Welded Studs continued...
Page 29: ......
Page 30: ......
Page 31: ...1 of 1...
Page 32: ...1 of 1...
Page 33: ...1 of 1...
Page 34: ...1 of 1...

