


2
Important Safety Instructions
• Read the accompanying use and care manual com-
pletely before operating this appliance.
• Keep packaging materials away from children.
Plastic sheets and bags can cause suffocation.
• If you receive a damaged product, immediately con-
tact your dealer or builder. Do not install or use a
damaged appliance.
• This cooktop must be properly installed and ground-
ed by a qualified installer according to these instal-
lation instructions prior to use. The installer should
show the customer the location of the gas shut off
valve and the power cord so that they know where
and how to turn off the gas supply and disconnect
power to the cooktop.
• Do not install, repair or replace any part of the
cooktop unless specifically recommended in the liter-
ature accompanying it. A qualified service technician
should perform all other service.
• Before servicing or installing this cooktop, make sure
that the gas supply is turned OFF at the gas supply
valve and that the power plug is disconnected from
the electrical outlet.
• Disconnect the power plug from the electrical outlet
before cleaning. Clean this appliance only in the
manner specified in the Use and Care Manual.
• Only use the cooktop for cooking tasks expected of
a home appliance as outlined in the literature accom-
panying it. This cooktop is not intended for commer-
cial or laboratory use.
• DO NOT TOUCH THE SURFACES OF THE
COOKTOP DURING OR IMMEDIATELY AFTER
USE.
• Do not operate this appliance if the power cord is
damaged.
• Turn the knobs to the OFF position prior to removing
them from the valve stems.
• Clean the cooktop thoroughly before operating it for
the first time. Make sure that all the cooktop parts
are dry before lighting a burner.
• To avoid a fire hazard, do not hang flammable or
heat sensitive objects over the cooktop.
• Do not climb on any part of the appliance.
WARNING
General Safety Precautions
To reduce the risk of fire, electric shock, or serious injury
or death when using your appliance, follow basic safety
precautions, including the following:
• Do not leave the cooktop unattended while in use to
avoid the possibility of a fire.
• Do not leave children alone or unattended in the
area around the cooktop. Do not allow children to
play with the controls or touch other parts of the
cooktop. Do not store items of interest to children
on top of or above the cooktop. Children could be
burned or injured while climbing on the appliance.
• Keep flammable items, such as paper, cardboard,
plastic, and cloth away from the burners and other
hot surfaces. Do not place such items on the
cooktop. Do not allow pot holders to touch hot sur-
faces or gas burners.
• Do not wear loose or hanging apparel while using
the cooktop. Do not allow clothing to come into con-
tact with the cooktop and surrounding areas during
and immediately after use.
• If the cooktop is near a window, do not use long cur-
tains as window treatment. The curtains could blow
over the cooktop and create a fire hazard.
• Do not use towels or bulky cloth as pot holders.
• Do not use the cooktop to heat sealed containers.
The container and contents may explode, causing
personal injury.
• Non-stick coatings, when heated, can be harmful
to pet birds. Relocate pet birds to a separate, well-
ventilated room when using the cooktop.
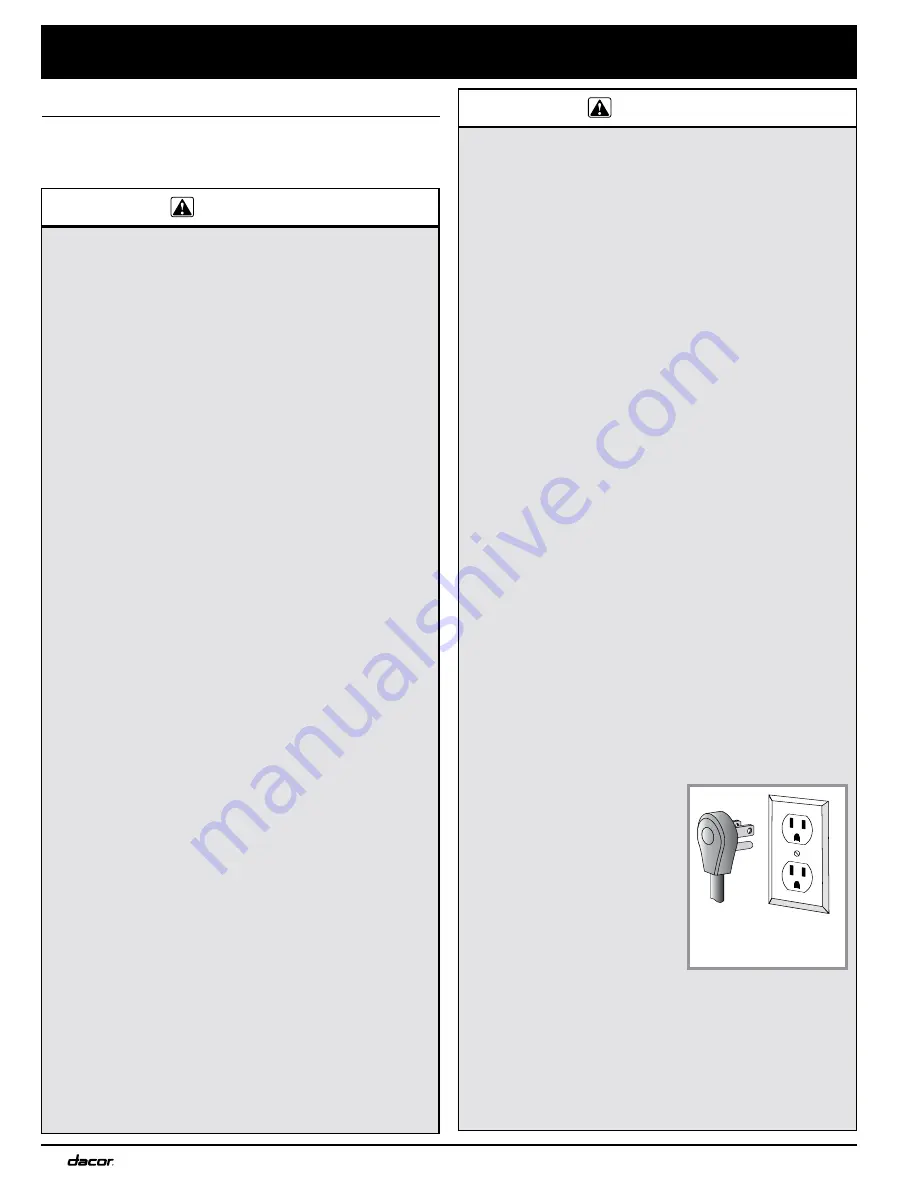
IMPORTANT -
This appliance is equipped with a
three-prong grounding plug for your protection against
possible electric shock hazards. Plug it only into a
dedicated, grounded three-prong electrical outlet. It is the
responsibility of the customer to make sure the proper
type of outlet is installed.
Under any circumstances:
• DO NOT cut or remove the
third (ground) prong from
the power cord.
• DO NOT use an adapter
plug.
• DO NOT use an extension
cord.
• DO NOT use a power cord
that is frayed or damaged.
• DO NOT connect to an electrical outlet with a ground
fault interrupter (GFI).
WARNING
3-prong
plug
3-prong
outlet


