background image

3

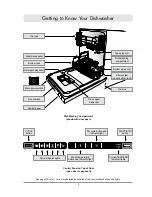
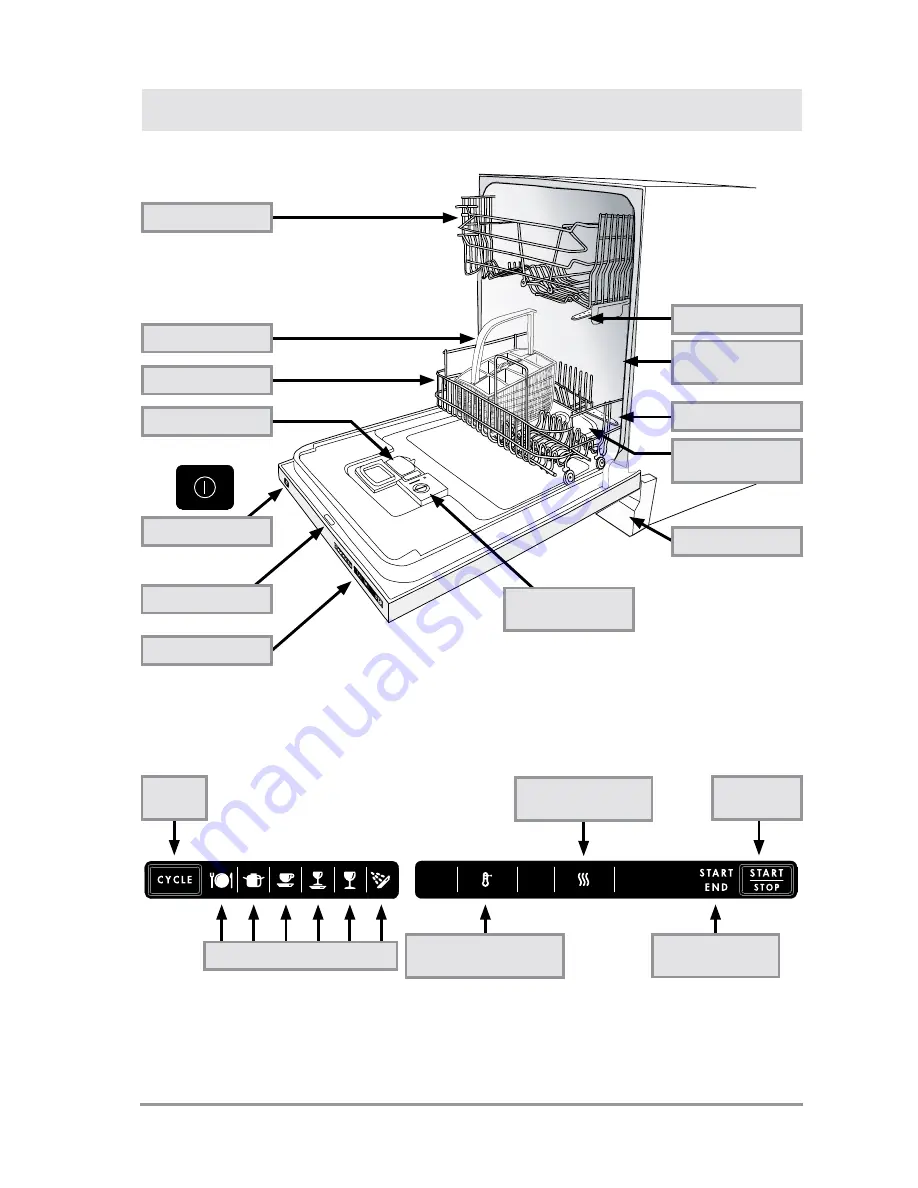
Getting to Know Your Dishwasher

Silverware basket

Top rack

Top spray arm

Bottom rack

Detergent dispenser

Bottom spray arm

Toe kick

Main power switch

Door switch

Control panel

Dish washing  

compartment

Rinse agent  

dispenser

Filter system  

(under bottom rack)

Control Panel on Top of Door 

(open door to expose it)

Dish Washing Compartment 

(shown with door open)

CYCLE 

button

START/STOP 

button

Dry cycle button and 

indicator light

Cycle indicator lights

Cycle START/END 

indicator lights

Wash temperature 

button and indicator light

See pages 10 and 11 for a more detailed description of the control panel buttons and lights.

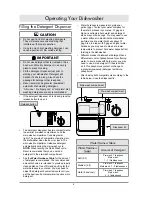
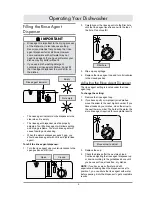
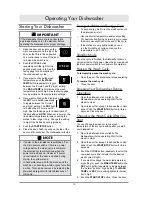
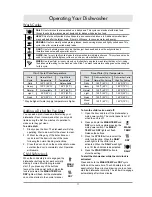
Summary of Contents for EDWH24S

Page 1: ...S with Epicure style handle shown Built In Dishwasher Table of Contents Important Safety Instructions 1 Getting to Know Your Dishwasher 3 Loading Your Dishwasher 4 Operating Your Dishwasher 8 Care and...

Page 2: ...2010 Dacor all rights reserved...

Page 3: ...ce Save it for future reference It contains important use and care information Keep your sales receipt or canceled check Proof of original purchase date is required for warranty service For warranty a...

Page 4: ...it may result in tipping damage serious injury or death Many surfaces within the dishwasher achieve high temperatures Do not touch the interior surfaces or items inside the dishwasher during or immed...

Page 5: ...agent dispenser Filter system under bottom rack Control Panel on Top of Door open door to expose it Dish Washing Compartment shown with door open CYCLE button START STOP button Dry cycle button and i...

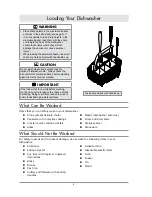
Page 6: ...rked important If the load will sit for a while before washing run the rinse cycle to reduce the chance of food hardening Doing so will also reduce the risk of acidic foods damaging metal surfaces Wha...

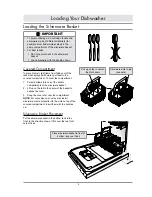
Page 7: ...d compartment To cover the compartment 1 Put small items into one of the middle compartments of the silverware basket 2 Lift up on the tab in the center of the basket to expose the cover 3 Snap the co...

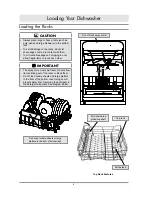
Page 8: ...ay arms must spin freely Do not allow items sticking out of the racks to block them Do not load cookie sheets and large platters in the front of the bottom rack Doing so will prevent water from dissol...

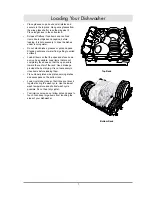
Page 9: ...ting to soiled surfaces Load all items so that the open ends face down as much as possible Load items that are not completely face down so that the open end is toward the center of the rack Good drain...

Page 10: ...unt of detergent recommended The recommended amounts shown are intended to provide properly cleaned dishes free of film and spotting for the water hardness in your area You may need to adjust the dete...

Page 11: ...nt with water before pouring it into the dispenser to get acceptable results Operating Your Dishwasher Filling the Rinse Agent Dispenser important Rinse agent is important to the drying process of the...

Page 12: ...dishes and the machine can develop a white or gray film after a while This can be removed by replacing the pre wash detergent with two tablespoons of citric acid Saving on Water and Energy Costs To s...

Page 13: ...lightly soiled glass coffee cups china or other delicate items RINSE Use to perform a rinse cycle only on dishes that you plan to wash later that day or for rinsing the dishes while waiting for the m...

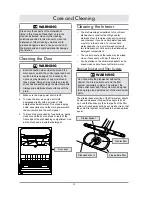
Page 14: ...er system only needs to be cleaned twice a year Care and Cleaning warning Clean only those parts of the dishwasher listed in this manual Clean them only in the manner instructed Use only the cleaning...

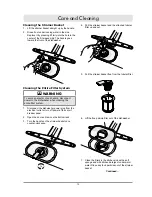
Page 15: ...et straight up by the handle 2 Rinse it out under running water in the sink Replace it by pressing it firmly into the hole in the center of the filter assembly The handle goes toward the front of the...

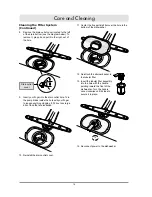
Page 16: ...re it in place 14 Reconnect power to the dishwasher Care and Cleaning Cleaning the Filter System Continued 8 Remove the drain outlet cover located to the left of the drain bottom see the diagram below...

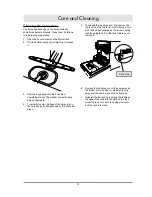
Page 17: ...base of the rack into the slots on the rack mounting rails Turn both rack stops inward to lock the rack into place Cleaning the Spray Arms The holes and bearings on the spray arms can sometimes become...

Page 18: ...le See page 10 Power is disconnected Make sure power is on at the circuit breaker panel and that the power plug is properly connected to electrical outlet if applicable Blown fuse or tripped circuit b...

Page 19: ...be at least 5 8 1 6 cm Filter system clogged lights on control panel may flash Clean filter system See page 12 Water backs up in sink when dishwasher drains Garbage disposal or sink trap full Run garb...

Page 20: ...ergent if results are still poor Cycle selected is too short Select normal or heavy wash cycle Incorrect loading Make sure dishes and flatware are loaded properly See Loading Your Dishwasher section M...

Page 21: ...ach Yellow or brown marks Iron or manganese in water To remove spots use a non abrasive cleaner Temporary solution Pour a teaspoon to tablespoon of citric acid crystals in place of the pre wash deterg...

Page 22: ...ICT OF COLUMBIA AND CANADA LIMITED FIRST YEAR WARRANTY If your DACOR product fails to function within one year of the original date of purchase due to a defect in material or workmanship DACOR will fu...

Page 23: ...RANTY PROCESSING DEPT PO BOX 90070 CITY OF INDUSTRY CA 91715 9907 NO POSTAGE NECESSARY IF MAILED IN THE UNITED STATES BUSINESS REPLY MAIL FIRST CLASS MAIL CITY OF INDUSTRY CA PERMIT NO 1600 POSTAGE WI...

Page 24: ...Designer C Appliance Dealer Showroom H Another Dacor Owner D Kitchen Dealer Showroom I Model Home E Home Show J Other 2 Where did you buy your Dacor appliances A Appliance Dealer D Builder B Kitchen...

Reviews: