8
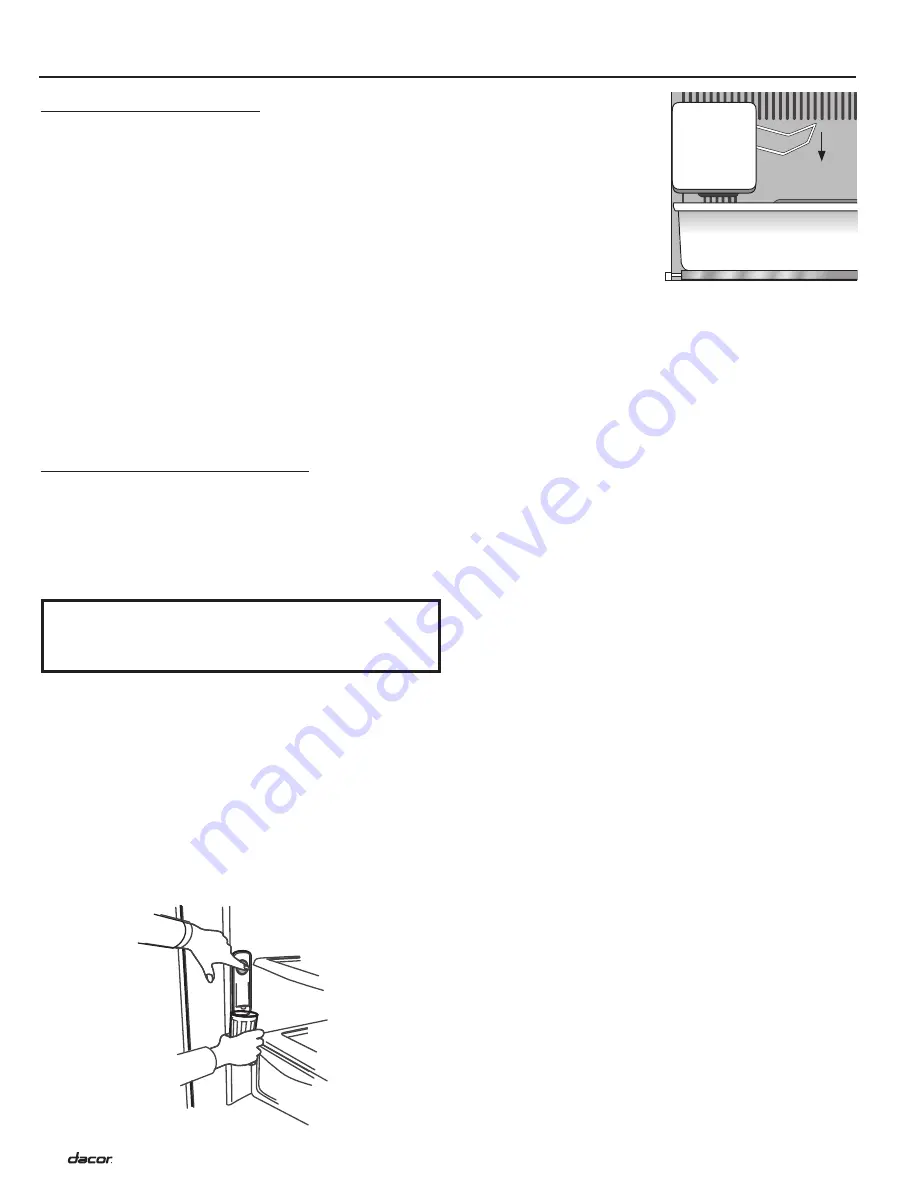
3. Make sure the ice bin is in
place and the ice maker
arm is down.
4. After the freezer section
reaches between 0° to 2°F
(-18° to -17° C), the ice
maker fills with water and
begins operating. You will
have a complete harvest
of ice approximately every
three hours.
5. Allow approximately 24
hours after installation to
receive the first harvest of ice.
6. Discard ice created within the first 12 hours of operation to
assure the system is flushed of impurities.
i
nsTallaTion
i
nsTruCTions
C
omPleTe
i
nsTallaTion
1. Turn the water supply line valve to the open position.
2. Wait a few minutes. Check the water line connections for
leaks.
3. Remove all boxes, parts packages and packing materials
from the interior of the refrigerator.
4. Remove the film and cardboard from the grille and doors or
door frame, depending on your model.
5. Install the shelves and bins in the refrigerator and freezer
compartments.
6. The controls are preset at the factory to the midpoint setting.
Check that the compressor is operating properly and that all
the lights are working.
7. Flush the water system before use. See
Water System
Preparation
.
To get the most efficient use from your new refrigerator, read your
use and care manual. Keep these installation instructions and the
use and care manual near the refrigerator for easy reference.
W
aTer
s
ysTem
P
reParaTion
Please read before using the water system.
Immediately after installation, follow the steps below to make sure
that the water system is properly cleaned.
NOTICE:
Flush four (4) gallons of water through the water filter
cartridge before use. Allow 24 hours for the refrigerator to cool
down and chill water.
Do not use with water that is microbiologically unsafe or of
unknown quality without adequate disinfection before or after
the system. Systems certified for cyst reduction may be used on
disinfected waters that may contain filterable cysts.
1. Install the water filter. The water filter is located in the upper
right hand corner of the fresh food compartment. Remove
the blue bypass cap and retain it for later use. Remove the
sealing label from the end of the filter and insert it into the
filter head. Rotate it gently clockwise until it stops. Snap the
filter cover closed.
2. Hold a sturdy container under the water spout and press the
dispenser button. Flush the water system by dispensing and
discarding 4 gallons (15 L) of water. Cleaning the system will
take approximately 5 minutes and will help clear air from the
line. Additional flushing may be required in some households.
As air is cleared from the system, water may spurt out of the
dispenser.
Summary of Contents for EF36BNNFSS
Page 11: ......


