3
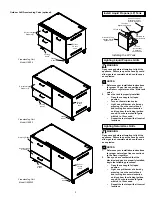
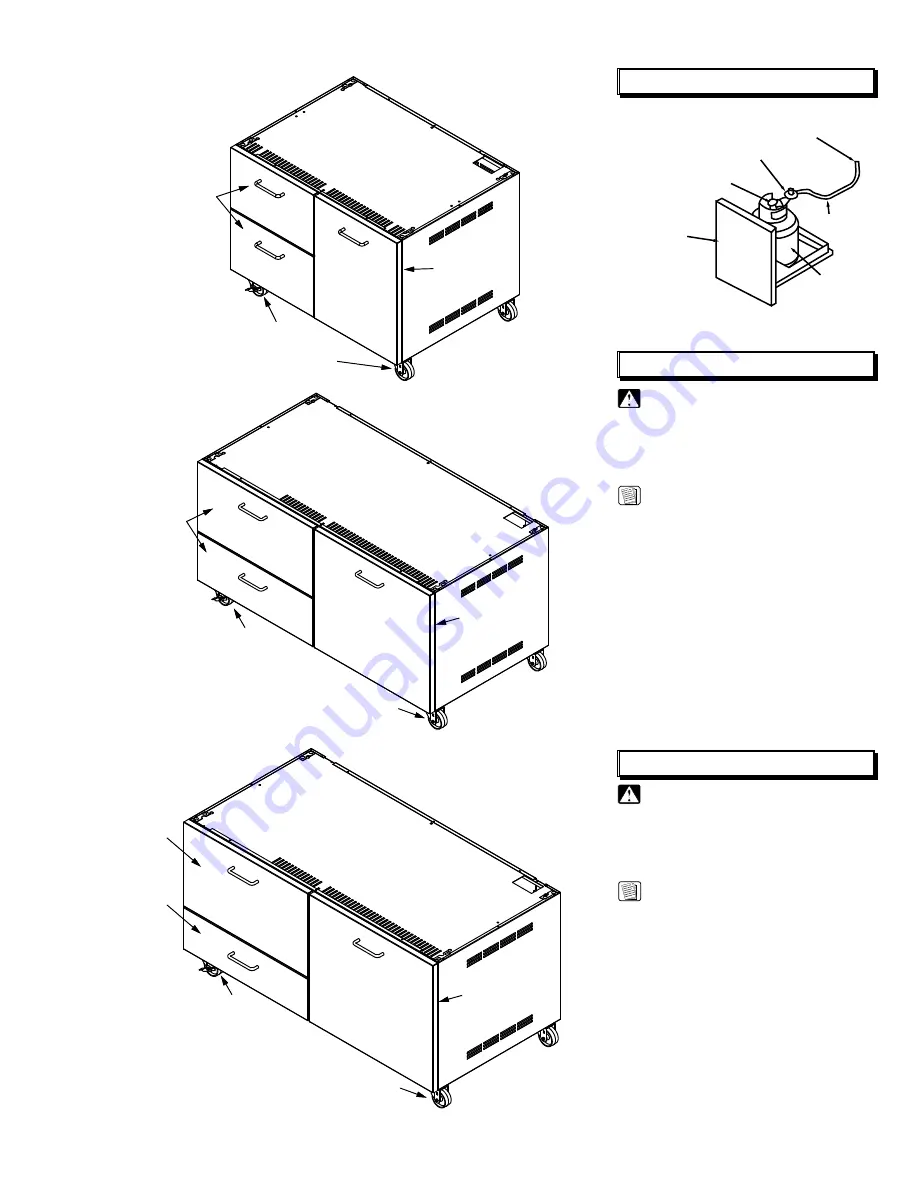
Outdoor Grill freestanding Carts (optional)
:
Freestanding Cart
Model OBCW52
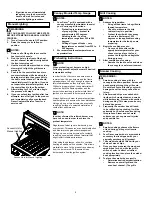
Install Liquid propane (Lp) Tank
LP Tank Valve
Tank Gas
Regulator (included)
LP Tank
(not included)
5 Gal Max.
Shelf Capacity
Gas Connection at
Right Rear Corner
Under Outdoor Grll
Slideout LP Tank
Storage Self on
Optional Cart
Flexible Gas
Line (included)
Installing the LP Tank
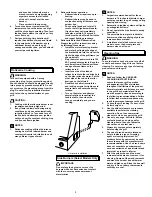
Lighting Liquid propane Grills
WARNING:
Open canopy before attempting to light the
appliance. failure to open the canopy could
allow gas to accumulate which could cause
an explosion.
NOTES:
1.
Reference your installation instructions
for proper Lp gas line connections to
the Dacor
®
regulator and the “main tank
valve”.
2.
Once the tank is properly installed:
•
Open the canopy to full open
position.
•
Turn on the main tank valve.
•
Light one grill burner at a time by
pressing in on the control knob
and turning it counter clockwise
until you hear the clicking ignition
sound. Your burner should ignite
within 4 to 10 seconds.
•
Repeat the last step with all control
locations.
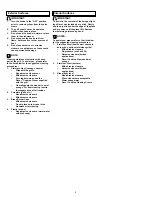
Lighting Natural Gas Grills
WARNING:
Open canopy before attempting to light the
appliance. failure to open the canopy could
allow gas to accumulate which could cause
an explosion.
NOTES:
1.
Reference your installation instructions
for proper natural gas line connections
to the Dacor regulator.
2.
Once you have confirmed that the
electrical and gas are properly installed,
begin the following processes:
•
Open the canopy to full open
position.
•
Light one grill burner at a time by
pressing in on the control knob
and turning it counter clockwise
until you hear the clicking ignition
sound. Your burner should ignite
within 4 to 10 seconds.
•
Repeat the last step with all control
locations.
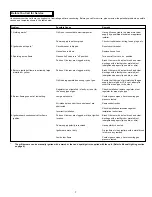
Freestanding Cart
Model OBC52
Freestanding Cart
Model OBC36
Locking
wheel
Roll out storage
Drawers (2)
Roll out
LP tank
shelf
Locking
wheel
Locking
wheel
Roll out storage
Drawers (2)
Roll out
LP tank
shelf
Locking
wheel
Locking
wheel
Roll out storage
drawers
Warming Drawer
Roll out
LP tank
shelf
Locking
wheel


