26
English
Installation Instructions
Installing the Flexible Conduit, cont.
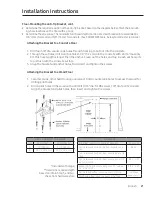
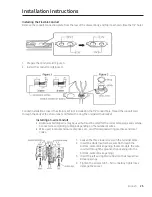
Installing a 4-wire conduit
• Aluminum building wire may be used but it must be rated for the correct amperage and voltage.
Connect wires according to this Step 4 depending on the number of wires.
• Wire used, location and enclosure of splices, etc., must conform to good wiring practices and local
codes.
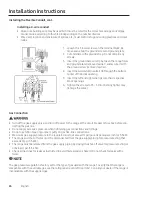
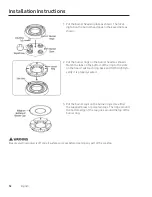
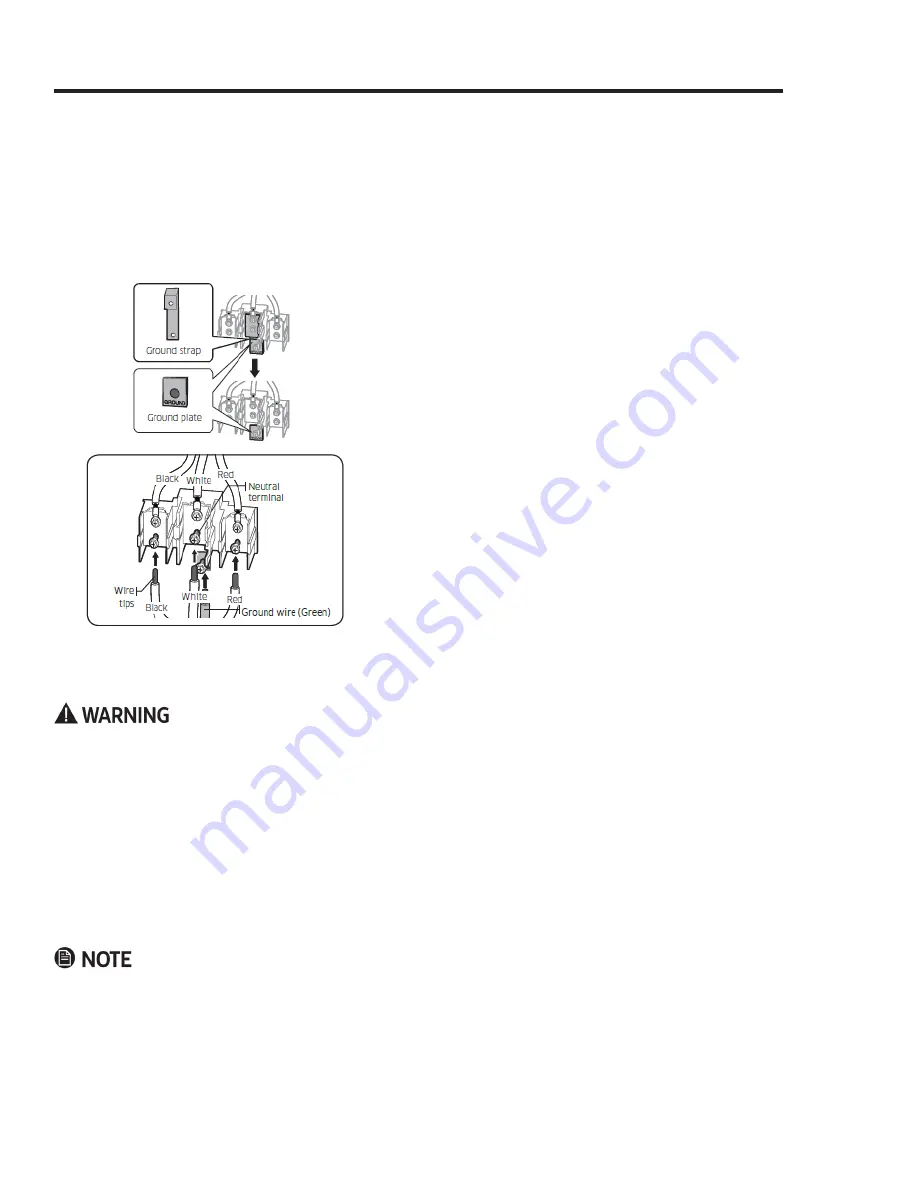
1. Loosen the 3 lower screws on the terminal block. Re-
move and retain the ground screw and ground plate.
2. Cut and discard the ground strap. Do not discard any
screws.
3. Insert the ground bare wire tip between the range frame
and ground plate (removed earlier), and secure it with
the ground screw (removed earlier).
4. Insert the wire (white/neutral) tip through the bottom
center of the block opening.
5. Insert the left and right wire tips into their respective
block openings.
6. Tighten the screws to 35 – 50 in.-lbs.(Any tighter may
damage the wires.)
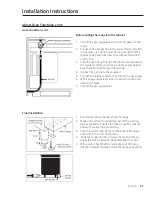
Gas Connection
• Turn off the gas-supply valve, and turn off power to the range at the circuit breaker or fuse box before con-
necting the gas line.
•
Do not apply excessive pressure when tightening gas connections and fittings.
•
Do not use Teflon tape or plumber’s putty on gas flex-line connections.
• Maximum gas-supply pressure to the regulator must not exceed ½ psi (pounds per square inch) or 3.5 kPa.
• The range and shut-off valve must be disconnected from the gas-supply piping for pressure testing that
exceeds ½ psi (3.5 kPa).
• The range must be isolated from the gas-supply piping by closing the shut-off valve for pressure testing at
or below ½ psi (3.5 kPa).
•
Check all gas lines for leaks as instructed to avoid fire/explosions hazard. Do not check for leaks with a
flame.
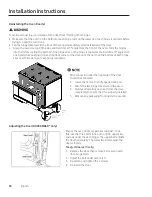
The gas-pressure regulator is factory set for the type of gas used with the range. To verify that the range is
compatible with the available gas, see the rating label (oven left door trim). Consult your dealer if the range is
incompatible with the supplied gas.


