3
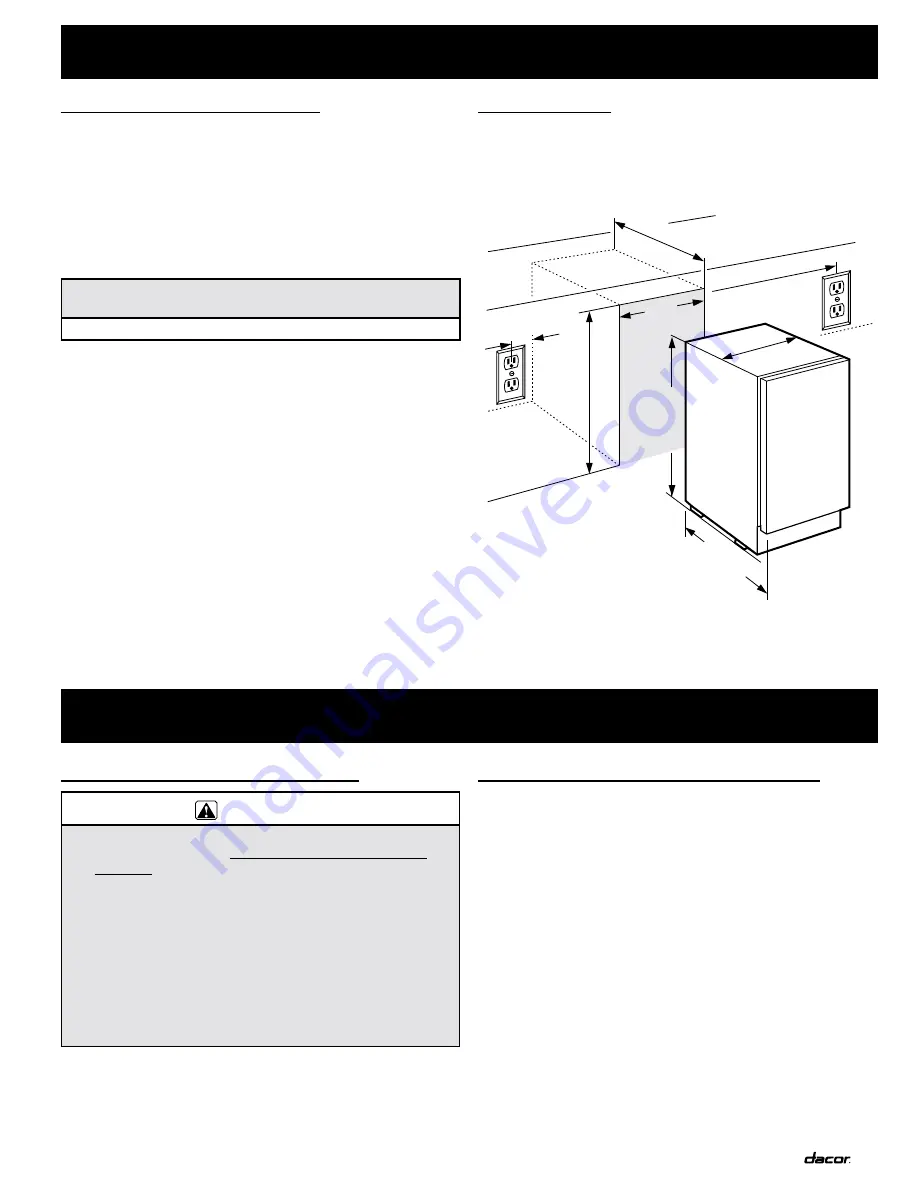
Dimensions
nOte:
The overall height of the appliance can be increased by
½” (12.7mm) by adjusting the feet. The minimum cutout
dimensions below allow for additional clearance for sliding the
appliance into a recess based on how you choose the final
installation to look.
Cabinet Cutout/Counter-top and Product Dimensions
Location Requirements
Operating Environment
Do not operate this appliance near an oven, range top,
◊
radiator or similar heat source. For best performance, do not
place this appliance where it will be hit by direct sunlight or
exposed to extreme weather conditions.
This appliance is designed to operate outdoors. It is set to
◊
operate within the ambient temperature limits listed below.
These temperature limits should not be exceeded.
AmbIENT TEmPERATuRE REquIREmENTS
fOR PROPER OPERATION
50°F to 109°F (11°C to 42°C)
Enclosed Cabinet and Counter Layout
Requirements
The Dacor outdoor refrigerator can be recessed within an opening
between cabinets or placed under a counter-top if desired.
IMPOrtAnt:
The installation
◊
location should permit the door to open a
minimum of 90°. The maximum angle the door can open is
105°.
The appliance must be l
◊
ocated so that the grill on the bottom
is not obstructed.
The electrical outlet must be accessible after installation so
◊
that the user can unplug the appliance.
T
◊
he floor under the appliance must be flat and level with the
surrounding floor.
If installing the unit in a cutout, make a hole in the side of
◊
the cutout to allow the power cord to pass through to the
electrical outlet.
Planning the Installation
Installation Instructions
unpacking the Appliance
WArnIng
If you receive a damaged product, immediately contact
•
your dealer or builder. Do not install or use a damaged
appliance.
To prevent personal injury, property damage or damage
•
to the unit, this appliance should only be unpacked and
moved by two people.
Keep packaging materials away from children. Plastic
•
sheets and bags can cause suffocation.
To protect the appliance from possible damage, allow it to
•
stand in place 1/2 to 1 hour after delivery before connecting
power. Doing so allows the refrigerant and system
lubrication to reach equilibrium.
Protect the floor surface before you remove the unit from
◊
the box. Put it on cardboard, plywood or preferably a carpet
remnant (backing up) placed on the floor.
Keep the floor protected when moving the appliance.
◊
Tools Required for Installation
Make sure that you have the necessary tools and materials
available for a proper installation.
Level
◊
Crescent wrench
◊
3/32” Allen wrench
◊
Handle (included)
◊
23 1/8”
587mm
34 1/4”
M
in.
870mm
24” M
in.
610mm
45” Max.
1143mm
597mm
23 1/2”
70” Max.
1778mm
24”
610mm
34”
M
in.
864mm
*
* Depth does not
include handle depth
of 2 1/2” (64mm).
Summary of Contents for OF24LS
Page 7: ......
Page 8: ...Dacor Phone 800 793 0093 FAX 626 403 3130 www Dacor com...


