3-8
EXTERNAL PARTS
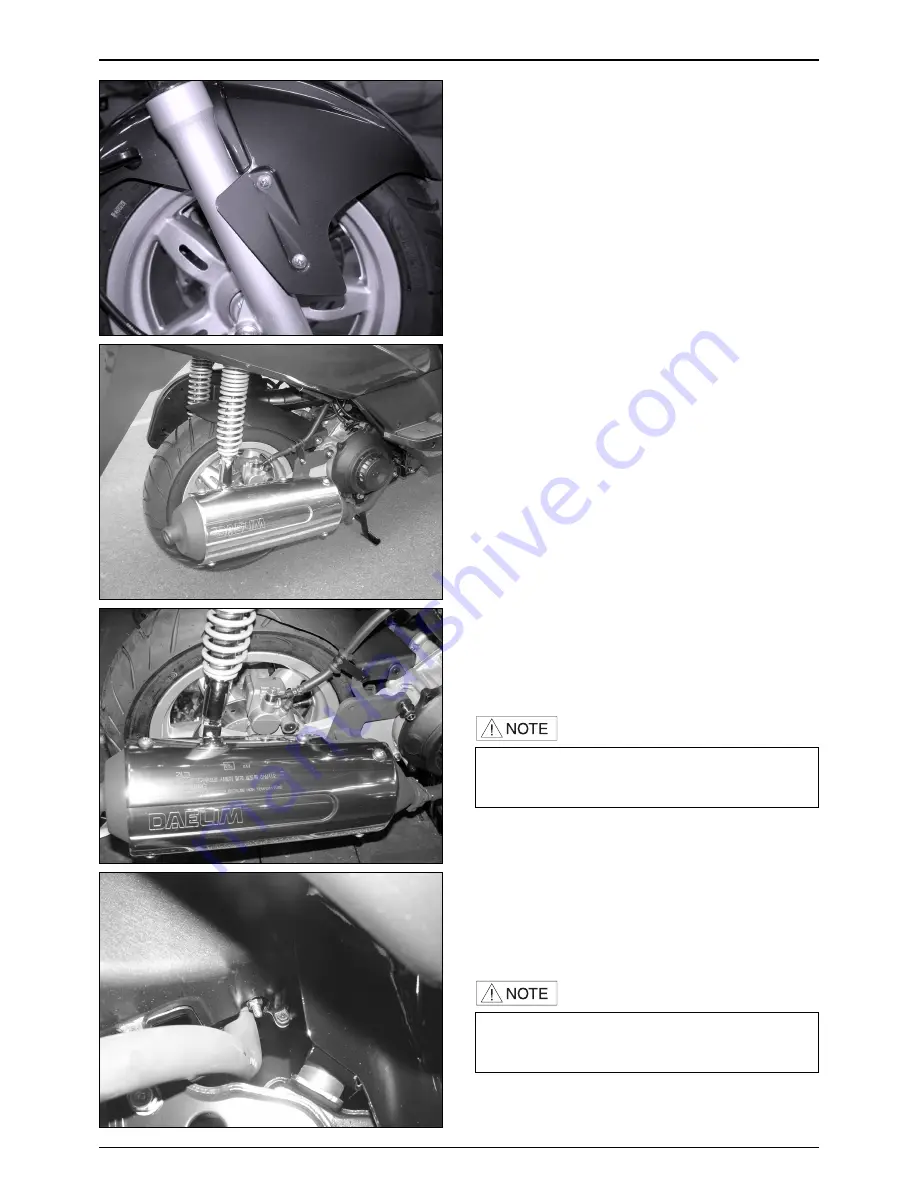
FRONT FENDER
●
Loosen the 4 screws (R/L, 2Ea for each)
●
Install in the reverse order of removal
EX. PIPE
●
Loosen the 2 cap nuts securing the cylinder comp.
●
Pull the Ex. Pipe comp. downward to remove it
●
Install in the reverse order of removal
MUFFLER
●
Loosen the muffler flange bolt securing Ex. pipe comp.
●
Loosen the 3 bolts securing the Rr. Fork
●
Remove the Ex. muffler comp.
REAL WHEEL MUDGUARD
●
Loosen the 2 flange bolts of RH.
●
Loosen the flange bolt securing the air cleaner and
mudguard
●
Remove the air cleaner
●
Loosen the washer bolt securing the mudguard
●
Install in the reverse order of removal
•
Never performing the maintenance of the muffler
right after stopping the vehicle because the muffler is
extremely hot.
•
Replace the packing when assemblying the muffler
and Ex. pipe comp.
Summary of Contents for S2 125
Page 1: ......
Page 3: ......
Page 21: ...MEMO...
Page 49: ...MEMO...
Page 59: ...MEMO...
Page 63: ...7 0 LH CRANKCASECOVER CONTINUOUSLYVARIABLE TRANSMISSION LH CRANKCASE COVER...
Page 77: ...8 0 A C GENERATOR STARTER CLUTCH FLYWHEEL STATOR COMP RH SHROUD COOLING FAN...
Page 86: ...MEMO...
Page 103: ...10 0 CYLINDER PISTON CYLINDER CYLINDER GASKET PISTON TOP RING SECOND RING OIL RING...
Page 110: ...MEMO...
Page 111: ...11 0 TRANSMISSION CRANKSHAFT CRANKCASE RH CRANKCASE LH CRANKCASE CRANKSHAFT...
Page 122: ...MEMO...
Page 144: ...MEMO...
Page 145: ...13 0 REAR WHEEL BRAKE SUSPENSION REAR SWING ARM...
Page 154: ...MEMO...
Page 168: ...MEMO...
Page 177: ...MEMO...
Page 183: ...SERVICEMANUAL 2004 11 PRINTED 2004 11 PUBLICATION NO COPY...


