7-2
LH. CRANKCASE COVER/CONTINUOUSLY VARIABLE TRANSMISSION
LH. CRANKCASE COVER
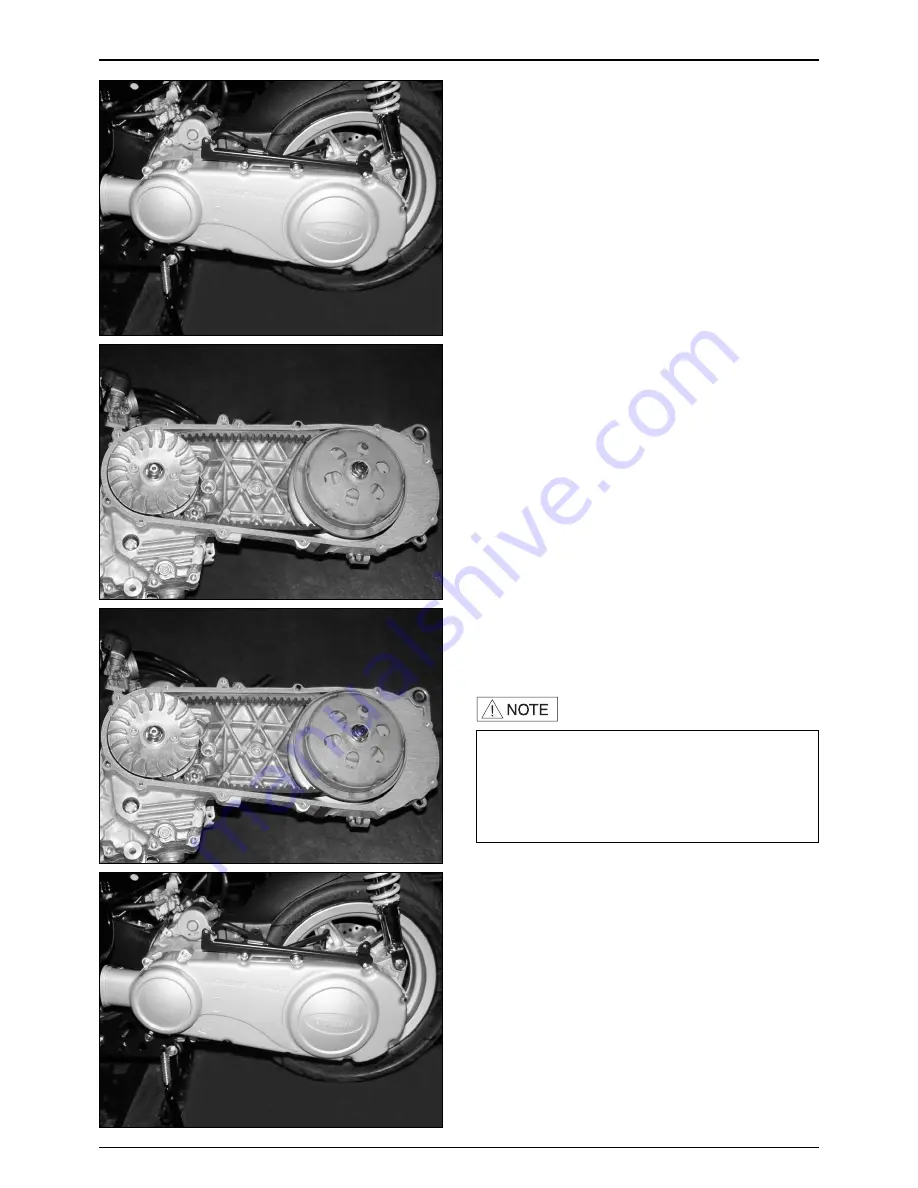
REMOVAL
●
Remove the 12 flange bolts securing LH. crankcase.
●
Remove the LH. crankcase cover.
●
Remove the gasket and dowel pin.
INSTALLATION
●
Install the new gasket and dowel pin after removing
the gasket of the crankcase surface.
●
Tighten the LH. crankcase cover bolts.
·
Align the bolts to uniform the tightening location
before tightening then when you don’t know the bolt
length.
·
Tighten the bolts diagonally with specified
tightening torque.
·
Be sure to replace a new gasket and dowel pin
Summary of Contents for S2 125
Page 1: ......
Page 3: ......
Page 21: ...MEMO...
Page 49: ...MEMO...
Page 59: ...MEMO...
Page 63: ...7 0 LH CRANKCASECOVER CONTINUOUSLYVARIABLE TRANSMISSION LH CRANKCASE COVER...
Page 77: ...8 0 A C GENERATOR STARTER CLUTCH FLYWHEEL STATOR COMP RH SHROUD COOLING FAN...
Page 86: ...MEMO...
Page 103: ...10 0 CYLINDER PISTON CYLINDER CYLINDER GASKET PISTON TOP RING SECOND RING OIL RING...
Page 110: ...MEMO...
Page 111: ...11 0 TRANSMISSION CRANKSHAFT CRANKCASE RH CRANKCASE LH CRANKCASE CRANKSHAFT...
Page 122: ...MEMO...
Page 144: ...MEMO...
Page 145: ...13 0 REAR WHEEL BRAKE SUSPENSION REAR SWING ARM...
Page 154: ...MEMO...
Page 168: ...MEMO...
Page 177: ...MEMO...
Page 183: ...SERVICEMANUAL 2004 11 PRINTED 2004 11 PUBLICATION NO COPY...


