26
2-2 Judgement
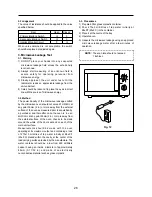
The value of resistance should be applied to the value
specified below.
When value obtained is not acceptable, the switch
should be replaced or adjusted again.
3. Microwave Leakage Test
3-1. Warning
1) DO NOT place your hands into any suspected
microwave leakage field unless the safe density
level is known.
2) Always start measuring of an unknown field to
assure safety for operating personnel from
microwave energy.
3) Slowly approach the unit under test until the
radiometer reads an appreciable leakage from the
unit under test.
4) Care should be taken not to place the eyes in direct
line with the source of microwave energy.
3-2 Method
The power density of the microwave leakage emitted
by the microwave oven should not exceed 1mW/cm
2
at
any point 50mm (2 in.) or more away from the external
surface of the oven as measured prior to acquisition by
a purchaser and thereafter once the oven is in use,
4mW/cm
2
at any point 50mm(2 in.) or more away from
the external surface of the oven, checks to be made
around the whole of the door seal and on each of the
main unit surface.
Measurements should be made with the oven
operating at its maximum output and containing a load
of 275±15 mililitres of tap water initially at 68±9˚F
(20±5˚C) placed within the cavity at the center of the
load carrying surface provided by the manufacture. The
water container should be a low from 600 milliliters
beaker having an inside diameter of approximately
85mm (3-11/32 in.) and made of an electrically
nonconductive material such as glass or plastic.
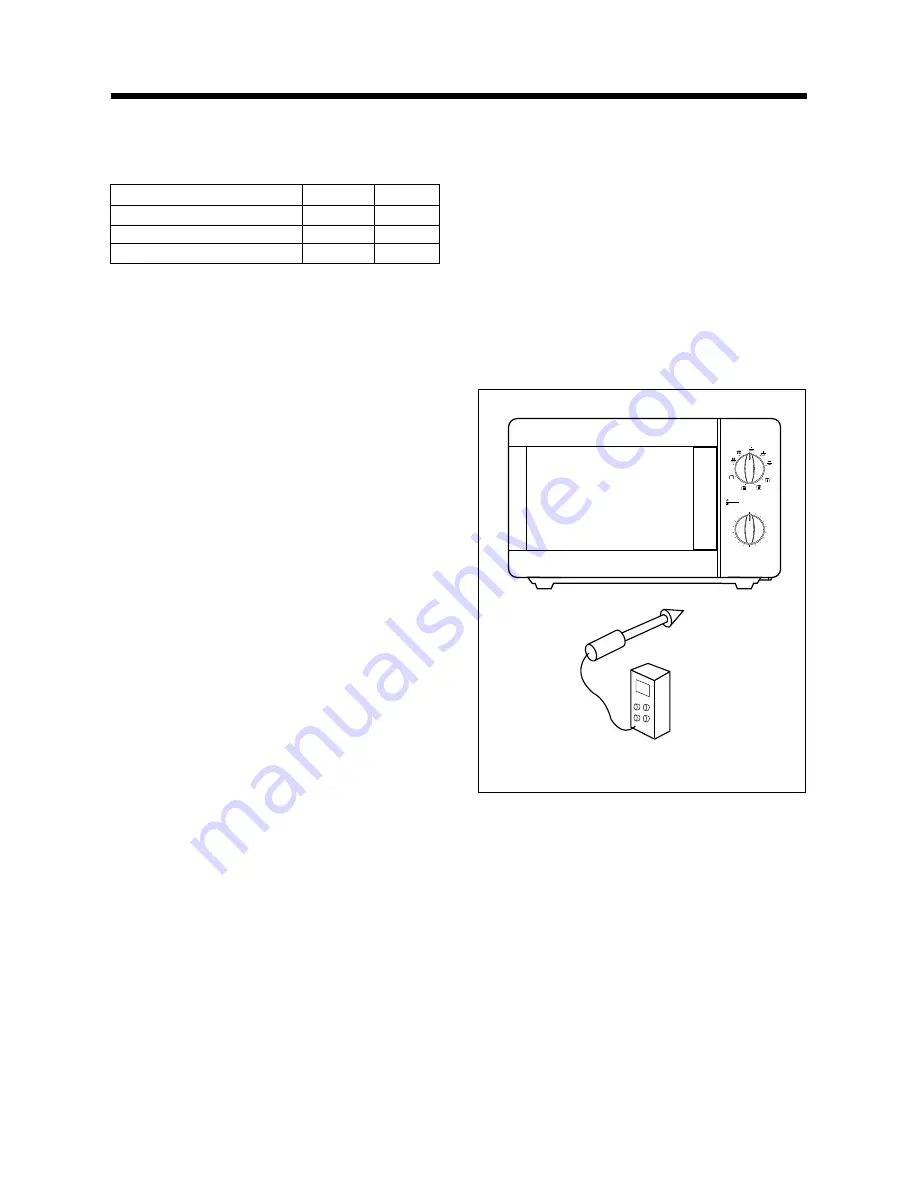
3-3. Procedures
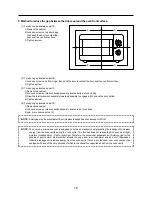
1) Prepare 600cc glass or plastic container.
2) Pour 275±5 millilitres of tap water initially at
68±9˚F(20±5˚C) in the container.
3) Place it at the centre of the tray.
4) Operate oven.
5) measure the microwave leakage using an approved
microwave leakage meter after a few minutes of
operation.
Door
Open
Closed
Primary Interlock Swtich
∞
0
Secondary Interlock Switch
∞
0
Interlock Monitor Circuit
0
∞
NOTE : The scan rate should not exceed
1 inch/sec.
@@@@@@@@e?
@@@@@@@@e?
@@h?
@@h?
@@h?
@@h?
@@h?
@@h?
@@@@@@@@e?@@@@@@@@?e@@@@@@@@e?@@@@@@@@?e@@@@@@@@e?@@@@@@@@?e@@@@@@@@e?@@@@@@@@?e@@@@@@@@e?@@@@@@@@?e@@@@@@@@e?@@@@@@@@?e@@@@@@@@e?@@@@@@@@?e@@@@@@@@e?@@@@@@@@?e@@@@@@@@e?@@@@@@@@?e@@@@@@@@e?
@@@@@@@@e?@@@@@@@@?e@@@@@@@@e?@@@@@@@@?e@@@@@@@@e?@@@@@@@@?e@@@@@@@@e?@@@@@@@@?e@@@@@@@@e?@@@@@@@@?e@@@@@@@@e?@@@@@@@@?e@@@@@@@@e?@@@@@@@@?e@@@@@@@@e?@@@@@@@@?e@@@@@@@@e?@@@@@@@@?e@@@@@@@@e?
@@@@@@@@
@@@@@@@@
@@
@@
@@
@@
@@
@@
@@
@@
@@
@@
@@
@@
@@
@@
@@
@@
@@
@@
@@
@@
@@
@@
@@
@@
@@
@@
@@
@@
@@
@@
?@@
?@@
?@@
?@@
?@@
?@@
?@@@@@@@@
?@@@@@@@@
?@@@@@@@@?e@@@@@@@@e?@@@@@@@@?e@@@@@@@@e?@@@@@@@@?e@@@@@@@@e?@@@@@@@@?e@@@@@@@@e?@@@@@@@@?e@@@@@@@@e?@@@@@@@@?e@@@@@@@@e?@@@@@@@@?e@@@@@@@@e?@@@@@@@@?e@@@@@@@@e?@@@@@@@@?e@@@@@@@@e?@@@@@@@@
?@@@@@@@@?e@@@@@@@@e?@@@@@@@@?e@@@@@@@@e?@@@@@@@@?e@@@@@@@@e?@@@@@@@@?e@@@@@@@@e?@@@@@@@@?e@@@@@@@@e?@@@@@@@@?e@@@@@@@@e?@@@@@@@@?e@@@@@@@@e?@@@@@@@@?e@@@@@@@@e?@@@@@@@@?e@@@@@@@@e?@@@@@@@@
@@g
@@g
@@g
@@g
@@g
@@g
@@@@@@@@
@@@@@@@@
@@
@@
@@
@@
@@
@@
@@
@@
@@
@@
@@
@@
@@
@@
@@
@@
@@
@@
@@
@@
@@
@@
@@
@@
0
1
2
3
4
5
6
7
8
9
10
20
30
40
50
60
Timer
Power
Fig. 12
Summary of Contents for KOG-87550S
Page 29: ...28 WIRING DIAGRAM ...
Page 30: ...29 EXPLODED VIEW ...


