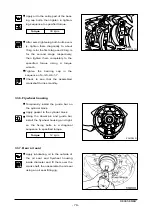
3.2.10. Piston pin
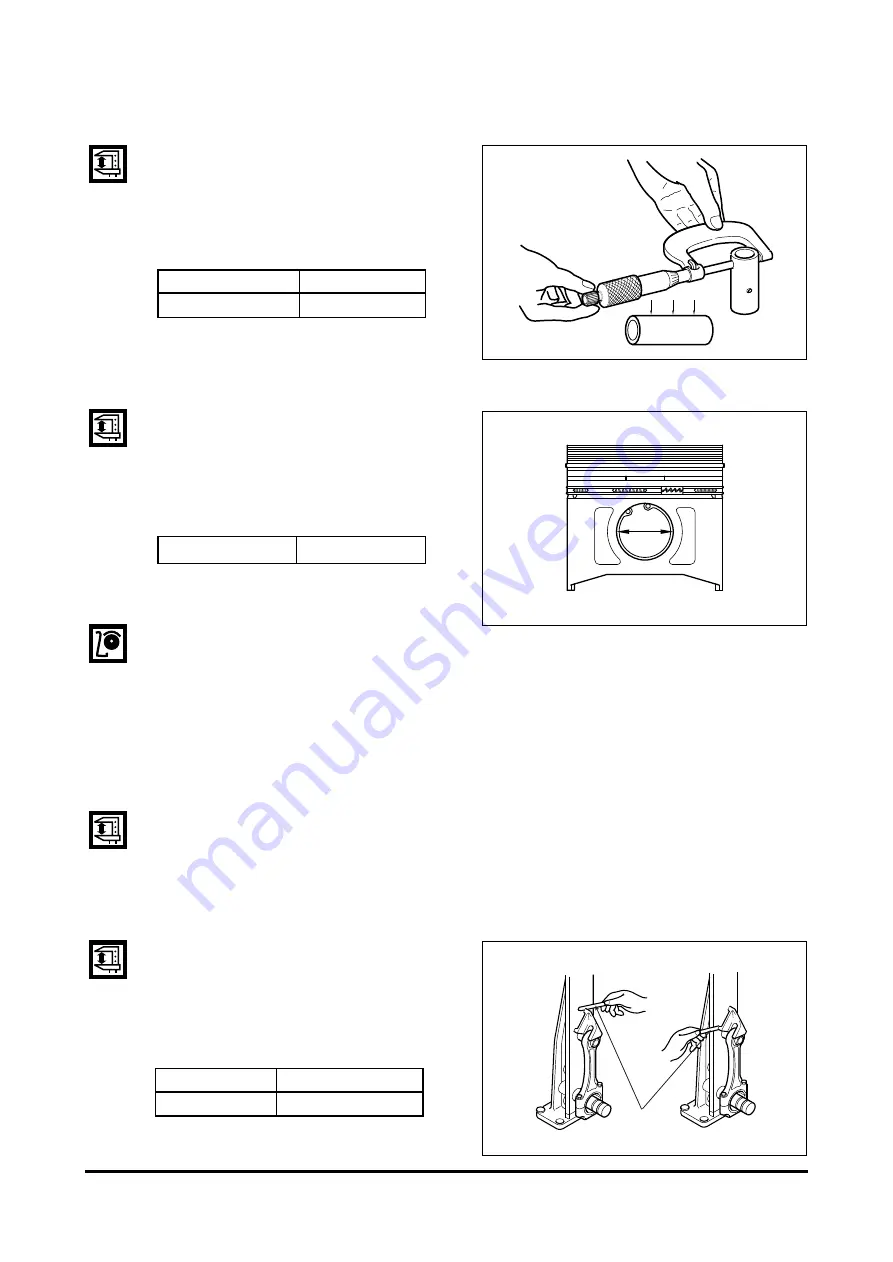
1) Wear
•
Measure the amount of wear on the
piston pin at the points as shown.
•
If the measured values are beyond
the limit (0.005 mm or greater),
replace the pin.
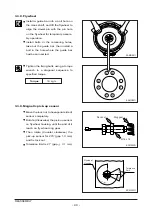
2) Clearance
•
Measure the clearance between the
piston pin and connecting rod bush-
ing, and replace either of them,
whichever damaged more, if the
measured value is beyond the limit.
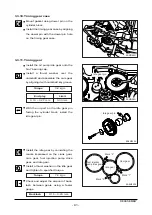
3) Condition check
•
Check the engaged condition of the
piston and piston pin. If it is possible
to force the pin into the piston heated with piston heater, the piston is normal.
When replacing the piston, be sure to replace the piston pin together.
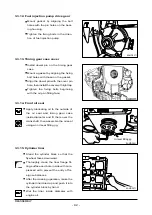
3.2.11. Connecting rod
1) Distorsion
•
Check the connecting rod for distortion.
•
As shown in the figure below, install the connecting rod to the connecting rod tester, and
check for distortion using a feeler gauge.
•
If the connecting rod is found distorted, never re-use it but replace with a new one.
2) Holes alignment (parallelism)
•
Measure the alignment of the con-
necting rod small bushing hole with
connecting rod big end hole.
•
At this time also, use both connecting
rod tester and feeler gauge.
- 74 -
INSPECTION AND MEASUREMENT
EA0M4031
EA3M2047
Standard
Limit
N
44.995 ~
N
45.0 mm
N
44.990 mm or less
Standard
Limit
0.05 mm
0.1 mm or less
Limit
0.011 mm
EA0M4034
간극 게이지
feeler
gauge
Summary of Contents for DE12T
Page 2: ......
Page 187: ... Engine Assembly DE12TIS ECIEA 183 APPENDIX EE6OM026 ...
Page 188: ......


