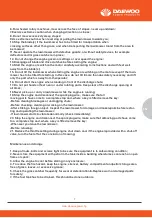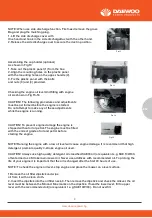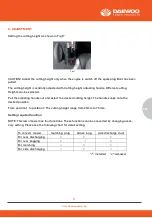
CAUTION! Adjust the cutting height only when the engine is switch off the spark plug Boot has been
NOTE: This lawn mower has four functions. These functions can be converted by changing acces-
www.daewoopower.bg
12
EN
www.daewoopower.bg
12
EN
28
9. OPERATION
Start and stop the engine
WARNING: the blade begins to rotate as soon as the engine is started.
NOTE: do not operate the machine in enclosed or poorly Ventilated areas as the exhaust gas con-
tains toxic substance. Keep hands , feet ,hair and clothing away from.
All the moving parts of the machine . the exhaust and other Parts of the machine will become hot
during use.
Make sure that the blade is securely fastened before starting the engine.
NOTE: to start the engine make sure that the spark plug boot is located on the plug and the machi-
ne is filled with sufficient oil and petrol.
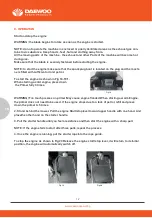
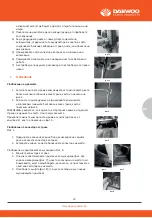
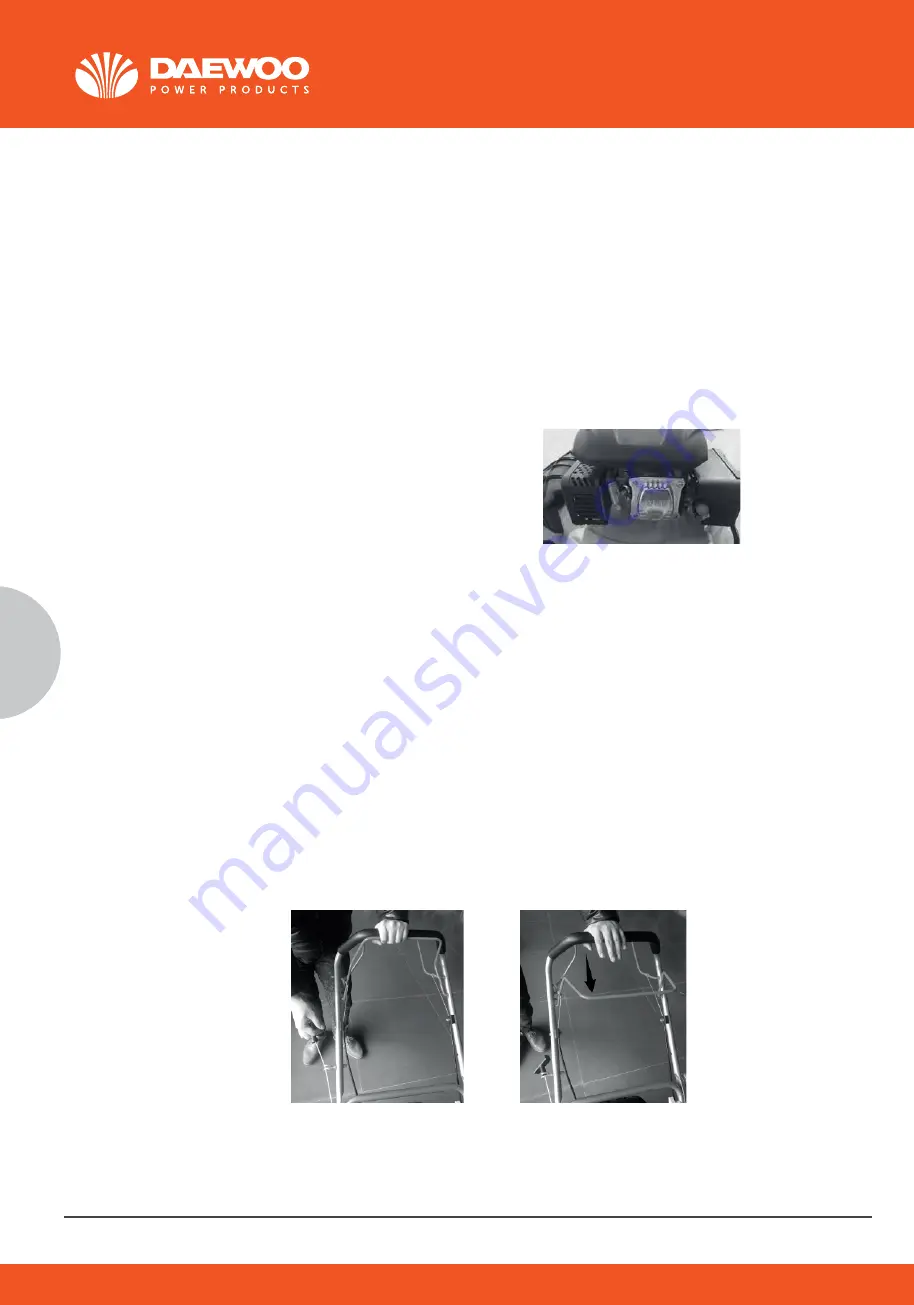
To start the engine As shown in Fig 18-19 1.
When starting a cold engine, press down
the Primer fully 3 times.
WARNING! Too much presses on primer May cause engine flooded When starting a warm Engine,
the primer does not need to be used. If the engine stops due to a lack of petrol, refill and press
down the primer 3~5 times.
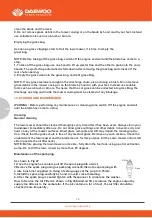
2. Stand behind the mower. Pull the engine Start/stoplever toward upper handle with one hand. And
placethe other hand on the starter handle.
3. Pull the starter handle until you feel a resistance andthen start the engine with a sharp pull.
NOTE: If the engine fails to start after three pulls, repeat the process.
4. Once the engine is running, put the starter ropeInto the rope guide.
To stop the engine As shown in Fig 20 Release the engine start/stop lever, it will return to its Initial
position, the engine will automatically switch off.
Fig 18
Fig 19
Fig 20
9. OPERATION
Start and stop the engine
WARNING: the blade begins to rotate as soon as the engine is started.
NOTE: do not operate the machine in enclosed or poorly Ventilated areas as the exhaust gas con-
tains toxic substance. Keep hands , feet ,hair and clothing away from.
All the moving parts of the machine . the exhaust and other Parts of the machine will become hot
during use.
Make sure that the blade is securely fastened before starting the engine.
NOTE: to start the engine make sure that the spark plug boot is located on the plug and the machi-
ne is filled with sufficient oil and petrol.
To start the engine As shown in Fig 18-19 1.
When starting a cold engine, press down
the Primer fully 3 times.
WARNING! Too much presses on primer May cause engine flooded When starting a warm Engine,
the primer does not need to be used. If the engine stops due to a lack of petrol, refill and press
down the primer 3~5 times.
2. Stand behind the mower. Pull the engine Start/stoplever toward upper handle with one hand. And
placethe other hand on the starter handle.
3. Pull the starter handle until you feel a resistance andthen start the engine with a sharp pull.
NOTE: If the engine fails to start after three pulls, repeat the process.
4. Once the engine is running, put the starter ropeInto the rope guide.
To stop the engine As shown in Fig 20 Release the engine start/stop lever, it will return to its Initial
position, the engine will automatically switch off.
Summary of Contents for DLM4600SPL
Page 19: ...www daewoopower bg 19 BG 1 20 2 21 3 22 4 22 5 22 6 23 7 25 8 27 9 28 10 30 11 33 12 34 13 41...
Page 40: ...www daewoopower bg 40 BG 10 6 M5x30 10 6 M5x30...
Page 43: ...www daewoopower bg 43 BG 24 6 6 12 6...
Page 44: ...www daewoopower bg 44 BG 1 1 2022 6 6...
Page 45: ...www daewoopower bg 45 BG...
Page 46: ...www daewoopower bg 1784 1 51 359 2 81 77 600 359 2 81 77 601...

