


38
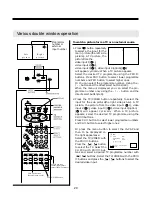
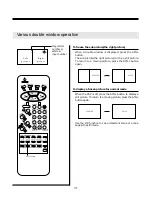
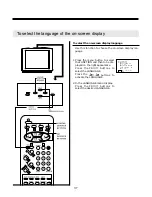
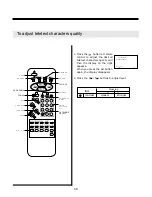
To select the blue screen
When no signal is being received, the TV will automati-
cally turn blue at that time BLUE SCREEN ON.
Press the menu button to select
the FUNCTION and then to be dis-
played on the right appearance.
Press the PR
▼
/
▲
buttons to
select the BLUE SCREEN.
Press the
/
buttons to
change BLUE SCREEN ON.
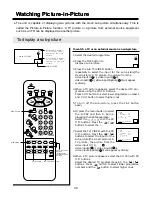
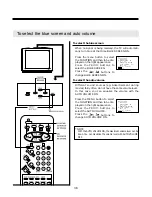
To select the auto volume
Different sound sources (eg. Advertisement during
movies) fairly often do not have the same volume level.
In this case, you can equalize the volume with the
AUTO VOLUME ON.
Press the MENU button to select
the FUNCTION and then to be dis-
played on the right appearance.
Press the PR
▼
/
▲
buttons to
select the AUTO VOLUME.
Press the
/
buttons to
change AUTO VOLUME ON.
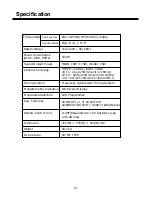
To select the blue screen and auto volume
* NOTE
With the AUTO VOLUME ON, the maximum volume level can be
down. You can maximize the volume level with AUTO VOLUME
OFF.
FUNCTION
LANGUAGE
▶
BLUE SCREEN ON
1 6 : 9 O N
BROADCAST SYSTEM
AUTO VOLUME ON
SKIP ON
▼▲
SELECT
◀▶
CHANGE
EXIT
MENU
FUNCTION
LANGUAGE
BLUE SCREEN ON
1 6 : 9 O N
BROADCAST SYSTEM
▶
AUTO VOLUME ON
SKIP ON
▼▲
SELECT
◀▶
CHANGE
EXIT
MENU
Summary of Contents for DTY-29Z9
Page 1: ...INSTRUCTION MANUAL COLOR TELEVISION DTY DTY 29Z9 29Z9 ...
Page 53: ...52 MEMO MEMO ...
Page 54: ...53 MEMO MEMO ...
Page 55: ...54 MEMO MEMO ...
Page 56: ...P N 48586915E107 R0 ...


