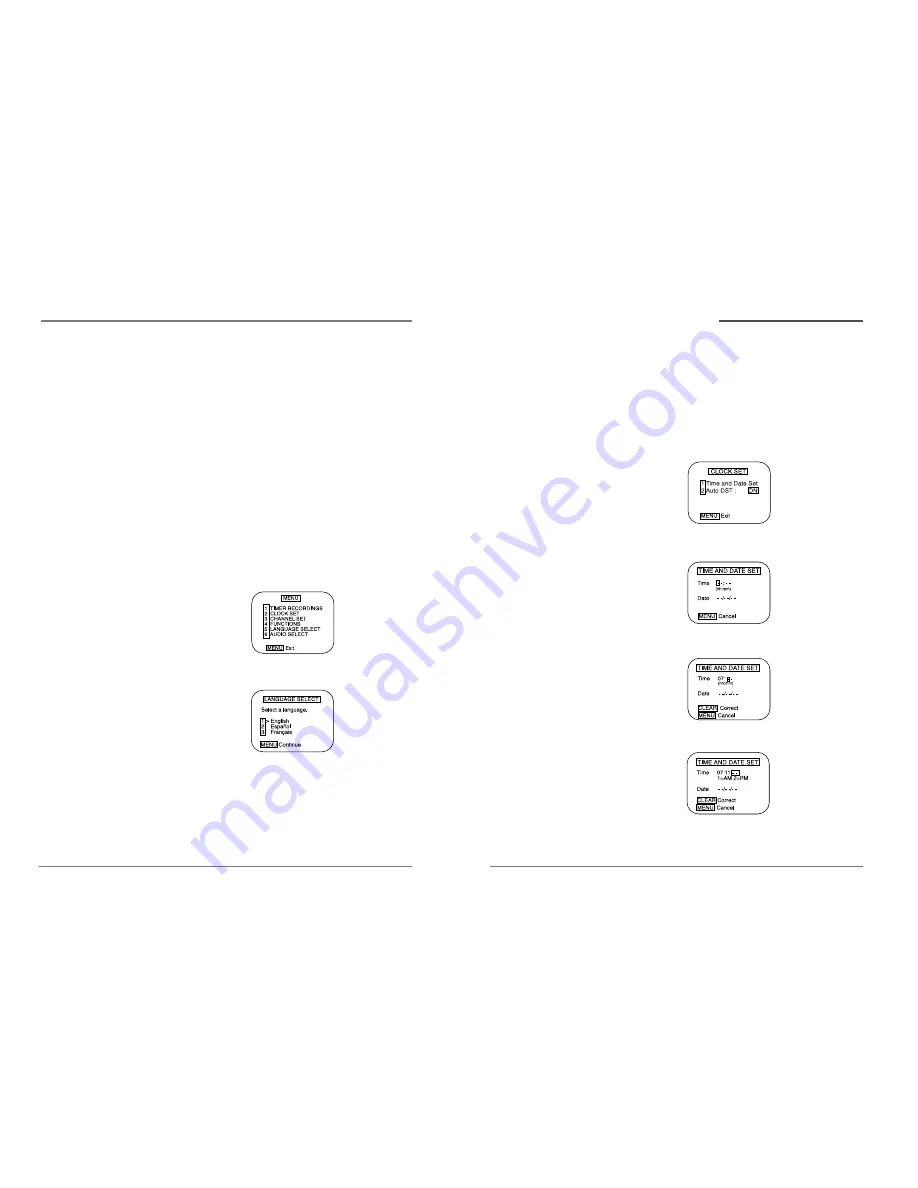
Setting the clock
The clock displays the current time and is used for timer
recording. Therefore, it is important to set the time and
date accurately.
If you are setting the clock for the first time, or if a power
failure has erased the clock settings, the clock will
display --:--.
1
Press MENU to display the menu.
2
Press 2 to select Clock Set
3
Press 1 to select Time and Date Set.
4
Use 0-9 to enter the hour and the minutes.
5
Press 1 if it is AM; press 2 if it is PM.
6
Use 0-9 to enter the month, day, and year. The VCR
will automatically adds the correct day of the week
according to the date that is selected.
14
Daewoo Video Cassette Recorder User’s Guide
13
Daewoo Video Cassette Recorder User’s Guide
Setting up your VCR,
continued
Setting up your VCR
Once you have connected your VCR and put batteries in the
remote control, you are ready to use the VCR. Before you start,
however, you must be certain to do the following:
•
Turn on the television.
•
Tune the television to channel 3 or 4 (whichever
channel you selected when connecting the VCR).
Turning the VCR on
1
Press POWER on the remote control. You can also
press POWER on the VCR’s front panel.
2
Set the VCR to VCR mode by pressing TV/VCR on the
remote control if the VCR indicator “VCR” is not lit.
Changing the on-screen menu language
You may select the language in which you would like the
VCR’s menu to be displayed: English, Spanish, or French.
1
Press MENU to display the main menu.
2
Press 5 to select Language.
3
Press 1 to select English, 2 to select Español
or 3 to select Français.
4
Press MENU once to return the main menu, which
will be displayed in the language you selected. Press
MENU again to exit the menu system and return to
normal viewing.


